
Last updated August 27, 2026
Free in-home measure and quote - PGT, CGI and CWS impact lines compared on your actual openings, style by style

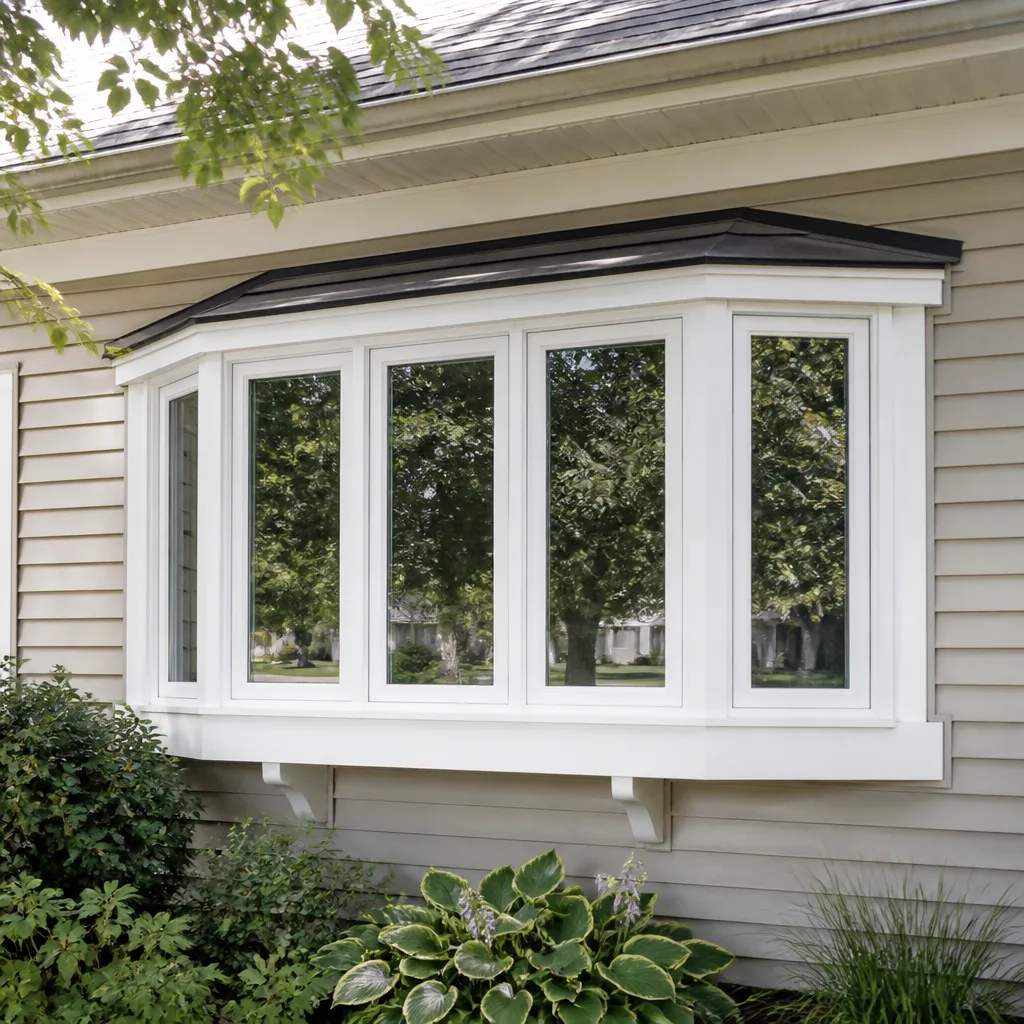
Sliding glass doors

Impact garage doorsPGTCGI
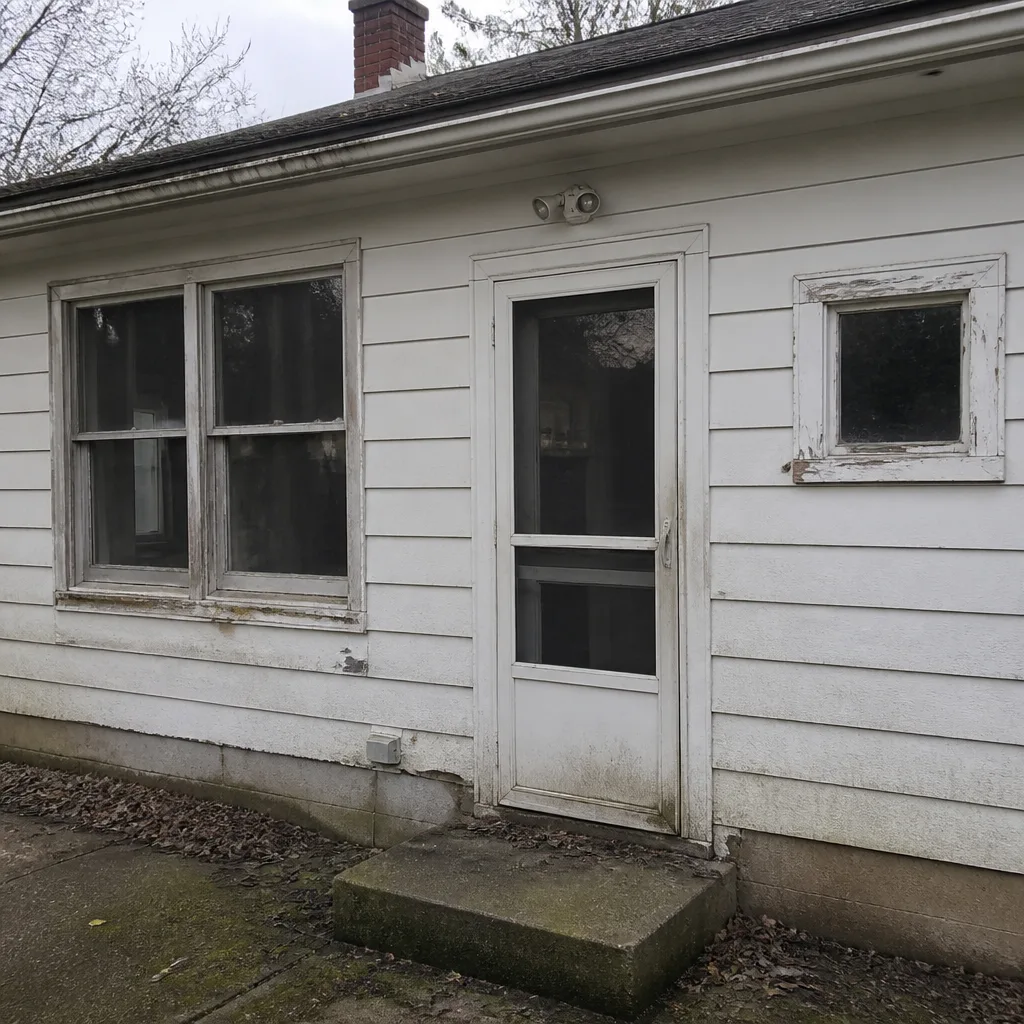 Before
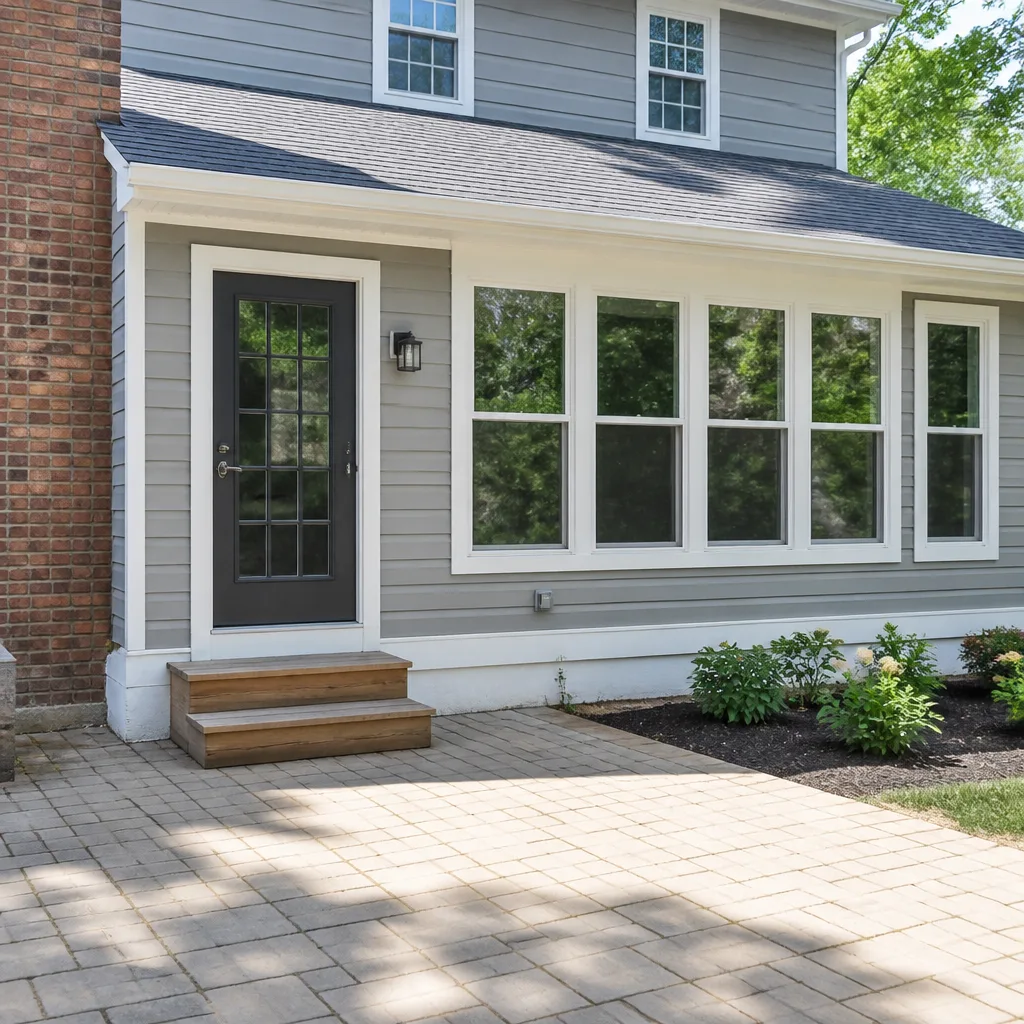 After
After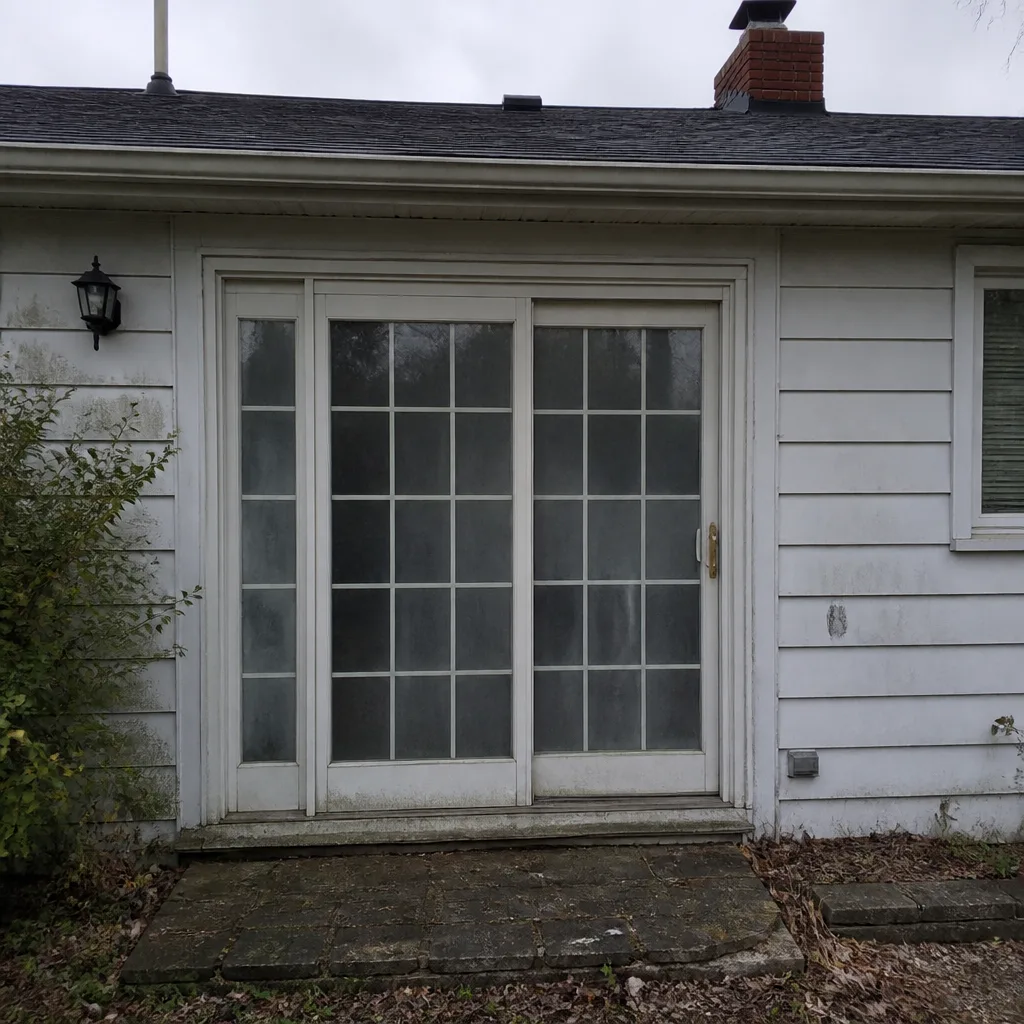 Before
 After
After Before
 After
AfterWindow Installation Maintenance Checklist for Columbus Homeowners
Weep holes. That’s the starting point, because a blocked weep hole is the single most neglected maintenance point we see on Columbus homes, and it quietly turns a $900 window into a rotted rough opening within two rainy seasons. The small slots cut into the bottom of a window frame’s exterior face are there to drain water that gets past the sash. When they clog with dirt, pollen, or the fine grey dust that blows off the Scioto in August, water sits in the track, wicks into the wood or vinyl, and starts working on the framing you can’t see. This guide lays out the Window Installation Maintenance Schedule: What to Do and When for tasks that actually matter, in the order and timing that fit Columbus weather, so your windows hold their seal, their operation, and their warranty.
Quick Answer
A window maintenance checklist for Columbus homeowners should follow two calendar anchors: a full weep hole and weatherstripping inspection in October before the fall rains, and a track cleaning and caulk check in April after the last freeze. The tasks that prevent most failures are cleaning weep holes, testing compression seals with a dollar bill, lubricating sliding tracks, and checking exterior caulk beds. Done twice a year, this takes under an hour and preserves both your window’s performance and your manufacturer warranty.
Table of Contents
- The October Pre-Rain Inspection Sequence
- Weep Holes: The Most Neglected Task in Columbus
- Testing Compression Seals and Pile Weatherstripping with a Dollar Bill
- Sliding Door Track Cleaning and Lubrication
- Why Caulk Inspection Is a Two-Stage Task
- Annual Record-Keeping for Warranty Protection
- The Seasonal Rhythm for Columbus Climate
- Common Mistakes to Avoid
The October Pre-Rain Inspection Sequence
October in Columbus is the pivot month. The air dries out, the maples along the Olentangy turn, and the first real rain usually arrives by the second week. That rain is what finds every gap your windows have developed over the summer, when frames expand in the heat and caulk can crack away from brick or siding. The sequence below takes about forty-five minutes for a typical Columbus ranch or two-story. Walk it in order, outside first, then inside.
- Clear the exterior sill of debris. Leaves from Ohio buckeyes and silver maples collect in the sill tracks and block water from reaching the weep holes. Use a small brush, not a metal scraper, which will scar the finish and give water a place to sit.
- Flush the weep holes. Pour about a cup of water into the exterior track of each window. Watch the bottom of the frame. Water should drip out of the weep holes within ten to fifteen seconds. If it doesn’t, the holes are clogged, and that’s a finding you cannot ignore.
- Check the exterior caulk bed with your fingertip. Press along the top and sides where the frame meets the brick or siding. Caulk should flex slightly and stay bonded to both surfaces. If it’s hard, chalky, or pulling loose in a continuous line, it’s time to recaulk before the freeze-thaw cycle works its way behind the frame.
- Look for daylight leaking around the sash. Stand inside on a bright afternoon, turn off the room lights, and look at the gap where the sash meets the frame. Any hairline of daylight means the compression seal has flattened out and air is trading places with your heating bill.
- Operate every window twice. Open and close each window fully, both upper and lower sash on double-hungs, and note any window that hangs, sticks, or winds itself crooked. A window that binds in October will be a window that won’t open in January.
What a homeowner can correct: clearing debris, flushing weep holes with water, and noting problem areas. What needs a glazier: recaulking a rotted or separated bed, replacing flattened compression seals, adjusting a sash that has slipped out of square, and any window with visible rot at the sill ends. In our experience across Columbus, the neighborhoods built in the 1970s and 1980s around Clintonville and Upper Arlington tend to show the most October findings, because those original aluminum or early vinyl frames have been through forty-plus freeze-thaw cycles and the seal rubber is spent.
Weep Holes: The Most Neglected Task in Columbus
Weep holes exist for one reason: to give water an exit. Every window frame, whether vinyl, aluminum, or clad wood, is designed with a drainage path. Rain that gets past the sash flows down the interior of the frame and out through those small slots at the bottom. When they plug, the water stays. In Columbus, where we get an average of thirty-nine inches of rain a year and regular spring downpours, a plugged weep hole means standing water inside the frame for days, sometimes weeks. Standing water means corrosion on the hardware, mildew on the weatherstripping, and eventually rot in the rough opening if the frame is wood.
The fix is simple but precise. Clean the weep holes with a short piece of stiff wire, a paper clip straightened out, or the plastic tip on a can of compressed air. Work from the outside, gently, pushing any packed debris out of the slot. Do not punch through the frame into the wall. After clearing, test with water as described in the October sequence. If water goes in and doesn’t come out, the interior drain channel is blocked, which usually means the frame itself needs to be pulled and reset. That’s a glazier’s job, as our Window Installation Troubleshooting: Common Problems and How to Fix Them explains, because prying on a set frame can crack the sash, tear the rough opening flashing, and void whatever warranty remained.
We see this one play out over and over in Columbus. A homeowner in German Village buys a house with beautiful old double-hungs, never touches the weep holes, and two years later the sill is soft enough to press a screwdriver into. By then the repair is no longer a cleaning job. It’s a full window replacement in Parkway or wherever the house sits, and the cost is ten times what a five-minute fall cleanout would have been.
Testing Compression Seals and Pile Weatherstripping with a Dollar Bill
Weatherstripping does more than stop drafts. It is the working part of your window’s energy performance, and it’s a wear item, meaning it is designed to be replaced. Compression seals are the rubber or foam gaskets that press together when the sash closes. Pile weatherstripping is the fuzzy strip, usually on sliders, that brushes against the moving sash to block air while still allowing the window to slide. Both have a service life, and in Ohio climate that service life tends to be eight to twelve years, less on windows that face west and bake in afternoon sun.
The dollar bill test works for both types. Close the window, slip a dollar bill between the sash and the frame, and pull it out slowly. You’re feeling for resistance. A healthy compression seal should hold the bill firmly enough that you have to tug, and the bill should come out with a rough, uneven resistance rather than a clean slip. Move the bill to four or five points around the sash: both sides, top, and the meeting rail where the two sashes come together on a double-hung. If any point lets the bill fall out or slide free with no grab, that section of weatherstripping has flattened and is no longer doing its job.
This is not cosmetic. A quarter-inch gap of flattened weatherstripping around one double-hung window moves about the same amount of air as a small vent left open all winter. Multiply that by eight or ten windows in a typical Columbus colonial and you’re heating the front yard. The fix for most modern windows is pulling the old compression seal out of its kerf and pressing a new one in. The replacement material is sold by the foot. On older windows with permanent seals, or on Andersen and Pella clad-wood units, the seal replacement is more involved and worth having a glazier do, because prying the old extrusion out wrong will bend the frame channel.
Sliding Door Track Cleaning and Lubrication
Sliding doors are the hardest-working openings in a Columbus house. They get opened and closed every day from April through October, and they sit in a low track that collects everything: grass clippings, pet hair, sand from kids’ shoes, the fine grit that blows in from the alley. That grit is the enemy. It grinds into the roller bearings, scuffs the track surface, and forces the rollers to work against a rough channel. Hardware that would have lasted twenty years gives out in eight.
The cleaning sequence is straightforward, but it has an order that matters. Do not lubricate a dirty track. Lubricant over grit makes a grinding paste that accelerates the wear you’re trying to prevent.
- Vacuum the track first. Use a shop vacuum with a narrow nozzle to pull loose debris out of the bottom channel. Get into both ends and the center rib if your door has one.
- Scrub the track with a stiff nylon brush and warm water with a few drops of dish soap. The goal is to cut the greasy film that traps fine grit. Rinse with a damp cloth until the water runs clean, then dry the track thoroughly.
- Inspect the rollers from below. Most sliding doors have adjustment screws at the bottom of the door panel. A flathead screwdriver turns the screws to raise or lower the door. If the door drags on one side or the gap at the top is uneven, the rollers are misadjusted or worn.
- Lubricate the track lightly. A dry silicone spray, not WD-40, not grease. Silicone goes on thin, dries, and leaves a slick film without attracting dust. One light pass along the track is enough. Wipe any excess.
- Run the door back and forth six or eight times. This distributes the silicone and lets you feel whether the door rolls smoothly or catches on a flat spot, which indicates a roller that is no longer round.
When rollers are shot, the door gets heavy, and a heavy door overworks the lock, the handle, and the frame screws. That’s the point where a homeowner who keeps forcing it open eventually strips the handle or cracks the door stile. Replacing sliding door rollers on a Pella or Marvin patio door is a manageable fix for a glazier with the door panel on sawhorses, but it’s not something we recommend doing with the panel still in the frame. The risk of the glass hitting the track edge is real, and a shattered tempered panel is a much bigger bill than a roller replacement would have been.
Why Caulk Inspection Is a Two-Stage Task
Caulk is the most visible part of window maintenance and also the most misunderstood. Most homeowners think of caulk as one thing: the bead you see outside. But window sealing is actually two separate systems, each protecting against a different failure, and they need to be inspected differently.
Stage one: the exterior bed. This is the bead where the window frame meets the brick, stucco, or siding. Its job is to stop water from getting behind the frame and into the rough opening. Water that gets past the exterior bed moves down the wall cavity, soaks the insulation, rots the house framing, and you don’t see it until a drywall seam stains or a sill goes soft. In Columbus, exterior caulk takes beating from both directions: summer sun that bakes it brittle and winter freeze-thaw that works it loose from the substrate. Walk the perimeter of every window once a year and look for gaps, cracks, or areas where the caulk has pulled clean off one surface. Press it. Good caulk still has give. Dead caulk feels rigid and sounds hollow when you tap it.
Stage two: the interior perimeter. This is the bead along the inside edge where the window meets the interior trim or drywall, and it protects against something completely different: air leakage and condensation. Warm, moist interior air hits the cold edge of the frame, condenses, and if there’s a gap in the interior seal, that moisture moves into the wall. You’ll see it as fogged glass, peeling paint at the window edge, or mold on the drywall corners. The interior check is visual: look for separation, cracked caulk lines, and any dark spots that suggest moisture has been sitting. A thin bead of paintable acrylic latex caulk is usually the right fix, tooled smooth with a wet finger so it fills the joint completely.
In our work around Columbus, we see older homes in Bexley and Worthington with original wood frames where the exterior caulk was never maintained through decades. The result every time is rot at the sill ends and in the side jambs, because water entered at the top corners and ran down inside the frame. That’s the repair nobody wants to price, and it’s the one that regular caulk inspection prevents.
Annual Record-Keeping for Warranty Protection
Warranties are only as good as the paper that proves the work was maintained. A homeowner who falls into a warranty claim five years after install and has no service record is in a weaker position than the one who can produce a simple log. At TruePane Windows & Doors, we register both manufacturer warranty layers in writing before the truck leaves your driveway, a practice we call The Keystone Standard. That’s our side of the record. Your side is keeping the maintenance history that many manufacturer warranties assume exists.
The format does not need to be elaborate. A single sheet of paper in a folder, or a note kept on the refrigerator, works fine. What matters is that it has dates, actions, and any observations. The minimum record looks like this:
- Install date and window locations. Which windows, what brand, what model line. For any TruePane install, those manufacturer lines include Andersen, Pella, Marvin, Milgard, and PGT, quoted side by side on paper so the record matches the product.
- Each inspection date. The October pre-rain check and the April post-freeze check. Log the date and anything found.
- Any maintenance performed. Weep holes cleaned, weatherstripping replaced, tracks lubricated, caulk touched up. Note what was done and where.
- Any repair or adjustment. Who did the work, what was done, what parts were used, and the date.
- Warranty registration confirmation. The date the manufacturer warranty was registered and the registration number, if one was provided.
This record serves two purposes. If a seal fails or a frame cracks and it falls within the warranty, the record shows the window was maintained the way the manufacturer requires. And if you sell the house, the record transfers to the next owner, which is a tangible selling point. Buyers in Columbus ask about windows. A seller who can hand over a laminated maintenance log is answering a question before the home inspector finds a fogged pane.
The Seasonal Rhythm for Columbus Climate
Columbus has a particular weather pattern that drives window maintenance. It is not a subtle climate. We get hard freezes in winter, wet springs, muggy summers, and a dry, windy fall that carries a surprising amount of dust. Each season stresses windows differently, and the maintenance calendar below follows that pattern rather than an arbitrary every-six-months schedule.
October: the pre-rain inspection. Complete the full sequence described above, with particular attention to weep holes and exterior caulk. The goal is to send every window into winter with a clear drainage path and sealed exterior bed.
April: the post-freeze check. After the last hard freeze, frames have contracted back to their warm-weather dimensions. This is when caulk that cracked in January becomes visible, when condensation damage from winter shows up as peeling interior paint, and when you want to clean and lubricate sliders before the heavy-use season starts. It is also the right time to test weatherstripping with a dollar bill, because any seal that flattened over winter will not recover on its own.
Mid-summer: a quick glance. No full inspection needed, but in July you’ll notice problems that hide in other seasons: a window that’s impossible to open because the frame swelled, a sash that sags, a door that scrapes the threshold. Note them, and fix them in the fall when humidity drops and materials stabilize again.
This rhythm works because it follows the physics. Caulk is most flexible when applied in mild temperatures, between about 50 and 80 degrees. October and April in Columbus both land in that band. Trying to recaulk in July on a 90-degree afternoon means the caulk skins over fast and won’t tool smooth. Trying in January means it will not cure at all.
Common Mistakes to Avoid
- Drilling new drain holes instead of cleaning the existing ones. Homeowners sometimes think a blocked weep hole needs a bigger hole. It doesn’t. Drilling into a vinyl frame often cuts into the structural chamber and creates a new path for water to enter the wall, not leave it.
- Using petroleum-based lubricants on tracks and weatherstripping. WD-40 and grease eat into rubber gaskets and vinyl components over time, swelling them and breaking down the surface. Silicone spray is the only lubricant that belongs on window hardware and weatherstripping.
- Painting over weep holes. When repainting exterior trim in Columbus, it’s common to cover the bottom of the frame. A single coat of paint can seal a weep hole shut. After any exterior paint job, test every weep hole with water.
- Ignoring a fogged double-pane. A seal failure does not fix itself and it does not stop at the glass. Moisture between the panes means the inert gas is gone, the unit’s insulating value is spent, and condensation is now inside the frame. The window needs reglazing or replacement, not a dry spell.
- Adjusting a misaligned sash with force. A double-hung sash that binds gets yanked, which springs the balance system, cracks the vinyl, or breaks the lock. If a sash doesn’t glide, call someone who adjusts it properly rather than forcing it past the friction point.
- Skipping the October check because the windows “look fine.” Weep hole blockages and early caulk separation are not visible from inside the house, and by the time water damage shows as a discolored drywall corner, the repair is several orders more expensive. The whole point of the October sequence is finding problems before they find you.
When to Call a Professional
Some maintenance tasks are homeowner work, and some cross into work that requires skill and the right equipment. Call a glazier if you find rotted or soft wood around a sill or jamb, if a window has dropped out of square and won’t lock, if a double-pane unit has visible fog between the glass, if the hardware is broken or a sash is hanging, or if you have a window that is stuck shut and cannot be opened without forcing it. The risk on these is not just the window itself; it’s the framing behind it. TruePane Windows & Doors offers Window Installation and free estimates in Columbus, and we work with more than a dozen manufacturer lines including Andersen and Pella, meaning the recommendation you get is based on what fits your house, not what fits a sales quota. Call (888) 635-0804 to schedule a walk-through.
Frequently Asked Questions
Clean your weep holes twice a year, once in October before the fall rains and once in April after the last freeze, using a stiff wire or a paper clip and confirming drainage with a cup of water. Homes near gravel alleys or busy Columbus streets may need it more often, since dust and grit build faster. Call (888) 635-0804 if a weep hole will not drain after cleaning, because a blocked internal channel needs professional attention.
A failed seal usually shows as fog, haze, or water droplets between the two panes of glass, and it means the inert gas has escaped and the window has lost most of its insulating value. The glass may also develop a cloudy film that cannot be wiped off from either side. The fix is reglazing the sash or replacing the window, depending on the frame condition and age of the unit.
Basic homeowner maintenance, including cleaning weep holes, lubricating tracks with silicone, and testing weatherstripping, costs under twenty dollars a year in materials. Professional maintenance like seal replacement, roller changes, or recaulking typically runs $89 and up depending on the number of windows and the work involved, and TruePane offers a maintenance check for homeowners who want a glazier to do the full perimeter check. Call (888) 635-0804 for an exact quote on your house.
Lubricate your window and sliding door tracks twice a year, after cleaning them with warm soapy water and drying thoroughly, using a dry silicone spray that won’t attract dust or degrade rubber gaskets. Lubricating over a dirty track does more harm than good. If a track is scored or pitted from years of grit, it may need replacement rather than lubrication.
Yes, TruePane services windows and doors regardless of who installed them, and we are an authorized installer and service provider for more than a dozen manufacturer lines including, and PGT. We quote manufacturer lines side by side on paper, and every job is covered by our Done Right Promise. Call (888) 635-0804 to describe what you’re seeing and we’ll tell you whether it’s a maintenance task or a repair.
Keep a written record of your inspection and maintenance dates, clean weep holes and lubricate tracks twice a year, and address any caulk failure or weatherstripping wear as soon as you find it, because manufacturers consider neglect a reason to deny a claim. At TruePane, we register both warranty layers in writing before our truck leaves your driveway, and we recommend keeping that registration confirmation with your maintenance log. That combination puts you in the strongest position if a claim ever comes up.
The Bottom Line
Window maintenance in Columbus comes down to a handful of small tasks done at the right time, and you can find more guides & resources on our blog. Clean the weep holes in October and April. Test weatherstripping with a dollar bill and replace seals that have flattened. Clean sliding door tracks before you lubricate them, and only with silicone. Check the exterior caulk bed and interior perimeter as two different systems protecting against two different failures. Keep a written record, because warranties and home sales both depend on it. None of this is expensive, and all of it is cheaper than the repair it prevents. Done twice a year, the whole routine takes under an hour, and it keeps a window doing its job for the life it was built for.
Written by Dale Kessler, Owner at TruePane Windows & Doors, serving Columbus since 2008.