
Last updated August 27, 2026
Free in-home measure and quote - PGT, CGI and CWS impact lines compared on your actual openings, style by style
Sliding glass doors

Impact garage doorsPGTCGI
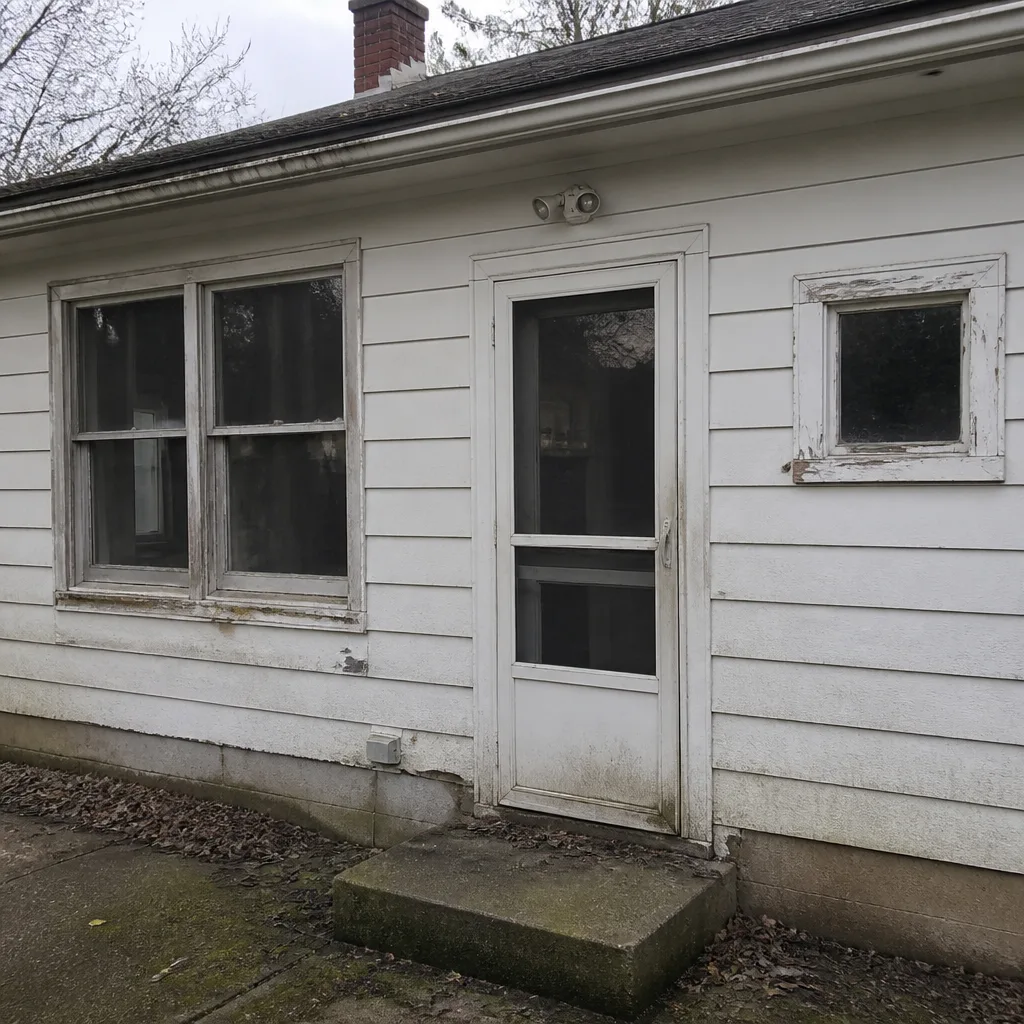 Before
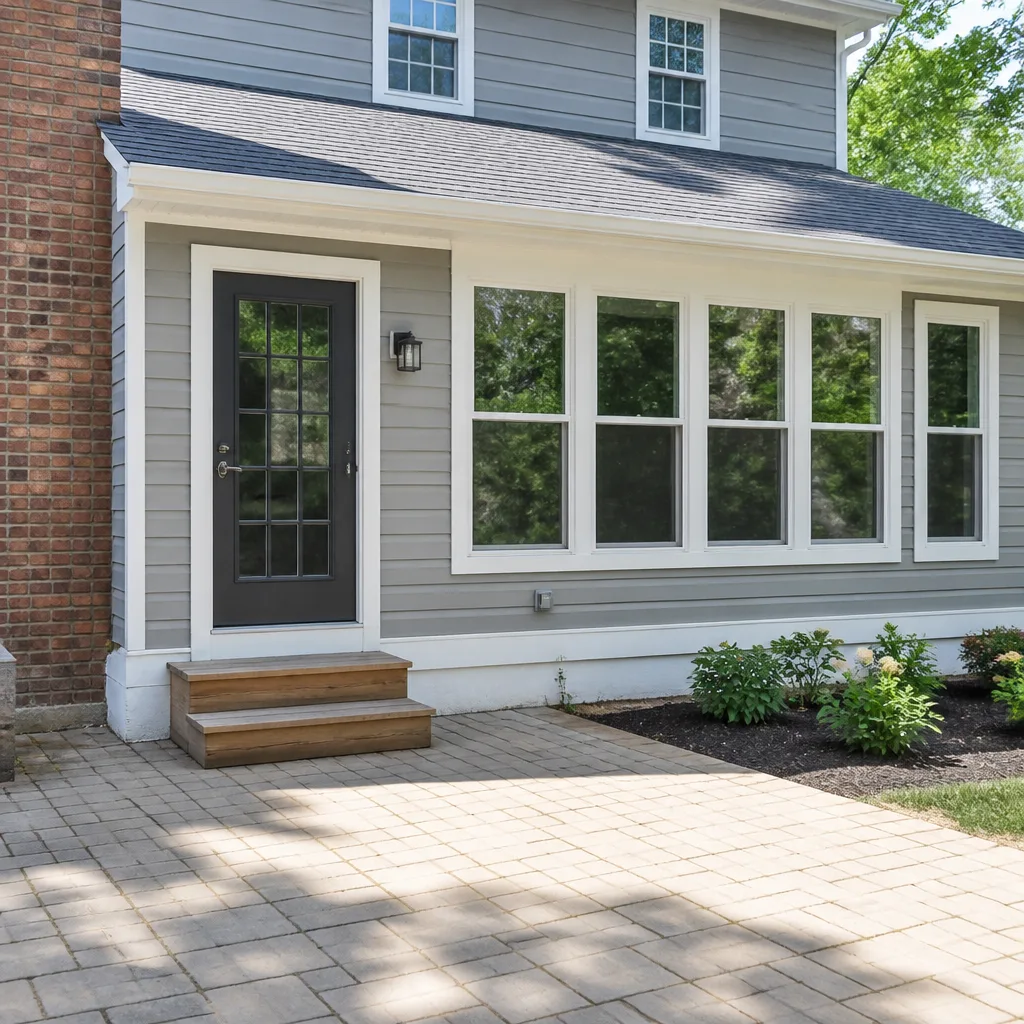 After
After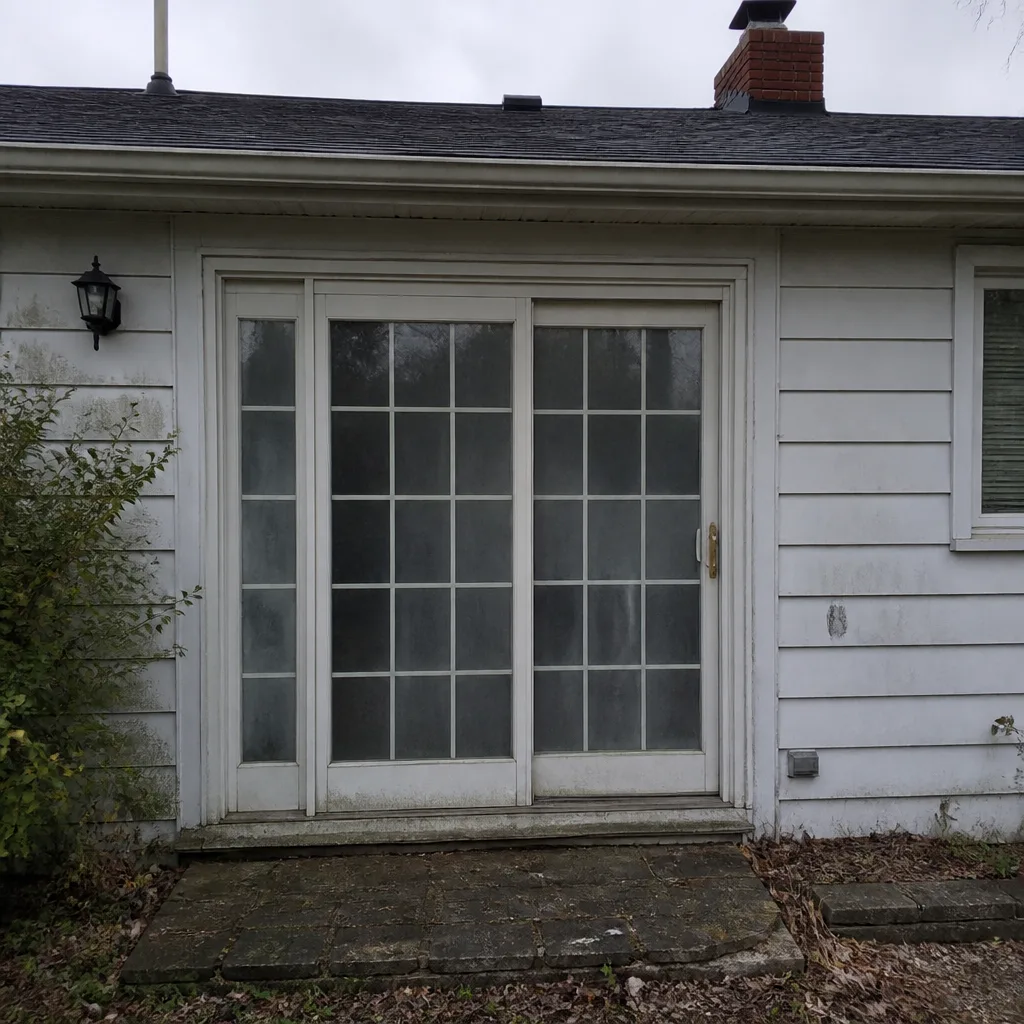 Before
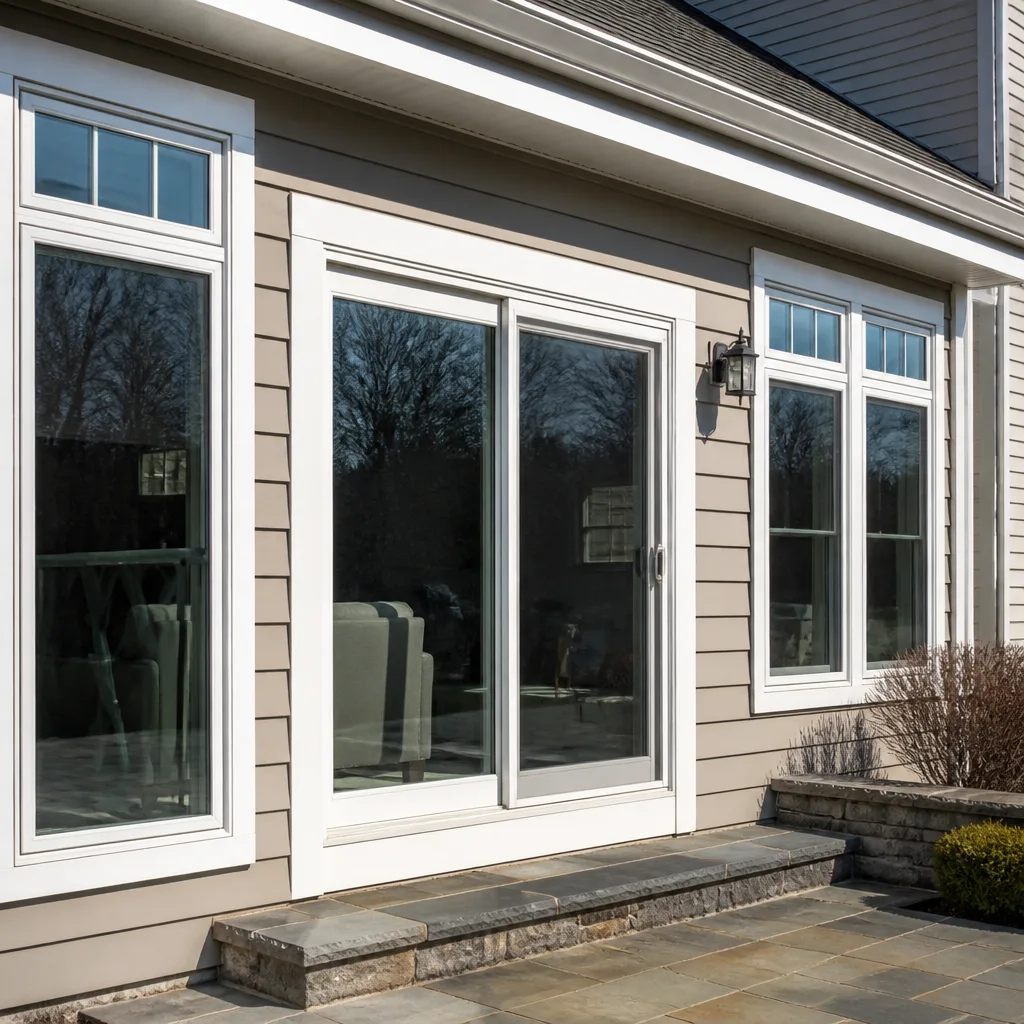 After
After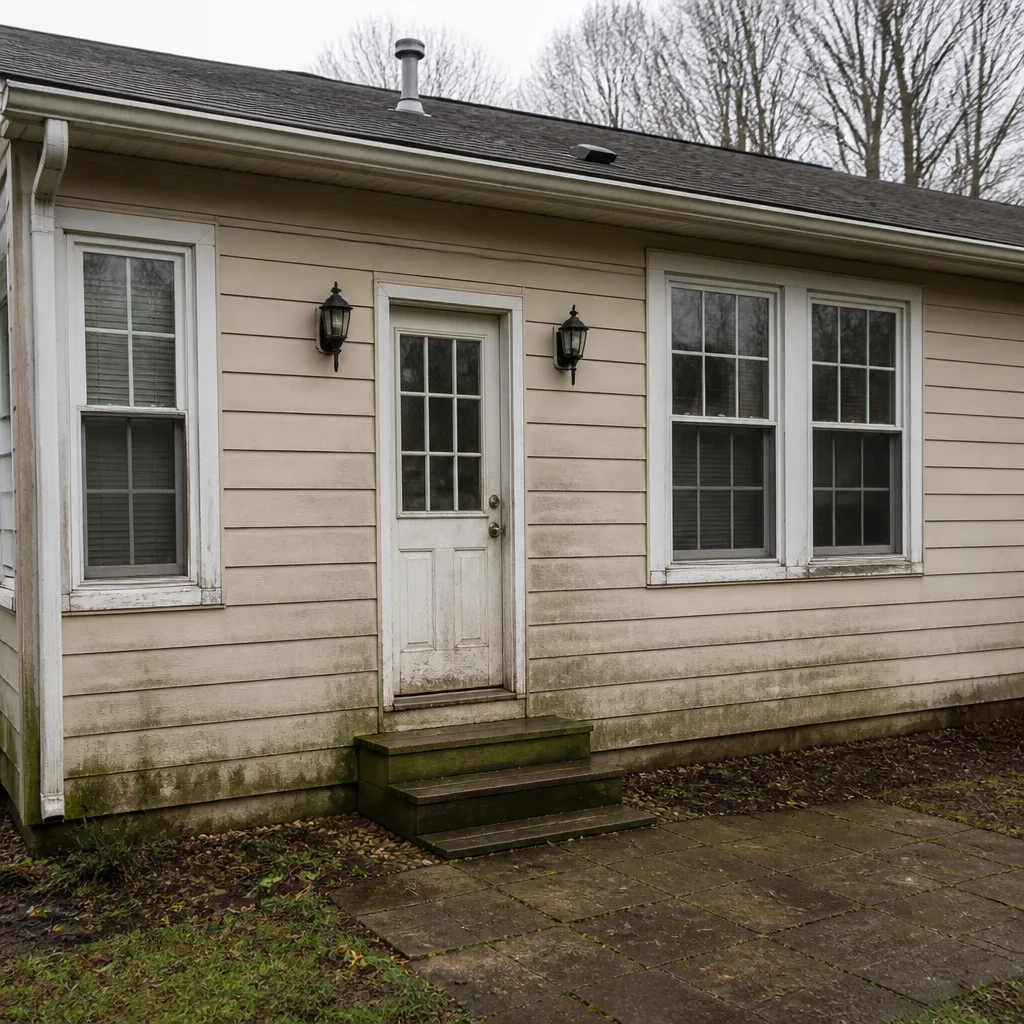 Before
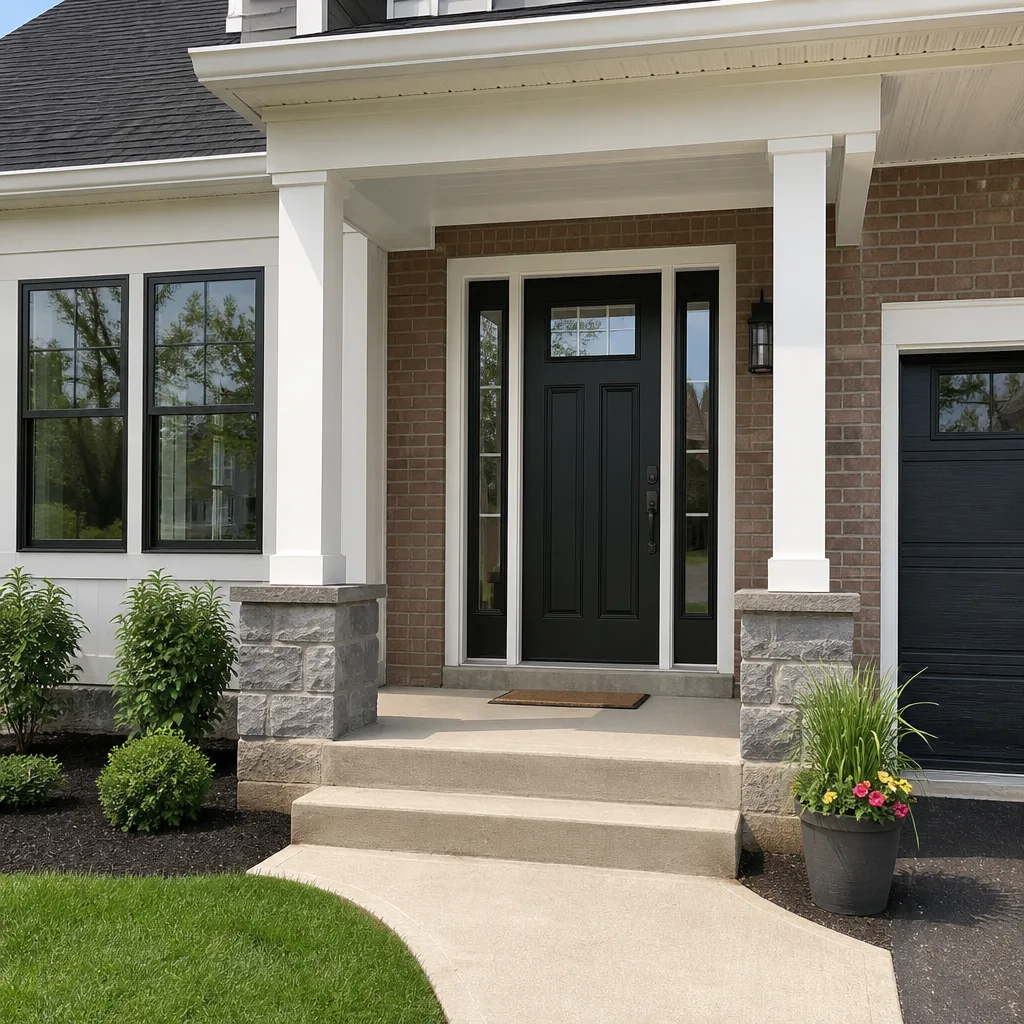 After
AfterDIY vs Professional Window Installation: What’s Safe to Do Yourself
A homeowner with solid carpentry experience can physically set a window in a rough opening. That part is not the hard part. The hard part is that the same homeowner, by doing it themselves, may void both the manufacturer’s unit warranty and the installation warranty in a single afternoon, without knowing it until water shows up behind the drywall two years later. This guide walks through the real risk categories: warranty language, structural conditions, water management, and the handful of tasks that are genuinely safe for a capable homeowner in Columbus. You’ll get a factual checklist, not a blanket answer.
Quick Answer
Most full-frame window replacements are not safe to DIY, not because the physical work is impossible, but because a DIY install typically voids the manufacturer’s warranty and shifts all water-damage liability to the homeowner, as we explore in our DIY vs Professional Window Replacement: What’s Safe to Do Yourself guide. Tasks that are safe for a capable homeowner are limited to interior trim reinstallation, screen fitting, hardware adjustment, and interior sill finishing. Anything involving flashing, the rough opening, or the exterior envelope should be done by a licensed professional.
Table of Contents
- What a Warranty Actually Requires of the Installer
- The Three Structural Conditions That Make DIY Dangerous
- Water Management: Where DIY Installs Actually Fail
- What’s Genuinely Safe to Do Yourself
- The Real Cost Comparison: Labor Savings vs. Failure Costs
- How to Evaluate an Installer Before You Hire
- Common Mistakes to Avoid
What a Warranty Actually Requires of the Installer
Most homeowners never read the installation section of their window warranty. That’s where the DIY decision gets decided. Major manufacturers, including Andersen, Pella, Marvin, and Milgard, write their warranty documents with specific language about who may install the unit and what materials the installer must use. A homeowner who skips this section discovers the problem only when a seal fails three years later and the manufacturer denies the claim.
Here’s what most manufacturer warranties require, in plain language:
- The installer must be a licensed contractor in the state where the work is performed. Ohio does not have a statewide contractor license for window installation, but Columbus and many surrounding municipalities require registration. Homeowners doing their own work are exempt from that requirement without getting any of its protections.
- Installation must follow the manufacturer’s published installation instructions. These are not suggestions. They specify the flashing sequence, fastener type and spacing, sealant product family, and shimming locations. Deviate from them and the warranty is void, even if the work looks fine.
- The warranty registration card must be completed and returned. Many manufacturers require dealer or installer information on the registration form. A homeowner who installs their own window often finds there is no legitimate answer for the “installer name” field, which triggers a review or denial.
- Specific flashing products are named. Some manufacturers require a specific brand or type of flashing tape, a specific sealant chemistry, or a specific sill pan design. Using whatever is on the shelf at the hardware store can void the unit warranty even if the window performs perfectly.
- Both warranty layers must be registered. There’s the unit warranty (glass, seals, hardware) and the installation warranty (workmanship). When a professional installs the window, both layers should be registered in writing before the job is finished. A DIY install leaves the installation warranty nonexistent and the unit warranty at risk.
At TruePane Windows & Doors home, we register both warranty layers in writing before the truck leaves the driveway. That’s The Keystone Standard, and it’s the difference between a warranty that exists on paper and one that holds up when you actually need it.
The Three Structural Conditions That Make DIY Dangerous
Some DIY window replacements are unsafe before the first screw goes in. The risk has nothing to do with the installer’s skill and everything to do with what’s hiding inside the wall. In Columbus homes built between 1950 and 1990, we regularly see structural conditions that turn a straightforward window swap into a repair project requiring a general contractor.
There are three structural conditions you must identify before touching the rough opening. If any of these are present, stop and call a professional:
- Out-of-square rough opening. If the rough opening is more than 1/4 inch out of square across the diagonal, the window cannot be shimmed into a square, operable position. Forcing it will warp the frame, bind the sashes, and void the unit warranty. Older Columbus homes, especially in established neighborhoods like German Village and Clintonville, often have framing that has settled over 80 years.
- Undersized header. The header above a window carries the weight of the wall and roof above it. If a previous remodel enlarged the opening without installing a properly sized header, or if the original header was undersized for the span, the opening is not structurally sound. Setting a new window into an opening with a failing header means the unit will carry load it was never engineered to carry, and the glass will stress-crack within a season or two.
- Deteriorated sill plate. The sill plate is where moisture problems show up. In Columbus, freeze-thaw cycles force water into small gaps at the rough opening, and over two decades that water rots the plate. A new window set on a rotted sill plate will sag within months, creating binding sashes and leaking seals. This is one of the most common repairs we make after a failed installation, and it is rarely visible until the old window comes out.
None of these conditions are the homeowner’s fault, and none of them can be fixed with caulk. They require framing repairs, and they explain why a professional measures twice before every installation. If the rough opening is not square, level, and plumb before the unit goes in, no amount of shimming saves the install.
Water Management: Where DIY Installs Actually Fail
The window itself rarely fails. The installation around it does. Water intrusion is responsible for the majority of window failure claims and most of the expensive remediation scenarios in Columbus, where we get about 40 inches of rain annually and enough freeze-thaw cycles to stress any weak flashing detail.
Water management has an order, and the order is not negotiable. Here’s the correct sequence professionals follow on every installation:
- Sill pan flashing goes down first. This is the waterproof membrane that sits under the window and directs any water that reaches the sill back out to the exterior. Skipping it or using a generic tape instead of a manufactured sill pan is the single most common DIY mistake and the most costly one.
- Jamb flashing is applied next. The flashing tape runs up the sides of the rough opening, lapped over the sill pan so water sheds outward, not inward.
- The window is set and shimmed square. Fasteners are installed according to the manufacturer’s pattern; not just where it feels solid.
- Head flashing is applied last. The head flashing goes over the top of the window, lapped under the house wrap or building paper, so any water running down the wall is directed over the window, not behind it.
- Exterior sealant is applied at the perimeter, and the sealant must be compatible with the window material. Using silicone on vinyl frames when the manufacturer specifies butyl-based sealant will cause premature failure.
The phrase “flashing sequence” is not technical jargon designed to deter homeowners. It’s the literal order in which water is directed away from the building envelope. Get the order wrong and the window will leak, sometimes immediately, sometimes after the first hard freeze opens a gap that was closed in October. In our experience in Columbus, we see DIY and handyman installs that look fine for a year and fail in year two. Water is patient.
What’s Genuinely Safe to Do Yourself
This guide is not a blanket “never touch anything” warning. There are tasks around a window installation that a capable homeowner can do well, that do not affect the warranty, and that save real money. You’ll need basic tools, patience, and an honest assessment of your skill. Here’s the list, in order of difficulty:
- Interior trim reinstallation. Once the window is professionally installed, the interior casing and trim can be removed and reinstalled by a homeowner with a finish nailer and a miter saw. If the drywall return needs patching, that’s also DIY-appropriate work. The key is to wait until the installation is complete and the inspector has signed off, then do the finish work without touching the unit.
- Screen fitting and replacement. Screens are a wearing part, not part of the building envelope. Fitting a new screen, replacing torn mesh, and adjusting screen clips are all safe homeowner tasks. Most manufacturers sell screen replacements directly, and the work has no bearing on the unit warranty.
- Hardware adjustment. Adjusting a lock, tightening a handle, or replacing a crank mechanism on a casement window is normally a straightforward job with a screwdriver and the manufacturer’s adjustment guide. Do not attempt to adjust the sash balance or tension springs on a double-hung; that mechanism is under tension and can cause injury if mishandled.
- Interior sill finishing. Sanding, staining, and sealing the interior wood sill is a finish task, not a structural or water-management task. As long as the exterior sill and flashing were professionally done, the interior finish is yours to make look the way you want.
What is not safe: anything that requires removing the window unit from the opening, touching the flashing, modifying the rough opening, or cutting into the exterior cladding. If your project requires any of those, you are no longer doing a homeowner-level task; you are doing an install.
The Real Cost Comparison: Labor Savings vs. Failure Costs
Homeowners in Columbus often look at the labor line on a professional quote and do the math on what a DIY install would save. The math is incomplete. A full-frame replacement from a quality manufacturer such as Marvin or Pella, professionally installed with registered warranties, typically runs $700 to $1,400 per window in the Columbus market, depending on size, material, and the condition of the rough opening. The window unit itself is $300 to $700 of that total. The labor is real money.
But here’s the other side of the ledger:
| Failure Scenario | Typical Repair Cost in Columbus |
|---|---|
| Water damage discovered behind drywall after flashing failure | $1,500-$4,000 (mold remediation, drywall replacement, painting) |
| Rotted sill plate requiring window removal and structural repair | $800-$2,000 per window |
| Warranty claim denied due to unregistered or invalid DIY install | $400-$900 per sash (seal or glass replacement) |
| Complete window re-installation after frame warping from out-of-square opening | $700-$1,300 per window |
These figures assume a standard double-hung window in a typical Columbus home. The range reflects the difference between catching a problem early and finding it after two winters of active leaking. A DIY install that fails quietly behind the wall costs more than the professional labor would have cost on day one. The Keystone Standard exists because Dale Kessler kept seeing homeowners pay twice: once for the cheap install, once for the repair.
How to Evaluate an Installer Before You Hire
If you decide to hire a professional, and for any full-frame replacement you should, the question becomes: how do you separate an experienced glazier from a general handyman with a caulk gun? Both will say they install windows. The difference shows up in the questions they can answer about process, not in the confidence of the quote.
Here are the questions to ask, in the order to ask them:
- “What flashing sequence do you use, and can you walk me through it?” An experienced installer should be able to describe the sill pan, jamb flash, set, head flash, sealant sequence in the correct order without hesitation. If they look confused, keep looking.
- “How do you handle an out-of-square rough opening?” The correct answer involves measuring the diagonals before ordering the unit, and sometimes the discussion of a smaller window or framing correction. “I’ll make it work” is not an answer.
- “Will both warranty layers be registered in writing before the job is done?” This question separates professionals from everyone else. At TruePane Windows & Doors, the answer is always yes; it’s The Keystone Standard, and it’s in writing before the truck leaves the driveway.
- “Which manufacturers are you an authorized installer for?” Authorized installer status means the manufacturer has reviewed the installer’s work and process. TruePane is an authorized installer for more than a dozen lines, including, PGT, and CGI. A handyman with a truck is authorized for none of them.
- “How do you handle sealant selection for different frame materials?” The right answer mentions material compatibility. The wrong answer is “whatever caulk is in the truck.”
For homeowners in Parkway considering Window Installation in Parkway or Door Installation in Parkway, the same questions apply. The process does not change based on zip code; it changes based on who’s doing the work. And for those comparing the cost of replacing vs. repairing, the Window Replacement in Parkway page covers the factors that drive that decision.
Common Mistakes to Avoid
In years of glazing work across the Columbus area, we’ve seen the same mistakes repeated by homeowners and underqualified handymen. They are avoidable, and they are expensive:
- Skipping the sill pan because “the old window didn’t have one.” The old window leaked too; you just did not see it until the sill plate rotted. Building codes and manufacturer instructions now require a sill pan on every install.
- Using fiberglass insulation to fill the gap around the window. The rough opening gap should be sealed with low-expansion foam or backer rod and sealant, not fiberglass. Fiberglass holds moisture against the frame and accelerates seal failure.
- Shimming the window from the sill instead of the jambs. The window is designed to be supported at specific shim points on the sides. Supporting it from the bottom changes the load path and warps the frame over time.
- Caulking the weep holes. Weep holes at the bottom of vinyl and aluminum windows drain water that accumulates in the track. Filling them with caulk traps water inside the frame, where it freezes and splits the extrusion during a Columbus winter.
- Ordering the wrong size by measuring the existing window instead of the rough opening. Replacement windows are sized to the rough opening, not the old sash. An inch of error means an unusable unit and a reorder that costs more than the labor would have.
- Not pulling a permit where one is required. Some Columbus-area municipalities require a permit for window replacement when the opening is being modified. Working without one creates a disclosure issue when the homeowner eventually sells, and it voids any insurance coverage for the work.
When to Call a Professional
Call a professional when the rough opening is exposed, when flashing is involved, when the window is an architectural shape (arches, circles, trapezoids), when the unit weighs more than one person can safely lift, or when the warranty matters to you. Also call when you don’t know the answer to the flashing-sequence question; that’s not a character flaw, it’s evidence that the work is outside the ordinary homeowner’s lane. TruePane Windows & Doors offers Window Installation services with free estimates in Columbus, with background-checked, uniformed technicians who measure every opening twice and quote manufacturer lines side by side on paper. Call (888) 635-0804 to schedule yours.
Frequently Asked Questions
Yes, homeowners in Columbus may legally install their own windows without a contractor’s license. Legality and wisdom are different things: a DIY install still must meet the current building code for the municipality, still requires a permit where the opening is modified, and still voids the manufacturer’s warranty in most cases. The legal right to do the work does not protect you from the financial consequences of doing it wrong. For a free estimate and a straight answer about your specific project, call (888) 635-0804.
Professional full-frame window installation in Columbus typically runs $700 to $1,400 per window, depending on size, material, manufacturer, and the condition of the rough opening. Insert replacements run somewhat less, though they carry their own long-term tradeoffs. The cost includes both warranty layers registered in writing, something a DIY install cannot replicate. Call (888) 635-0804 for an exact quote: our estimates are free, written, and line-item.
It should not, if you hired a company that measures twice before quoting and quotes manufacturer lines side by side on paper. At TruePane Windows & Doors, our pricing is upfront and we do not add surprise line items to the bill. The exception is a hidden structural condition (rotted sill plate, undersized header) discovered after the old window comes out; a professional will document it, show you the issue, and get your approval before any additional work proceeds. Call (888) 635-0804 for a fixed quote.
Yes. When a permit is required, TruePane Windows & Doors pulls it, schedules the inspection, and makes sure the work passes before we call the job done. That’s part of the Done Right Promise: if it’s not done right, we make it right. Call (888) 635-0804 with your project details and we’ll tell you whether your Columbus-area municipality requires a permit.
A standard full-frame window replacement, set into a sound rough opening, usually takes one day per three to four windows for a two-person crew. Architectural shapes, structural surprises, and multi-story access slow the work down, and we’ll tell you that at the quote, not after the crew arrives. Most jobs in the Columbus area are completed in a single visit because the rough opening was measured correctly before the unit was ordered. Call (888) 635-0804 for a timeline on your specific project.
The Done Right Promise is our guarantee that if the work we do is not done right, we make it right, at no additional cost, with no paperwork fights and no arguing. It is backed by The Keystone Standard: both manufacturer warranty layers registered in writing, with durations stated, before our truck leaves your driveway. The promise exists because Dale Kessler spent decades watching homeowners pay twice for failed installs. If the pane is not true, the job is not done. Call (888) 635-0804 for a free estimate.
The Bottom Line
The DIY window installation decision is not a referendum on your skill. It’s a warranty question, a structural question, and a water-management question. If all three check out and the work is limited to interior trim, screens, hardware, or sill finishing, a capable Columbus homeowner can handle it. If the work touches the rough opening, the flashing, or the building envelope, the honest answer is to hire a professional who stands behind the work. We’ve been serving Columbus since 2008 through the founding of TruePane in 2008, and we plan to be here for the next call. For more guides & resources, visit our blog. Call (888) 635-0804 for a free estimate.
Written by Dale Kessler, Owner at TruePane Windows & Doors, serving Columbus since 2008.