
Last updated August 15, 2026
Free in-home measure and quote - PGT, CGI and CWS impact lines compared on your actual openings, style by style
Sliding glass doors

Impact garage doorsPGTCGI
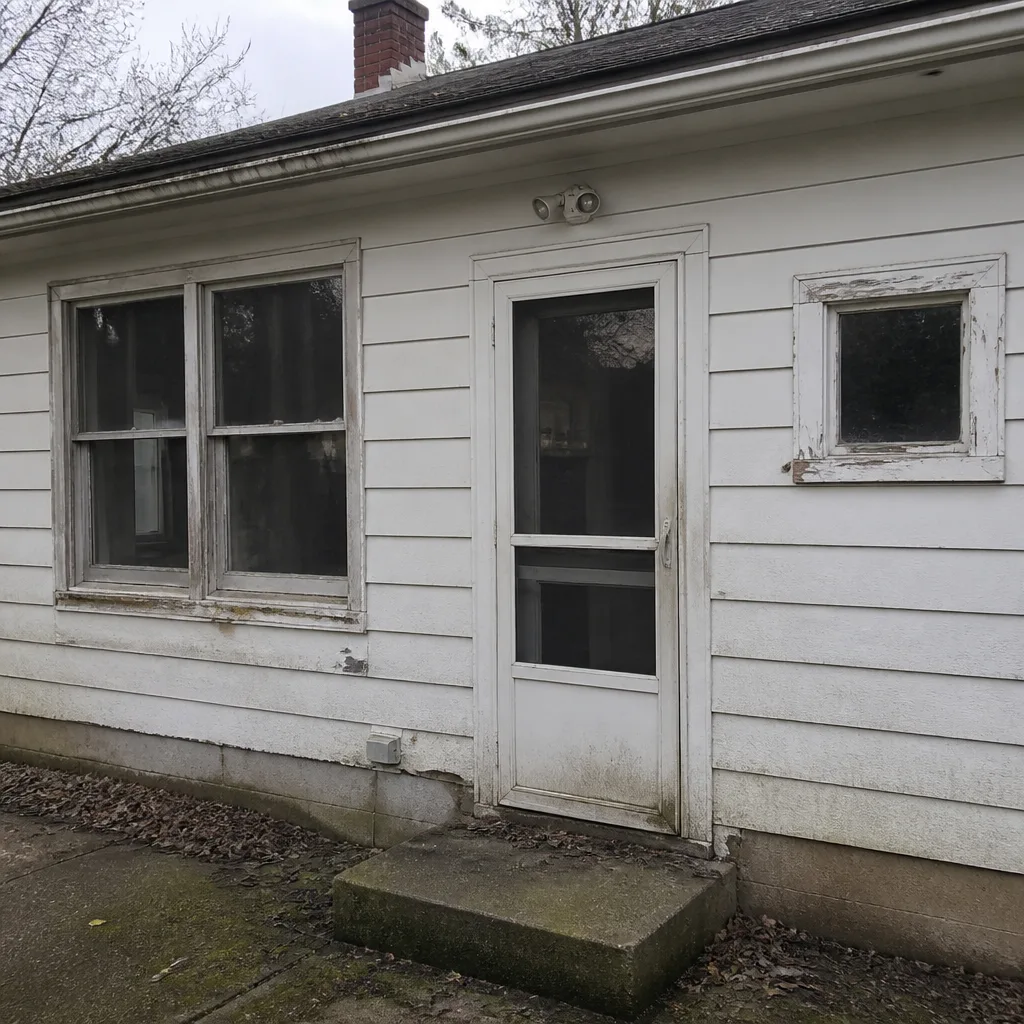 Before
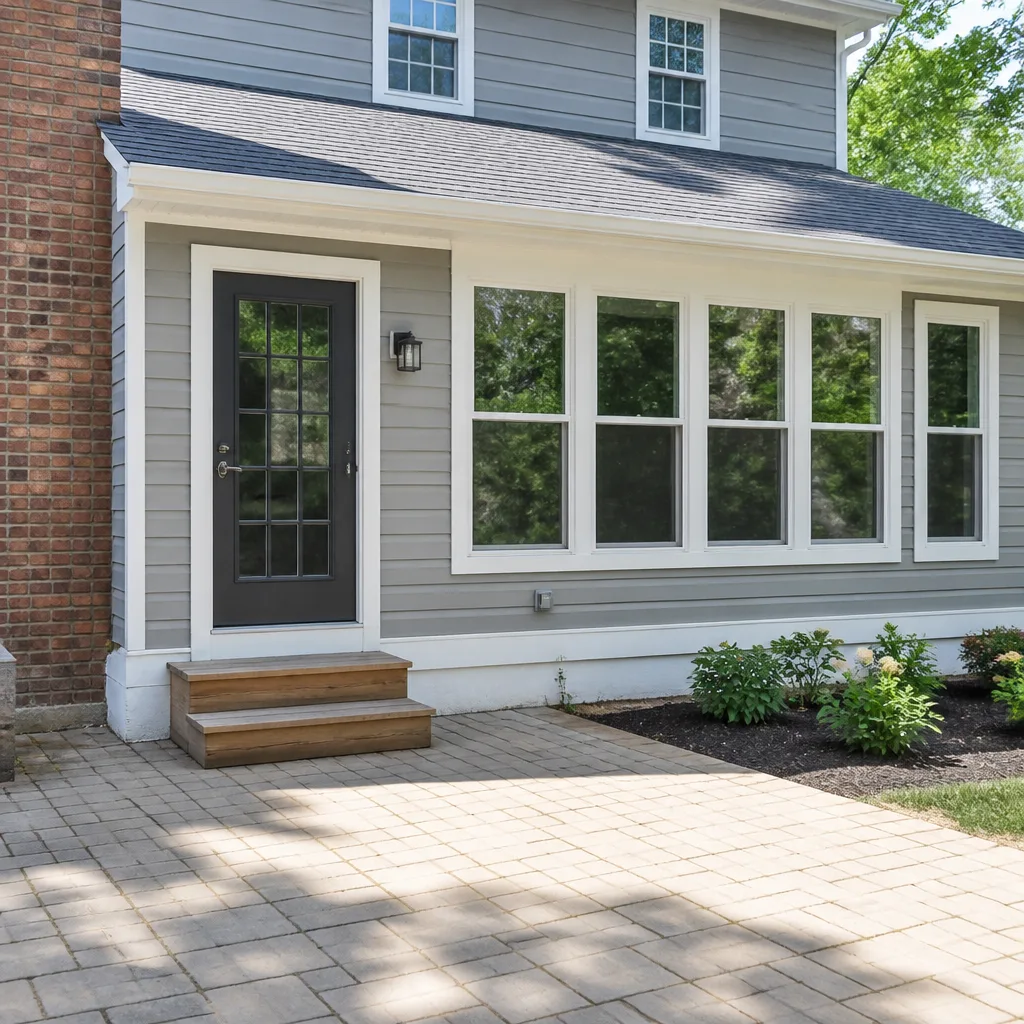 After
After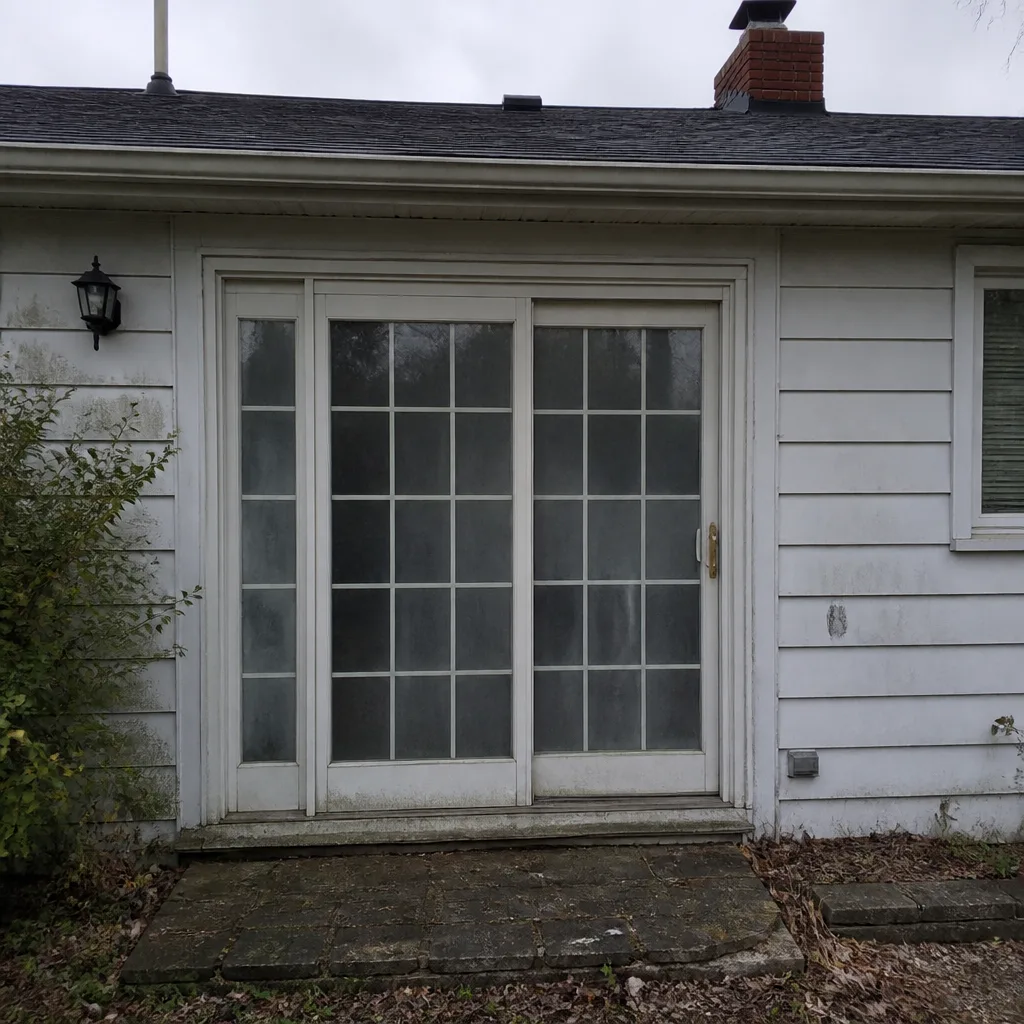 Before
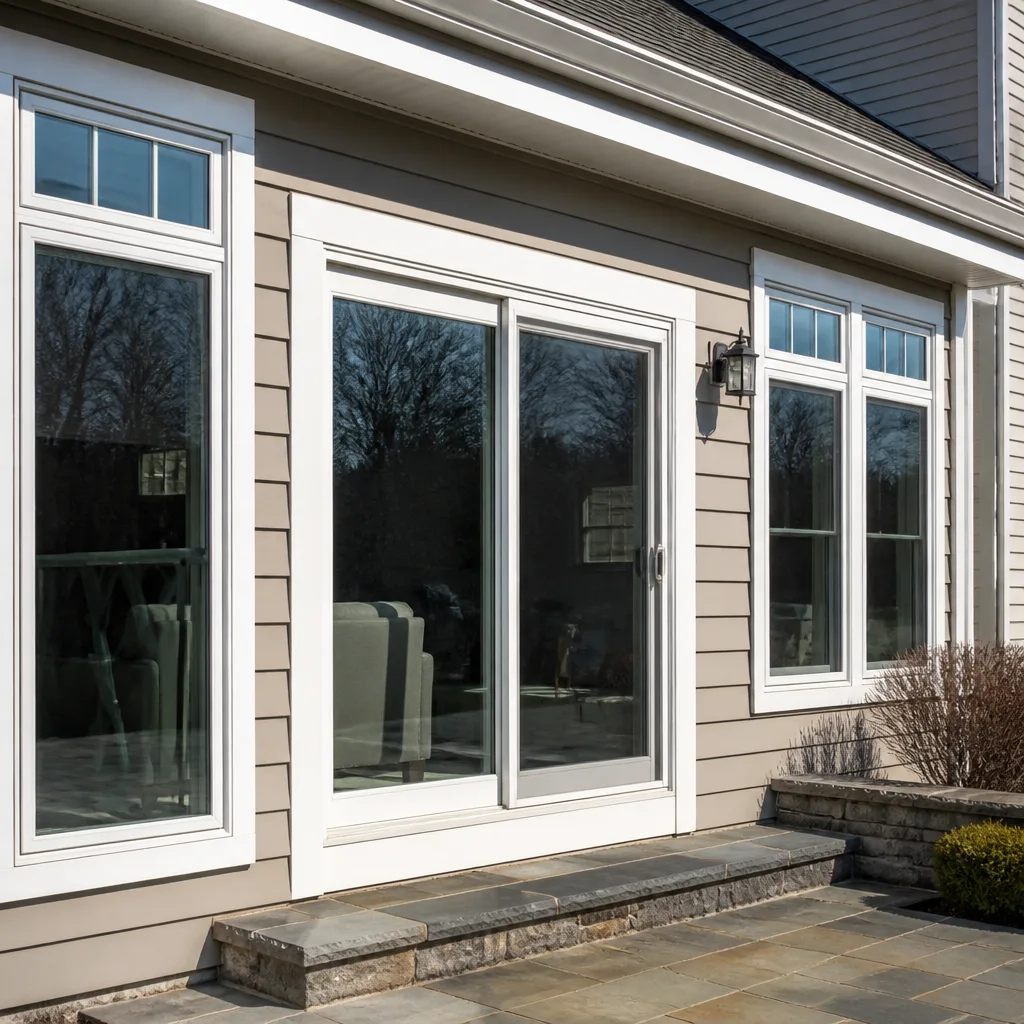 After
After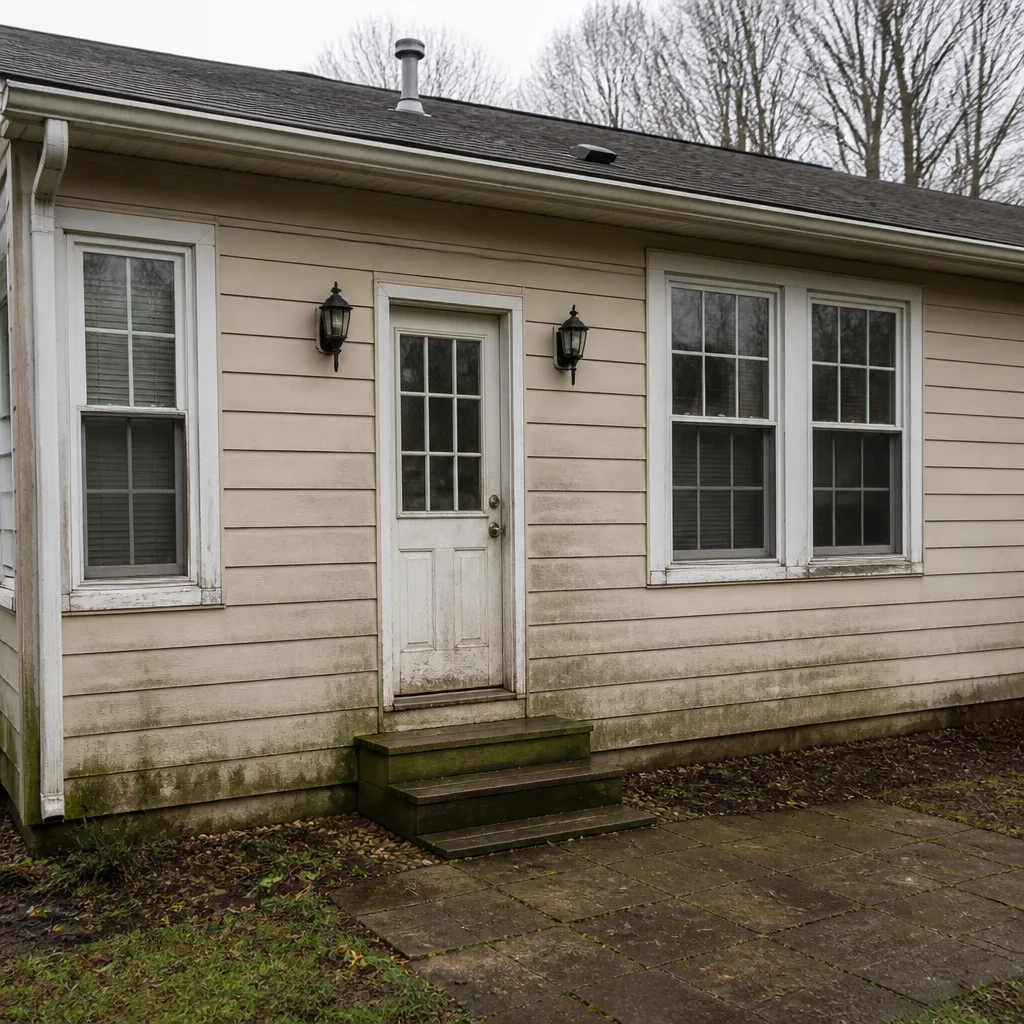 Before
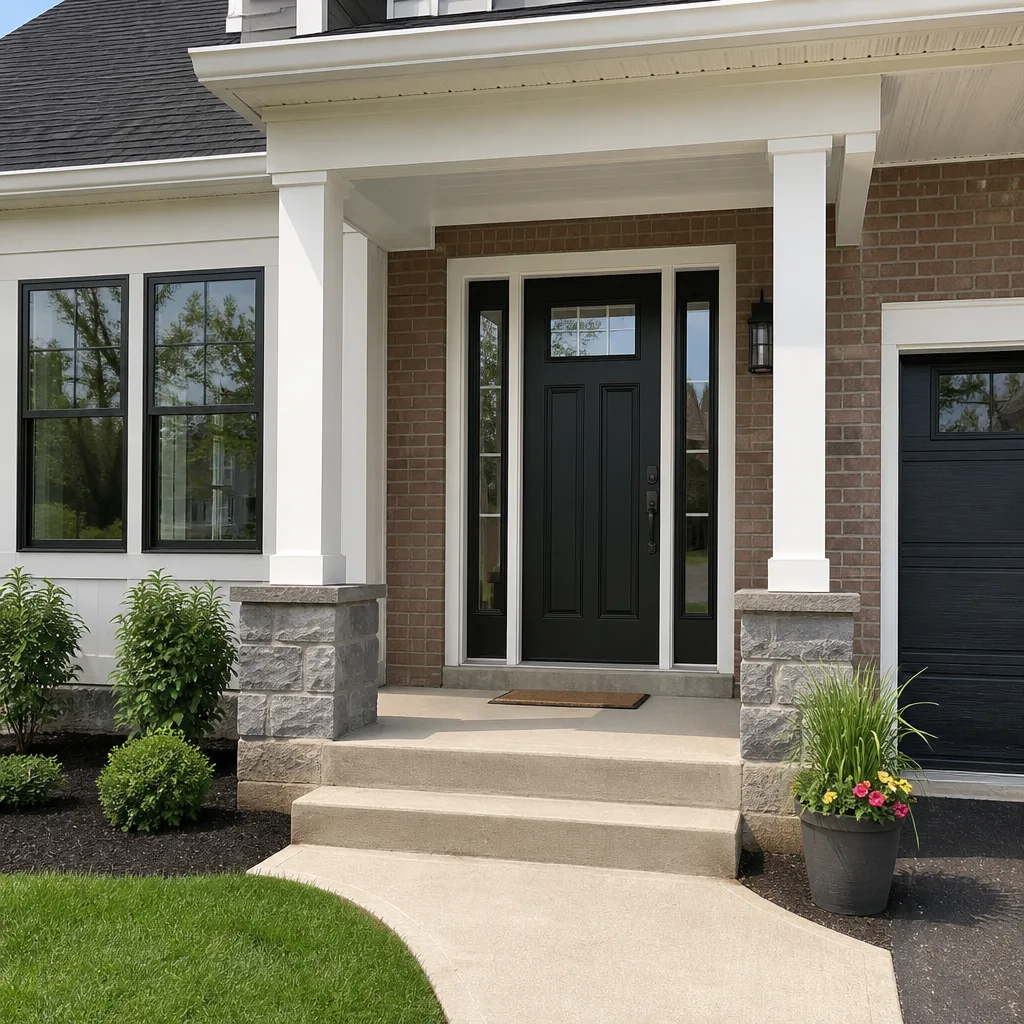 After
AfterDIY vs Professional Energy-Efficient Windows: What’s Safe to Do Yourself
You can buy a properly rated, low-e argon window at a supply house in Columbus. What you cannot do in most California jurisdictions is pull the permit for that replacement yourself. And an unpermitted window replacement is not legally complete, which means your homeowner’s insurance has grounds to question coverage on any related claim down the road. This guide walks through where the real DIY line sits, which tasks are genuinely safe for a careful homeowner, and which steps require a licensed contractor with documentation you can verify before the permit closes.
Quick Answer
Safe DIY work on energy-efficient windows is limited to interior trim, hardware replacement on existing frames, caulking visible gaps, and weatherstripping on non-impact doors. The actual window replacement, rough-opening air sealing, and Title 24 documentation should be handled by a licensed contractor. The performance of an energy-efficient window depends on factory-sealed IGU integrity and correct rough-opening sealing, neither of which a capable amateur can legally complete or verify in California.
Table of Contents
- Why the DIY Boundary Is Narrower Than Expected
- What a Homeowner Can Safely Do
- What You Cannot Legally Do
- Why Rough-Opening Air Sealing Is the Skill-Sensitive Step
- The Warranty Voiding Risk of DIY Installation
- How to Verify a Contractor’s NFRC and Title 24 Documentation
- DIY vs Professional Cost Comparison
- Common Mistakes to Avoid
- When to Call a Professional
- Frequently Asked Questions
- The Bottom Line
Why the DIY Boundary Is Narrower Than Expected
Most homeowners think of window replacement as a carpentry job: remove the old sash, set the new frame, nail it in, trim it out. That mental model is twenty years out of date. A modern energy-efficient window is a manufactured assembly, not a collection of parts you assemble on site. The insulated glass unit, the IGU, is sealed in a factory under controlled humidity, filled with argon or krypton gas, and rated by NFRC testing. The glass package is only as good as the frame it sits in and the opening it seals against.
In Columbus, where summer humidity pushes against window seals and winter freeze-thaw cycles test every joint, the failure points are rarely visible. Water vapor gets pulled into the wall cavity through small gaps in the rough opening. Condensation forms. Insulation gets wet and loses R-value. The window itself can be perfectly rated and still perform poorly because the air sealing behind the trim was done wrong. We have seen homeowners spend $800 per opening on premium Marvin or Pella windows and end up with higher heating bills because the rough opening was never properly sealed. The product was not the problem. The installation was.
California building code adds another layer. Title 24 energy standards require documentation that most homeowners have never heard of, let alone know how to file. The permit process is not a formality. It is the legal record that the work was done to code.
What a Homeowner Can Safely Do
There is genuine DIY work that saves money and does not compromise the window system. These tasks sit on the finished side of the wall, where mistakes are cosmetic or repairable without touching the structural seal.
Interior Trim and Casing Work
Replacing interior trim around an existing window is safe DIY territory. The trim is decorative. It covers the gap between the window frame and the drywall. You can pull old casing, cut new trim, and paint or stain it without affecting the window’s energy performance. The key is not to disturb the shims or any visible sealant behind the trim. If you see spray foam or caulk back there, leave it alone and work around it.
Hardware Replacement on Existing Frames
Locking mechanisms, crank handles on casement windows, sash lifts, and tilt latches wear out. Replacing them is a straightforward job that requires a screwdriver and the right replacement part. This work does not touch the IGU or the frame-to-opening seal. Order hardware by the window manufacturer’s part number, not by what looks similar. Milgard and Jeld-Wen hardware is not interchangeable, even when the windows look alike from across the room.
Weatherstripping on Non-Impact Doors
Door weatherstripping wears flat over time. Replacing it on a standard hinged entry door or sliding patio door is a safe, effective DIY project. The new weatherstripping compresses against the door when it closes, which restores the air seal. This works best when the door is properly aligned. If the door binds or the gap is uneven, the problem is alignment, not weatherstripping, and that is a different job.
Caulking Visible Gaps
Interior and exterior caulk lines around window trim and door frames crack as the house settles. Recaulking these visible joints is safe and worthwhile. Use a high-quality exterior-grade sealant on the outside and a paintable interior caulk inside. This is maintenance, not installation, and it extends the life of the existing seal.
These four areas represent the honest boundary of safe DIY work on energy-efficient windows. Everything beyond them touches the performance of the window system or the legal status of the work.
What You Cannot Legally Do
This is where the DIY vs Professional Window Installation conversation gets uncomfortable. In California, replacing a window is regulated work. The California Building Standards Code, Title 24, Part 2 contains the energy provisions. The enforcement happens through the local building department, and most California jurisdictions require a building permit for window replacement when the opening size changes or when the work affects structural or energy compliance.
The practical reality is that many California cities and counties require a licensed contractor to pull the permit for replacement windows. Homeowner permits are available in some jurisdictions for simple swaps, but the Title 24 energy documentation must still be completed and filed. That documentation includes:
- NFRC ratings for the specific window model being installed
- U-factor and Solar Heat Gain Coefficient values that meet the local climate zone requirements
- Verification that the installed window matches the approved plans
If you cannot produce that documentation for the permit close-out, the work is not legally complete. An unpermitted window replacement can surface during a home sale, a refinance appraisal, or an insurance claim. Insurance carriers have been known to deny claims for water damage or structural issues when the work that caused the problem was unpermitted. The savings from a DIY install can evaporate quickly.
Columbus homeowners face a similar patchwork of local enforcement. While Ohio building code requirements differ from California’s Title 24, many municipalities in the Columbus metro require permits for window replacement, especially when the rough opening is modified. The lesson is the same: know what your local building department requires before you start.
Why Rough-Opening Air Sealing Is the Skill-Sensitive Step
The rough opening is the framed hole in the wall where the window sits. The gap between the window frame and the rough opening is where air leakage happens. Sealing that gap correctly requires knowledge of the wall assembly, the window’s flange or insert design, and the drainage plane behind the siding.
A properly sealed rough opening includes, in this order:
- Backer rod or low-expansion foam installed at the correct depth
- Interior sealant applied after the foam cures
- Exterior flashing or sealant that sheds water to the drainage plane
- Weep holes left clear so any water that does get in can get out
Each step requires judgment. Too much foam and the frame bows, which binds the sash and breaks the seal. Too little foam and air moves through the gap. The wrong sealant against the wrong substrate fails within a season. We have corrected openings in Columbus where the homeowner used a full-expansion foam and the window frame bowed inward enough to crack the drywall inside and let the sash jam.
The energy cost of a poorly sealed rough opening is measurable. A 1/8-inch gap around the perimeter of a 3-foot by 5-foot window adds up to about 20 square inches of open area. That is the equivalent of leaving a small vent open to the outside all year. In a Columbus winter, that single opening can add $40 to $80 per season in heating costs, and that is one window. Multiply that by eight or twelve openings and the inefficiency compounds.
The right air sealing also protects the wall cavity from condensation. When warm interior air leaks into a cold wall cavity, the moisture in that air condenses on the back side of the sheathing. That moisture soaks insulation, rots framing, and invites mold. An energy-efficient window installed without proper air sealing accelerates this problem because the glass itself stays warmer, which masks the symptoms until the damage is well underway.
The Warranty Voiding Risk of DIY Installation
Manufacturer warranties on energy-efficient windows are explicit about installation. Read the fine print and you will find that the warranty coverage depends on the window being installed according to the manufacturer’s published installation instructions by a qualified installer.
Marvin, for example, states in its warranty documentation that installation defects are not covered. Pella requires that installation comply with its published installation guidelines and applicable building codes. Milgard’s full lifetime warranty is conditioned on proper installation and may require registration. Jeld-Wen’s limited warranty excludes damage caused by improper installation. None of these manufacturers will pay for a failed IGU if the failure traces back to a bowed frame, an overheated edge seal from site glazing, or a broken seal caused by racking the window into an out-of-square opening.
Here is the warranty risk in plain terms: if you install the window yourself and the seal fails in year three, you have no warranty claim against the manufacturer. The manufacturer’s position will be that the installation may have caused the failure. You are the installer. You have no one to blame and no one to collect from.
Some manufacturers go further and state that non-licensed installation voids the warranty. While the language varies by manufacturer and by product line, the pattern is consistent. The warranty is written to protect the manufacturer from paying for failures caused by poor installation. A homeowner has no way to prove their installation met the standard because there is no third-party documentation. A licensed contractor provides that documentation, which is what keeps the warranty intact.
This is where the Keystone Standard makes a practical difference. We register both manufacturer warranty layers in writing, with durations stated, before our truck leaves the driveway. When we install Pella or Milgard windows in Columbus, the warranty is active, documented, and enforceable from day one. That is the difference between a warranty that exists on paper and one that actually pays if something fails.
How to Verify a Contractor’s NFRC and Title 24 Documentation
If you hire a contractor, verify the paperwork before the permit closes. A reliable window contractor in Columbus will provide the following without being asked twice:
- NFRC labels for the specific window being installed. The National Fenestration Rating Council label lists the U-factor, Solar Heat Gain Coefficient, Visible Transmittance, and Air Leakage rating for that exact window model. The label should match the window specification in the quote.
- A completed Title 24 compliance form. In California, this is CF-1R or the equivalent documentation now filed through the energy code software. The form shows the window meets or exceeds the energy requirements for the climate zone where the house sits.
- A written statement of which warranty layers are registered. Both the manufacturer’s warranty and any workmanship warranty should be documented, with durations and registration numbers.
- A permit number from the local building department. The permit should cover window replacement specifically. Do not accept a vague “general building” permit description.
Before the final inspection, confirm that the installed windows match the approved documentation. The brand, model, glass package, and U-factor should all match. If the contractor says the documentation will be provided “at the end of the job,” ask for it before the permit close-out. Once the permit closes, correcting documentation errors becomes much harder.
DIY vs Professional Cost Comparison
The upfront cost difference is the reason many homeowners consider DIY. A mid-range energy-efficient window from Milgard or Jeld-Wen runs $350 to $700 per window at a Columbus supply house. Professional installation adds $150 to $400 per window depending on access, the condition of the rough opening, and whether trim work is included. For a ten-window replacement, the pro-installed cost might run $5,000 to $11,000, while the DIY materials cost might run $3,500 to $7,000.
That $1,500 to $4,000 savings starts to shrink when you account for:
- Permit fees and documentation services if you can obtain them at all
- Foam, flashing, sealant, shims, and other installation materials a contractor buys in bulk
- Disposal fees for old windows, which many homeowners forget
- Tool rental or purchase, including a brake for trim coil if exterior capping is needed
- The value of your time, which for a first-time installer runs 3 to 6 hours per window
- The risk of a failed window with no warranty coverage
When the warranty risk is priced honestly, the DIY savings often disappears entirely on the first seal failure. A replacement IGU for a premium window can cost $300 to $600 installed. If you pay for one failed IGU that a proper warranty would have covered, the entire DIY savings on a ten-window job is gone.
Common Mistakes to Avoid
- Foaming the entire rough-opening gap with expanding foam. Full-expansion window and door foam bows frames and binds sashes. Low-expansion foam, applied in stages, is what belongs in that gap. Homeowners in Columbus regularly call us to fix windows that will not open after a weekend foam job.
- Reusing old flashing. Old flashing tape and drip caps are the primary defense against water intrusion. Reusing them on a new window transfers yesterday’s problem onto tomorrow’s install.
- Ordering windows from online retailers without verifying local code compliance. A window that meets the federal ENERGY STAR label may still fail California Title 24 or Ohio’s energy code requirements for the specific climate zone. The unit needs to match the local rules, not just the national sticker.
- Ignoring the rough-opening reveal. Windows need a specific gap between the frame and the rough opening to allow for expansion, contraction, and proper shimming. Cramming a too-large window into an opening destroys the seal.
- Skipping the permit because “it’s just a swap.” In many jurisdictions, even same-size replacements require a permit and energy documentation. The penalty for skipping it shows up at resale or at claim time.
- Not registering the manufacturer warranty. Some manufacturers require registration within a specific window of time after installation. Homeowners who DIY the install often forget this step entirely, voiding coverage they never knew existed.
- Choosing based on the glass alone. A low-e argon IGU is one component. The frame material, the spacer system, and the installation method all determine real-world performance. A high-rated glass unit in a low-quality frame is not the same window.
When to Call a Professional
Call a professional when the job involves removing an existing window from its rough opening, modifying the opening size, installing impact-rated products, or any window above the first floor where ladder work is required. Also call when the house is old enough that the rough opening will not be square, which describes most Columbus homes built before 1985. A professional measures, shims, and seals the opening so the window operates properly and the warranty stays valid.
TruePane Windows & Doors home offers free estimates in Columbus. We are a Window Installation in Parkway company that also handles Door Installation in Parkway and Window Replacement in Parkway. Call (888) 635-0804 and a live person answers, day or night.
Frequently Asked Questions
You can physically install them, but you may not be able to legally complete the work. Many Columbus-area municipalities require a permit for window replacement, and some require a licensed contractor to pull that permit. Before you buy a single window, call your local building department and ask what documentation they require.
Unpermitted window work can surface during a home sale, a refinance appraisal, or an insurance claim after water damage or a storm. The buyer’s inspector may flag it, the appraiser may note it, or the insurance adjuster may use it to deny a claim. At that point, the work must be inspected and possibly corrected, which costs more than the original permit would have.
Most major manufacturers, including Pella, Marvin, Milgard, and Jeld-Wen, condition their warranty on proper installation according to published guidelines. Some explicitly require a qualified or licensed installer. A failed seal on a DIY-installed window is typically not covered because the manufacturer cannot verify the installation was correct.
A mid-range energy-efficient window installed by a contractor in Columbus typically runs $500 to $1,100 per window depending on glass package, frame material, and opening condition. Premium lines from Marvin or Pella push toward the higher end. TruePane Windows & Doors provides written, line-item quotes so the price is visible before work begins. Call (888) 635-0804 for a free estimate.
Title 24 is part of the California Building Standards Code that sets energy efficiency requirements for buildings, including windows. It requires specific U-factor and Solar Heat Gain Coefficient values based on climate zone, and it requires documentation proving the installed windows meet those values. Most homeowners cannot produce that documentation without professional help.
A straightforward same-size replacement takes 2 to 4 hours per window for a two-person crew. A full house of ten to twelve windows is typically completed in one to two days. TruePane Windows & Doors completes most jobs in a single visit, with background-checked, uniformed technicians measuring twice and registering both warranty layers before leaving.
The Bottom Line
The DIY window boundary is real but narrow. You can replace interior trim, swap hardware, recaulk visible gaps, and replace weatherstripping without touching the window system. You cannot safely remove and reset an energy-efficient window, seal the rough opening correctly, or document the work for code compliance. The savings from DIY disappear the first time a seal fails with no warranty to cover it. For more guides & resources on window installation, visit our blog. In Columbus, where seasonal temperature swings test every window seal, the math favors hiring a company that stands behind the work in writing.
Written by Dale Kessler, Owner at TruePane Windows & Doors, serving Columbus since 2008.