
Last updated August 27, 2026
Free in-home measure and quote - PGT, CGI and CWS impact lines compared on your actual openings, style by style
Sliding glass doors
Impact garage doorsPGTCGI
 Before
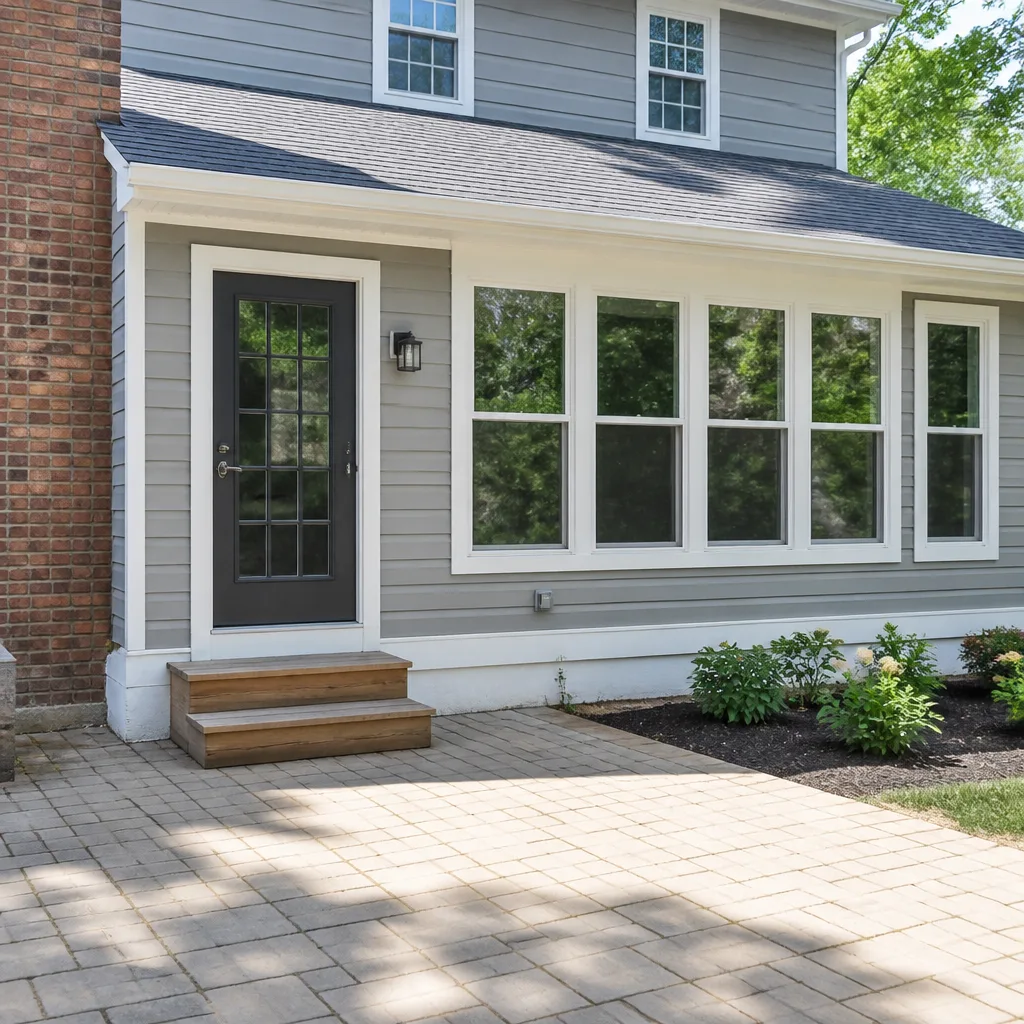 After
After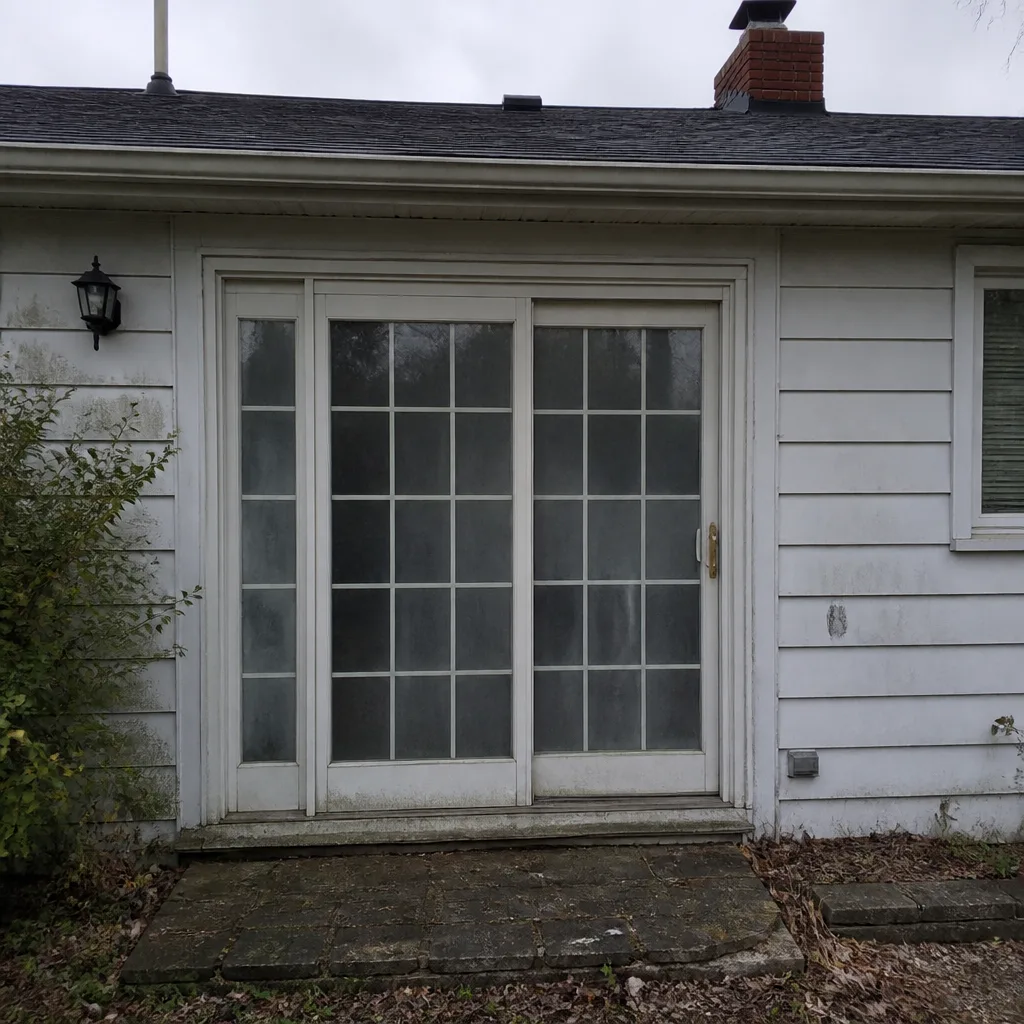 Before
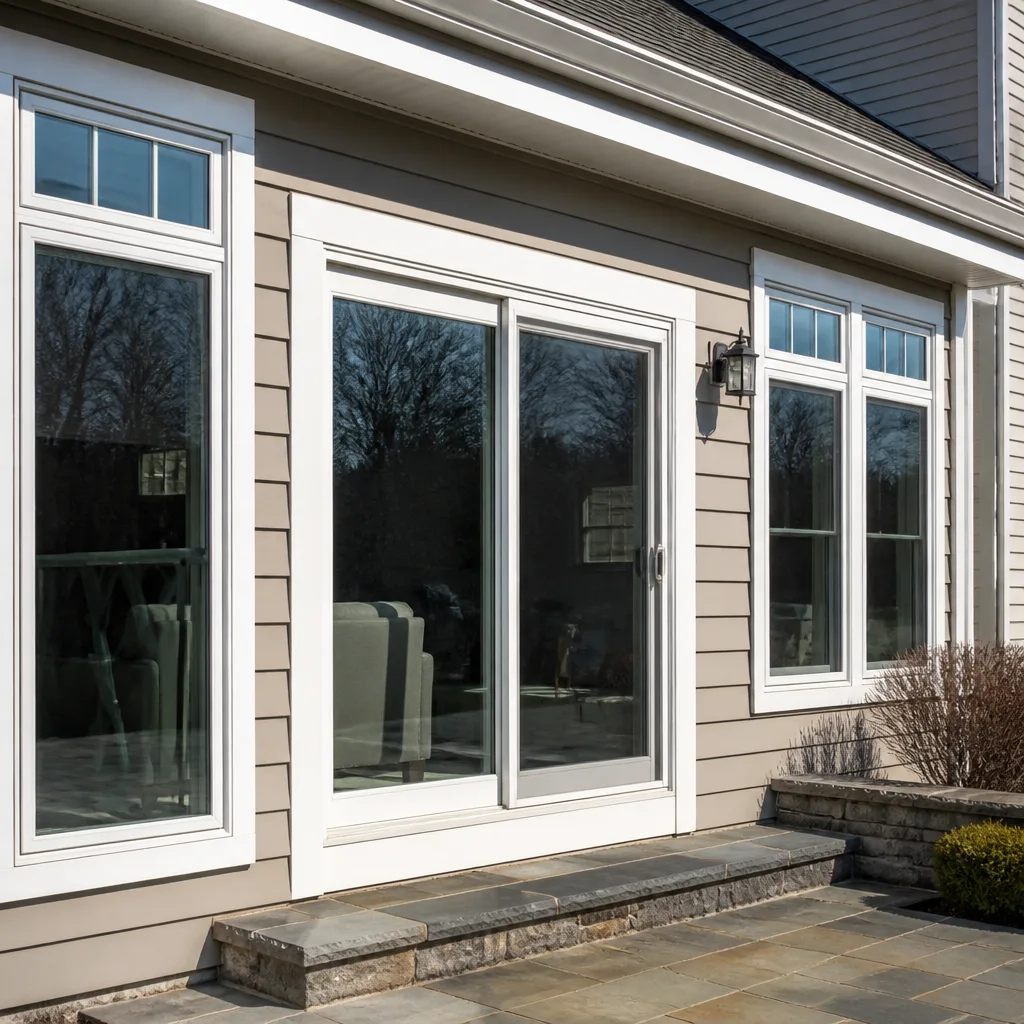 After
After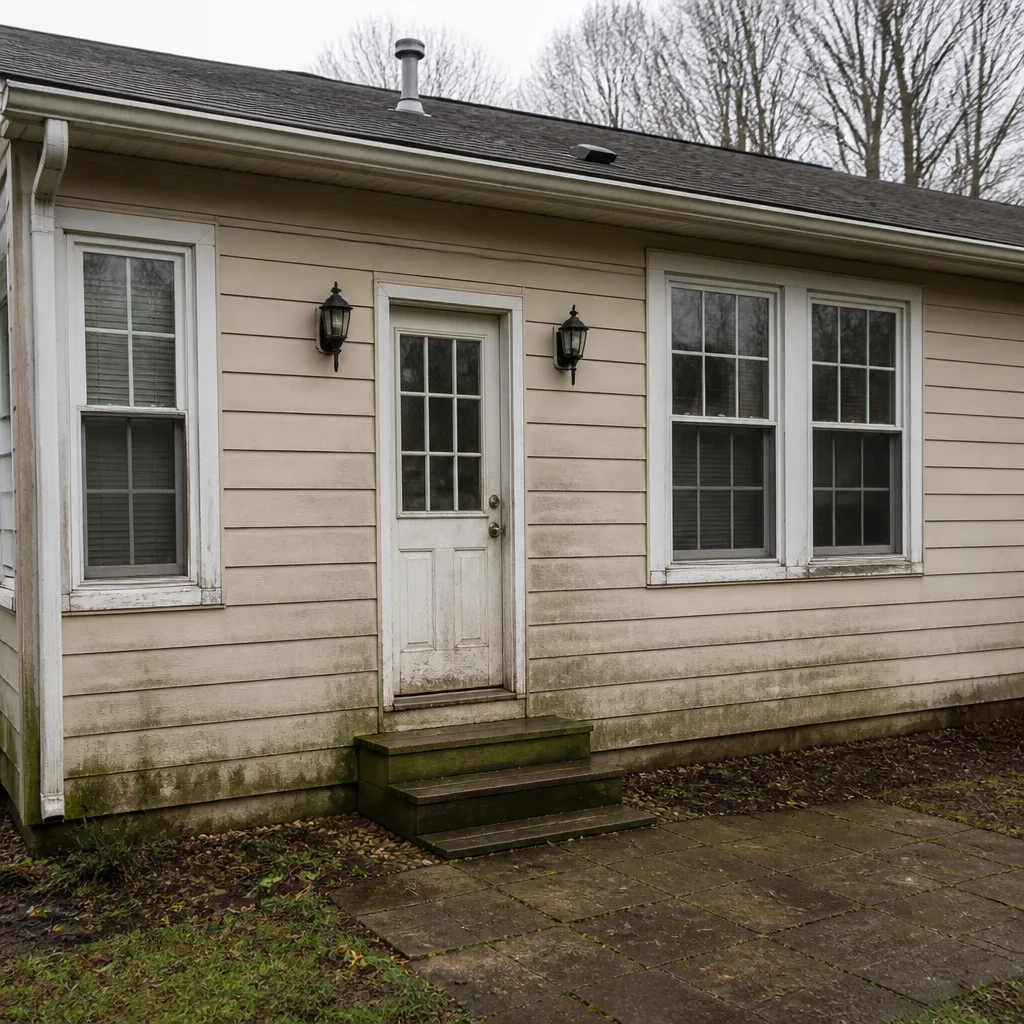 Before
 After
AfterDoor Installation Troubleshooting: Common Problems and How to Fix Them
A door that swings open by itself on a calm day is not a haunted house problem. It is a plumb problem. The hinge side of the frame is out of vertical, and gravity is doing exactly what physics requires. Knowing that means you do not buy new hardware, you do not adjust the strike, and you do not call anyone until you have checked the hinge jamb with a level. This guide walks through the five most common door problems we see in Columbus homes, maps each symptom back to its actual mechanical source, and gives you the diagnostic sequence an experienced installer uses before touching anything. For professional help, explore our Door Installation services.
Quick Answer
Most door installation problems trace back to one of five sources: hinge sag, a frame that is not plumb or square, a threshold set at the wrong height, weatherstripping that was compressed or misaligned during install, or a slab that was hung before the rough opening was corrected. The fix is rarely at the point of the symptom. You find the true cause by isolating variables in sequence: check hinge screws first, then frame level, then clearance, then seal. If the door was installed recently and the problem was present from day one, it is an installation error. If it developed over years, it is usually settling or seasonal movement.
Table of Contents
- The Cause Map: Five Symptoms, Five Real Sources
- The Hinge-Tightening Diagnostic: Eliminate Sag Before Anything Else
- Settling vs. Installation Error: How to Tell the Difference
- Strike Plate Adjustment vs. Frame Adjustment: When Each Is Correct
- Dragging at the Threshold: Height, Humidity, and Hard Fixes
- Daylight Gaps and Air Leaks: Weatherstripping the Right Way
- Condensation at the Frame: When Water Is Not a Leak
- How to Document a Door Problem for a Warranty Claim
The Cause Map: Five Symptoms, Five Real Sources
Every door problem we see in Columbus falls into one of five symptom patterns. Each pattern points to a specific mechanical source. Here is the map we use on service calls, and the one you can use before you spend money on parts or labor.
Symptom 1: Door swings open or closed on its own
Real source: the hinge jamb is out of plumb. Gravity pulls the door toward the low side of the frame. If the hinge side leans slightly toward the latch side, the door drifts open. If it leans away, the door drifts shut. The fix is to bring the hinge jamb back to vertical, either by shimming behind the hinge leaf or by adjusting the frame in the rough opening. New hinges, new springs, new closers do nothing here.
Symptom 2: Door drags or rubs at the top or latch edge
Real source: hinge sag or a frame that has shifted out of square. When hinge screws loosen, the slab drops at the latch corner and rubs at the top of the latch edge. When the frame itself has racked, the slab binds at the top on one side and the bottom on the other. You can tell the difference by tightening the screws first. If the problem disappears, it was sag. If not, the frame has moved.
Symptom 3: Latch does not catch or requires slamming to latch
Real source: strike plate misalignment caused by one of the two conditions above. The strike plate did not move. The door moved away from the strike plate. This is why filing the strike or bending the tab treats the symptom while the door continues to sag or the frame continues to rack. Fix the door position first, then check whether the strike still needs adjustment.
Symptom 4: Daylight visible around the door edges
Real source: weatherstripping compressed, misaligned, or sized wrong for the slab thickness. If the door slab was hung without accounting for the reveal on all four sides, the weatherstripping cannot do its job. Some installers fix the gap by adding a second layer of weatherstripping. That is a bandage over a frame or slab problem. The reveal should be even, and the weatherstripping should touch the slab with light, even pressure all the way around.
Symptom 5: Condensation or frost on the frame interior
Real source: thermal bridging through an uninsulated frame, or a missing thermal break in the sill. This is common in older Columbus homes where original wood frames were replaced with metal or thin-profile frames without sealing the rough opening. Warm interior air hits the cold frame surface and drops moisture. The fix is insulation, sealing, and in some cases a sill with a proper thermal break. It is rarely the door slab itself.
The Hinge-Tightening Diagnostic: Eliminate Sag Before Anything Else
We start every troubleshooting call the same way, and you should too. Hinge sag is the most common door problem, and it is the easiest variable to eliminate. If you skip this step, you will chase symptoms through every other adjustment and end up right back here.
- Open the door and lift the latch edge. With the door open about 45 degrees, grab the latch edge with both hands and lift. If you feel movement, even a fraction of an inch, the hinge screws are loose or the hinge leaves are bending. If there is no movement, sag is not your problem and you can move to frame level.
- Inspect every hinge screw with a screwdriver, not a drill. Start at the top hinge on the jamb side. Turn each screw clockwise until it stops. Do not over-torque. Repeat on the slab side, then the middle hinge, then the bottom. In Columbus, seasonal humidity cycles loosen screws over time. Wood expands in summer, contracts in winter, and screws slowly back out.
- Replace any screw that spins without tightening. If a screw turns and turns without biting, the wood around it is stripped. This is not a signal to add glue or toothpicks. It means the door has been sagging for years and the hole is wallowed out. Remove the screw, measure its length, and replace it with a screw at least 1-1/4 inches longer so it reaches fresh wood behind the jamb. Do this on every stripped hole.
- Check for hinge leaf play. With the screws tight, open the door slowly while watching the hinge knuckles. If the leaves flex or the knuckles have visible gaps that change as the door moves, the hinge itself is worn. Replace the hinge with the same size and gauge. Swapping one hinge for a thinner-gauge replacement will bring the problem back in a year.
- Close the door and check the reveal. The gap between the door edge and the frame should be even on all three unhinged sides. If the gap narrows at the top latch corner after tightening, the hinge needed those screws. If the gap is still uneven, the frame position is the next variable.
What specific screw conditions tell us about the door’s history: a stripped top-hinge screw on the jamb side almost always means the door has been sagging for long enough to oval the hole. A screw that is snug but shows rust at the head means condensation has been reaching the metal. A screw that is tighter than expected but the door still sags means someone already tried this fix and the problem is elsewhere. In our experience serving Columbus homeowners, doors in older neighborhoods like Clintonville and German Village show screw stripping earlier because the original wood jambs are softer and the seasonal movement is more pronounced.
Settling vs. Installation Error: How to Tell the Difference
The most useful question in door troubleshooting is: when did this start? The answer tells you whether you are dealing with a house that moved or a door that was never hung right.
Signs of installation error
- The problem was present within the first week of installation and has not changed character since.
- The reveal is uneven at the time of install and stays uneven year-round.
- The frame was not shimmed behind the hinges, so the jamb flexes visibly when the door opens.
- The threshold was set to the wrong height and the door has never cleared it without scraping.
- The door slab was ordered or installed with the wrong handing, and the fix involved moving hinges rather than ordering the correct slab.
Signs of settling or seasonal movement
- The problem developed gradually over years, not weeks.
- It is worse in humid months and improves in dry months. Columbus sees this pattern clearly: doors rub in July and August, then free up by December.
- The frame has hairline cracks in the drywall corners above the door, indicating the rough opening shifted.
- The problem is consistent with foundation movement in the home’s footprint, not just in the door.
- The hinges were tight and the reveal was even for years before the rubbing began.
The distinction matters because the fixes are different. An installation error is corrected by re-hanging the door properly: pulling the casing, re-shimming the frame, adjusting the threshold, and resetting the slab. A settling problem may require the same steps plus addressing the underlying movement, or it may be a simple maintenance visit. If you are unsure which you have, document the problem with measurements over a few weeks. If the reveal changes with the weather, that is movement. If it does not change but is wrong, that is the install.
A note on home age and frame condition. Columbus homes built before 1970 often have rough openings that are not perfectly square by modern standards. A competent installer accounts for this with shims and frame adjustment. If the original installer did not, the door will show problems from day one and every seasonal cycle will make them worse.
Strike Plate Adjustment vs. Frame Adjustment: When Each Is Correct
The strike plate is the most convenient place to fix a latch problem, which is why it gets adjusted when it should not be. Here is how to decide.
Adjust the strike plate when: the door slab is level, the reveal is even, the hinges are tight, and the latch still misses the strike by a small amount. In this case, the plate was not positioned correctly at install. The correction is to move the plate up or down by the amount the latch misses, fill the old screw holes with a hardwood dowel, and remount the plate so the latch centers in the opening. This is a surface correction on an otherwise correct frame.
Adjust the frame when: the latch misses because the door is not hanging where it was designed to hang. That means hinge sag, a racked frame, or a slab that was hung before the jamb was plumbed. Moving the strike plate in this situation makes the door latch, but it does nothing for the underlying problem. The door will continue to sag or rack, and in six months the strike will be misaligned again, only worse. Worse still, the original misalignment is now masked, so the next person to work on the door has a harder diagnosis.
The test we use: close the door and look at the gap between the latch and the strike opening. If the latch is slightly high or low but the rest of the reveal is even, adjust the strike. If the latch is drifting further out of position over time, or if the reveal is clearly uneven, fix the frame first. Adjusting the strike on a moving door is like leveling a picture on a wall that is leaning. It looks right for a while and then it is wrong again, and you have drilled new holes for nothing.
In practice, many Columbus doors need both. The door sags, the strike is adjusted to keep it latching, the sag continues, and by the time we see it, the strike plate has been relocated twice and the jamb has extra holes behind the plate. At that point the right fix is to restore the door position, patch the jamb cleanly, and mount the strike one final time in the correct location. That is a standard part of our door installation work in Columbus, and it is often the difference between a door that works for two months and one that works for twenty years. Learn to spot issues early with our guide to Door Installation Warning Signs Every Homeowner Should Know.
Dragging at the Threshold: Height, Humidity, and Hard Fixes
A door that drags across the threshold usually means one of three things: the threshold is set too high, the slab has dropped at the latch edge, or the threshold has warped from moisture. The correct fix depends on which one.
Diagnosing threshold drag
- Close the door and look at the gap under the slab. If the gap is uneven, tighter at the latch edge than the hinge edge, the slab is sagging. Tighten the hinges first. If the gap is even but the door still drags, the threshold is too high.
- Run a card under the door along the threshold. If the card stops at a consistent point across the width, the threshold has a high spot. If the card stops at different points depending on season, the threshold is swelling and shrinking with moisture.
- Inspect the threshold from the exterior. Look for gaps where the threshold meets the jamb, or caulk that has separated. In Columbus, freeze-thaw cycles open these gaps, water gets under the threshold, and the threshold swells and binds the door.
The fixes, in order of invasiveness
- Tighten the hinges. If sag is the cause, this clears the drag in five minutes.
- Adjust threshold height. Most modern aluminum or composite thresholds have screws hidden under a cap that allow the threshold to be raised or lowered slightly. Lower it enough to clear the slab, but not so far that the weatherstripping under the door loses contact.
- Remove and reset the threshold. If the threshold was never leveled or was set on debris, it needs to come out, the sill pan inspected and cleaned, and the threshold re-bedded level with proper sealant. This is a two-hour job with the right tools and a ten-minute job to screw up if you rush it.
- Replace the threshold cap. If the threshold is warped from years of moisture, the cap itself needs replacement. Most manufacturers sell replacement caps, and the job does not require removing the door. In Columbus, we recommend a thermal-break threshold cap for exterior doors to reduce condensation and frost at the sill, which is a common complaint in older homes.
If the drag is seasonal, appearing in summer and disappearing in winter, the door is absorbing humidity. A door that has never been sealed on the top and bottom edges will take on moisture and expand. Sealing these edges, reapplying finish, and maintaining consistent interior humidity are the long-term fixes. We have seen Columbus homes where a door dragged every July for twenty years, and the owners simply learned to live with it until the finish finally failed and the slab had to be replaced.
Daylight Gaps and Air Leaks: Weatherstripping the Right Way
If you can see daylight around a closed exterior door, you can feel the air moving and your heating bill has been paying for it. The fix is not always new weatherstripping. Often the weatherstripping is being blamed for a problem the frame created.
Weatherstripping works when three things are true: the reveal is even, the weatherstripping is the correct profile for the slab and frame combination, and the weatherstripping makes continuous contact with the slab without being crushed. When one of those fails, you get daylight.
Even reveal. The gap between slab and frame should be uniform on all three unhinged sides. If the door sags or the frame is racked, the gap varies and the weatherstripping cannot compress evenly. The gaps you see may not be where the problem is. A gap at the top latch corner is usually a sag problem at the hinge side. Fix the door position, then assess the seal.
Correct profile. Kerf-mount, compression, magnetic, bulb, and fin seals are different products for different applications. A kerf-mount seal pressed into a saw kerf in the stop works for most residential slab doors. A bulb seal on an aluminum threshold seals the bottom. Mixing profiles or using a universal fit product usually leaves a gap somewhere. We see this constantly in Columbus when a homeowner replaces weatherstripping with whatever the hardware store had in stock, and then the door leaks more than before.
Contact without crushing. Weatherstripping should touch the slab with light, even pressure. If it is crushed flat, it has been over-compressed and lost its recovery. If it barely touches, it is not sealing. Both conditions create leaks. The test is to close the door on a dollar bill at several points around the frame. The bill should drag slightly when you pull it out. If it falls out freely, the seal has failed at that point.
Replacement is straightforward when the reveal is correct: remove the old seal, clean the surface, install the new seal in continuous lengths, and miter corners rather than butt-jointing them. But if the reveal is not correct, new weatherstripping will not fix the leak. We regularly re-hang doors in Columbus where the owner replaced weatherstripping twice before calling us, and the real problem was hinge sag that had been there for a decade.
Condensation at the Frame: When Water Is Not a Leak
Moisture on the interior frame of an exterior door is one of the most misdiagnosed problems we see in Columbus. It gets reported as a leak, a faulty install, or a failed weather seal. Most of the time it is none of those. It is condensation caused by thermal bridging.
Here is what happens. In winter, the frame conducts cold from outside to inside. The interior surface of the frame drops below the dew point of the indoor air. The moisture in the warm indoor air condenses on the cold frame. In Columbus, where January temperatures routinely drop into the teens and homes are heated to 68 degrees or higher, the temperature spread across an exterior door frame can be 50 degrees or more. If the frame is aluminum or thin steel without a thermal break, condensation is almost guaranteed.
The fix is not caulk. Caulk seals air gaps. Condensation is not an air gap. The fix is to interrupt the thermal bridge:
- Insulate the rough opening. The gap between the rough framing and the door jamb is often empty or packed with fiberglass that has settled. Low-expansion foam insulation fills the void and slows heat transfer through the frame.
- Verify the thermal break. Quality exterior doors have a thermal break in the frame and sill. If the door was installed without one, or if the break is damaged, condensation will persist regardless of interior humidity.
- Control interior humidity. If the home is humid in winter, condensation forms more easily. A dehumidifier or ventilating exhaust fans can reduce the moisture load. But this treats the condition, not the cause, if the frame is uninsulated.
- Check the sill pan. Water that pools under the threshold from exterior rain or snowmelt stays cold and conducts that cold into the frame. A proper sill pan under the threshold drains water out and keeps the frame warmer.
In our experience, condensation at the frame is most common in Columbus homes built during the 1960s and 1970s, when exterior doors were often installed with minimal insulation and aluminum frames without thermal breaks. The long-term solution is replacement with a properly insulated, thermally broken door system, which we do regularly for homeowners throughout Columbus. For related maintenance tips, see our Energy-Efficient Windows Maintenance Schedule: What to Do and When.
How to Document a Door Problem for a Warranty Claim
Most warranty claims get denied or delayed because the homeowner sends a vague description and no evidence. A few sentences and a blurry photo do not give the manufacturer or installer anything to work with. Here is what gets a claim taken seriously, based on what we prepare for our own customers when a door has an issue.
Photographs to take
- The full door from the interior, square to the door. This establishes the overall condition and the type of door.
- The reveal at each of the three unhinged edges. Use a wide shot that shows the top, latch, and bottom gaps in one frame if possible. A tight photo of a single gap tells the manufacturer nothing about the rest of the door.
- The hinge area, top hinge first. Show hinge leaves, screws, and any gap between leaf and jamb. If a screw is stripped, pull it out and photograph it next to a ruler.
- The threshold from the exterior and interior. Show any separation at the ends, any warping, and any daylight under the slab.
- The weatherstripping in place and removed. If the seal is compressed, show it next to a new section of the same profile.
Measurements to record
- The gap at the top, latch, and bottom edges, measured in sixteenths of an inch, at three points per edge.
- The door slab dimensions and thickness.
- The frame dimensions, both exterior and interior, at the top, middle, and bottom.
- The level condition of the hinge jamb, the latch jamb, and the head, recorded as degrees or inches out of level.
- The date the problem was first noticed and whether it has changed since.
Written description that gets a response
State the problem in one sentence. Then state what you have already checked in one short list. Then state what you need. Example: “The door drags at the threshold latch corner. I tightened all hinge screws and the drag improved slightly but did not resolve. The reveal at the latch edge tapers from 3/16 inch at the bottom to 1/16 inch at the top. Daytime interior temperature is 68 degrees; the problem has been present since installation in March and does not change with the seasons. Please advise whether this is covered under the workmanship warranty and what documentation you need from me to proceed.”
That description gives the manufacturer everything they need to make a decision. Vague complaints get routed to a customer service queue. Specific documentation goes to a technical review. That is the difference between a claim resolved in a week and one that dies in an email thread.
If any of this feels like more than you want to take on, that is what we are here for. Our Door Installation in Parkway and throughout Columbus comes with The Keystone Standard: both warranty layers registered in writing before the truck leaves the driveway, so you never have to argue about coverage.
Common Mistakes to Avoid
- Adjusting the strike plate before checking the hinges. The strike plate did not move. Adjusting it first masks the real problem and puts extra holes in the jamb. Always tighten hinges before touching the strike.
- Adding weatherstripping over old weatherstripping. Layered seals compress unevenly, create gaps, and make the door bind. Remove the old seal and install a single correct profile.
- Shimming the threshold with cardboard or folded paper. This absorbs moisture, rots, and moves. Threshold adjustments need proper shims or the manufacturer’s adjustment mechanism.
- Planing the door edge before checking frame level. We see this in Columbus regularly. The door rubs, the owner planes the edge, the problem returns, and now the slab is undersized. Find the cause before cutting anything.
- Overscrewing the hinges. A drill set to high torque can strip a jamb in one second. Hand-tighten until the screw stops, then a quarter turn more if needed. If the screw spins, the hole was already stripped.
- Repainting a door without removing it from the hinges. Paint bridges the gap between slab and frame, seals the weatherstripping to the wood, and peels away leaving gaps when the door is opened. Remove the door or mask the reveal carefully.
- Ignoring seasonal patterns. A door that only drags in July is not a broken door. It is a humidity problem. Document the pattern before hiring anyone or buying parts.
When to Call a Professional
Call a professional when the frame is out of plumb or square, when the threshold needs to be pulled and reset, when the problem is present from week one and the installer is not responding, or when you have tried the hinge fix and the problem persists. These are not handyman-level corrections. A door that is re-hung correctly will work for decades. A door that is patched will work for months. TruePane Windows & Doors offers free estimates in Columbus. Call (888) 635-0804 and a live person answers, 24 hours a day, 7 days a week.
Frequently Asked Questions
A door that swings open on its own has a hinge jamb that is out of plumb. The hinge side of the frame leans toward the latch side, and gravity pulls the door open. The fix is to bring the jamb back to vertical with shims, not to replace hinges or adjust the strike.
A basic hinge tightening and strike adjustment typically runs $85 to $175 in Columbus, while re-hanging a door with frame shimming and weatherstripping replacement runs $250 to $500 depending on the frame condition. If the threshold needs replacement, add $150 to $350 for the part and labor.
You can fix hinge sag and minor threshold height issues with basic tools. If the frame is out of plumb or the threshold has warped, the job requires removing casing, re-shimming the frame, or pulling the threshold, which is professional work. Tighten the hinges first and reassess before doing anything else.
Usually not. Condensation on the interior frame is thermal bridging, where the frame conducts cold from outside and interior moisture condenses on the surface. A leak would show water running down the wall or pooling at the base. Check for air gaps before assuming a leak, and insulate the rough opening if the frame is uninsulated.
It should not if the contractor did a proper diagnosis before quoting. We have seen Columbus homeowners get lowballed on a door repair and then hit with a change order for frame work that was obvious from the start. Get a line-item quote and make sure it states what happens if hidden damage is found. We quote the job in writing before work begins, and we do not add surprise line items on the bill.
For a straight door replacement in an existing opening, Columbus typically does not require a permit. If the rough opening changes size or structural framing is involved, a permit may be required. We handle the determination on every job and make sure the work complies with local requirements. For more on our door work, see our Door Installation in Parkway page, and for window service, Window Installation in Parkway and Window Replacement in Parkway.
The Bottom Line
Most door problems in Columbus have a fixed mechanical source: sagging hinges, an out-of-plumb frame, a threshold set wrong, or weatherstripping that never sealed. The symptom is rarely the cause. Find the cause first, fix it completely, and the symptom disappears permanently. If the door was wrong from the first week, it is an installation problem and the installer should make it right. If it is a problem that arrived gradually with the seasons, it is a settling or humidity problem with a specific set of fixes. Either way, method beats money. Diagnose before you buy parts, adjust the frame before you move the strike, and when a job is beyond what you can do properly, call someone who will do it correctly and stand behind it. For more guides & resources, visit our blog. TruePane Windows & Doors has served Columbus homeowners since 2008. We register both warranty layers in writing before the truck leaves the driveway. Call (888) 635-0804 for a free estimate and a square deal.
Written by Dale Kessler, Owner at TruePane Windows & Doors, serving Columbus since 2008.