
Last updated August 27, 2026
Free in-home measure and quote - PGT, CGI and CWS impact lines compared on your actual openings, style by style
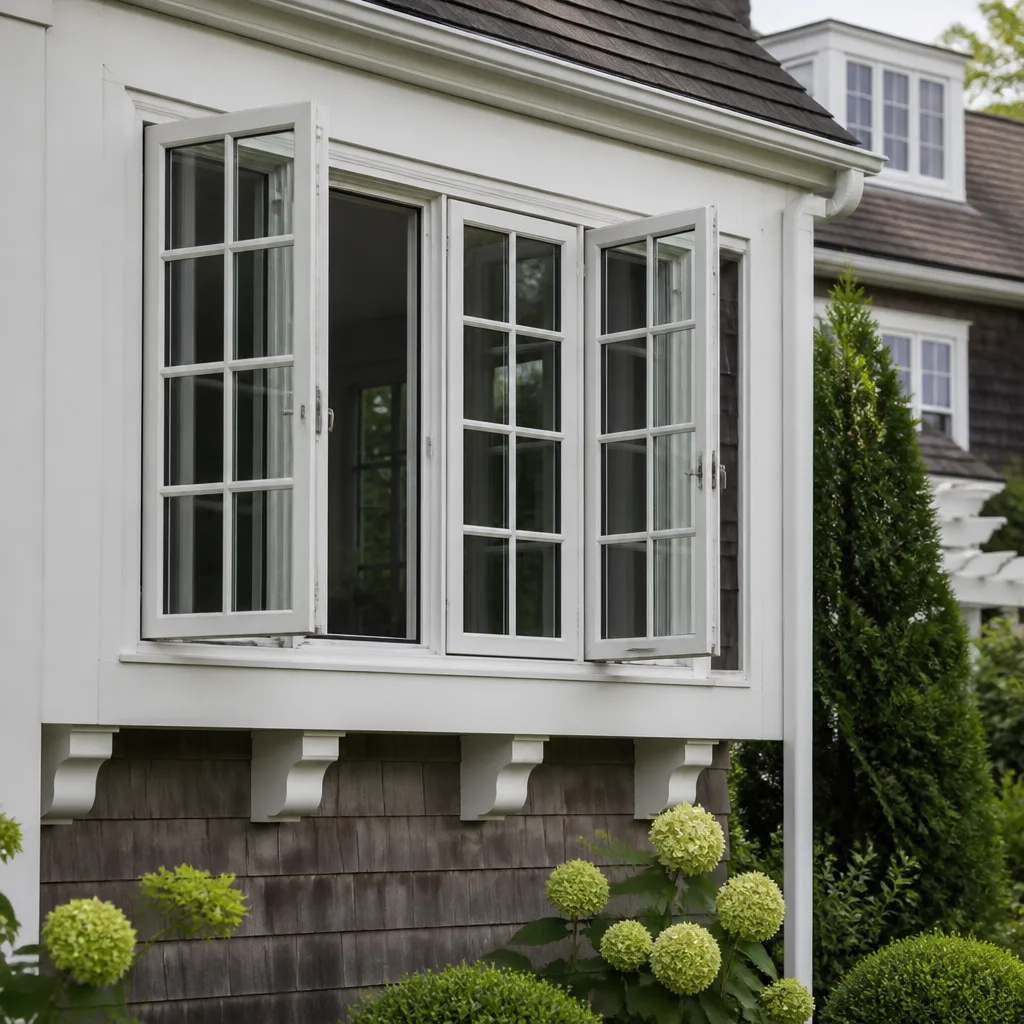
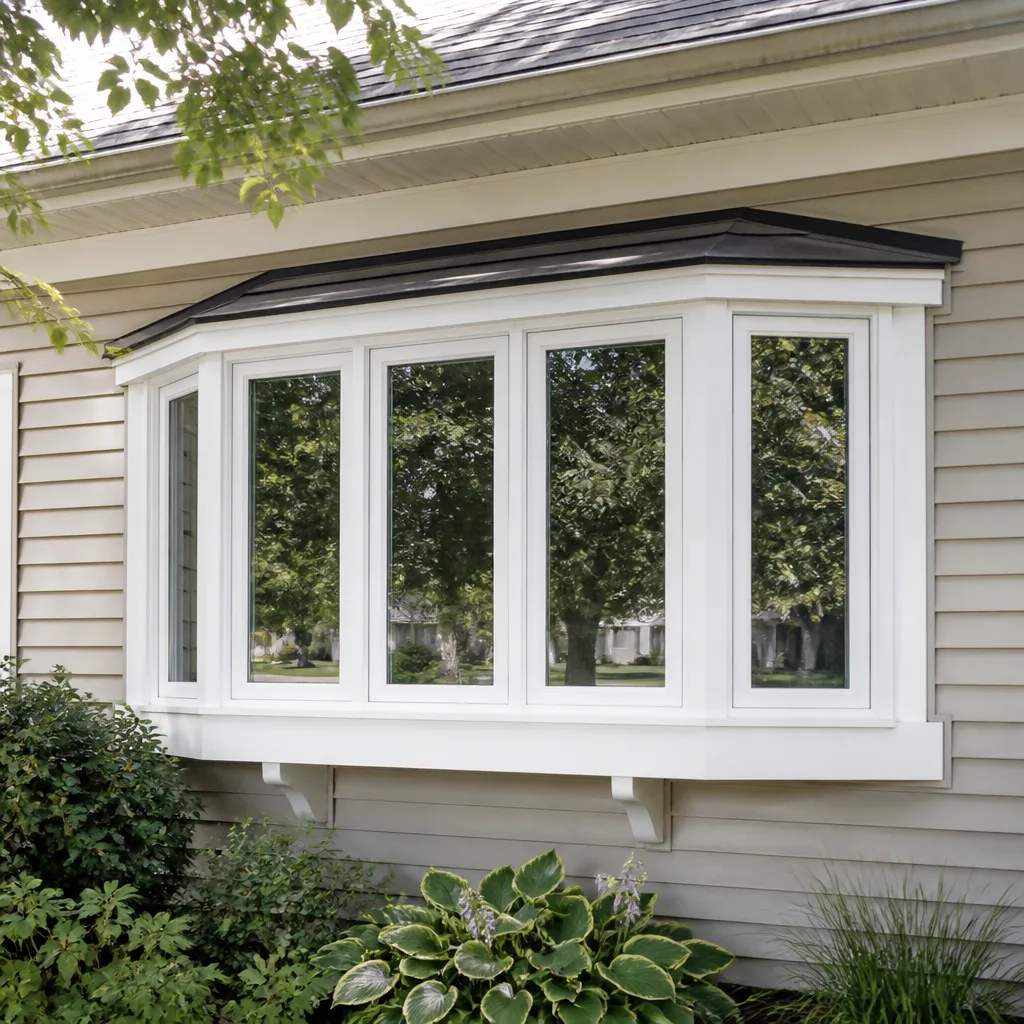
Sliding glass doors

Impact garage doorsPGTCGI
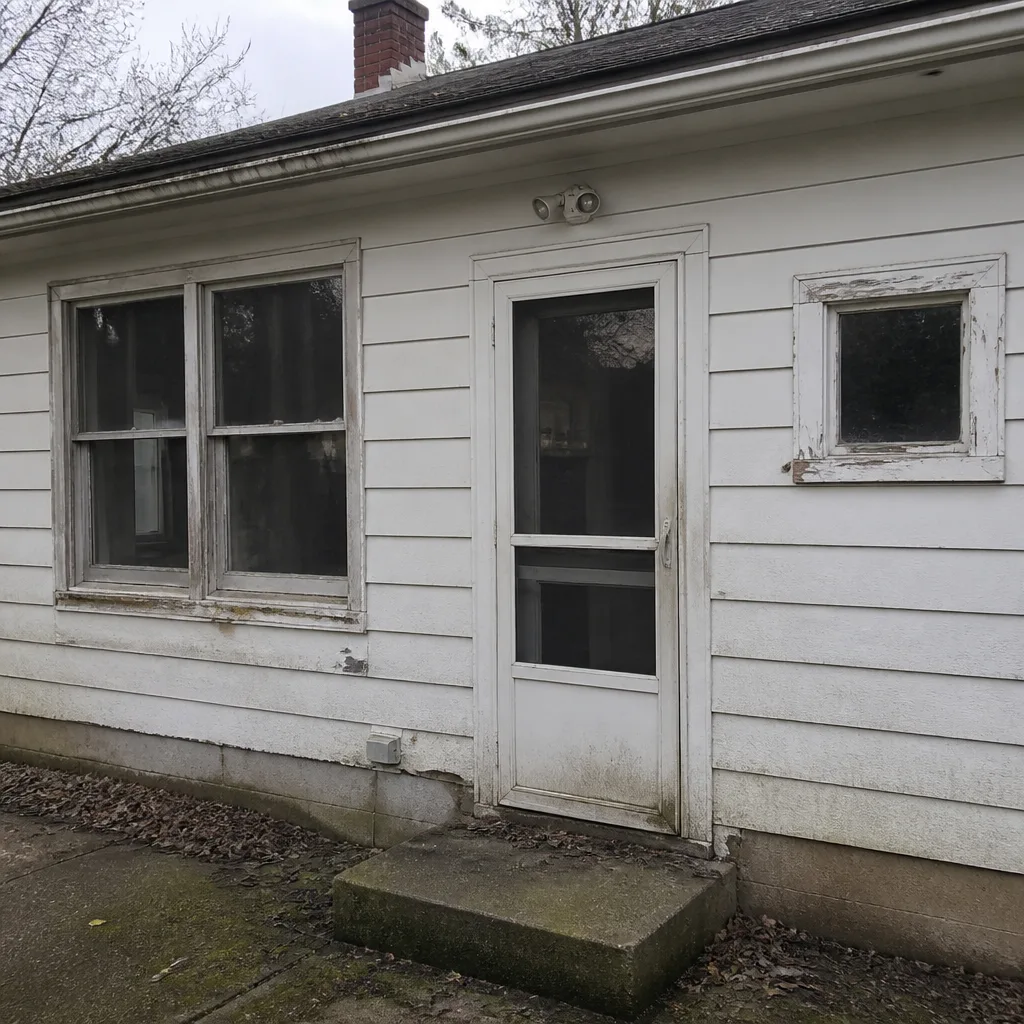 Before
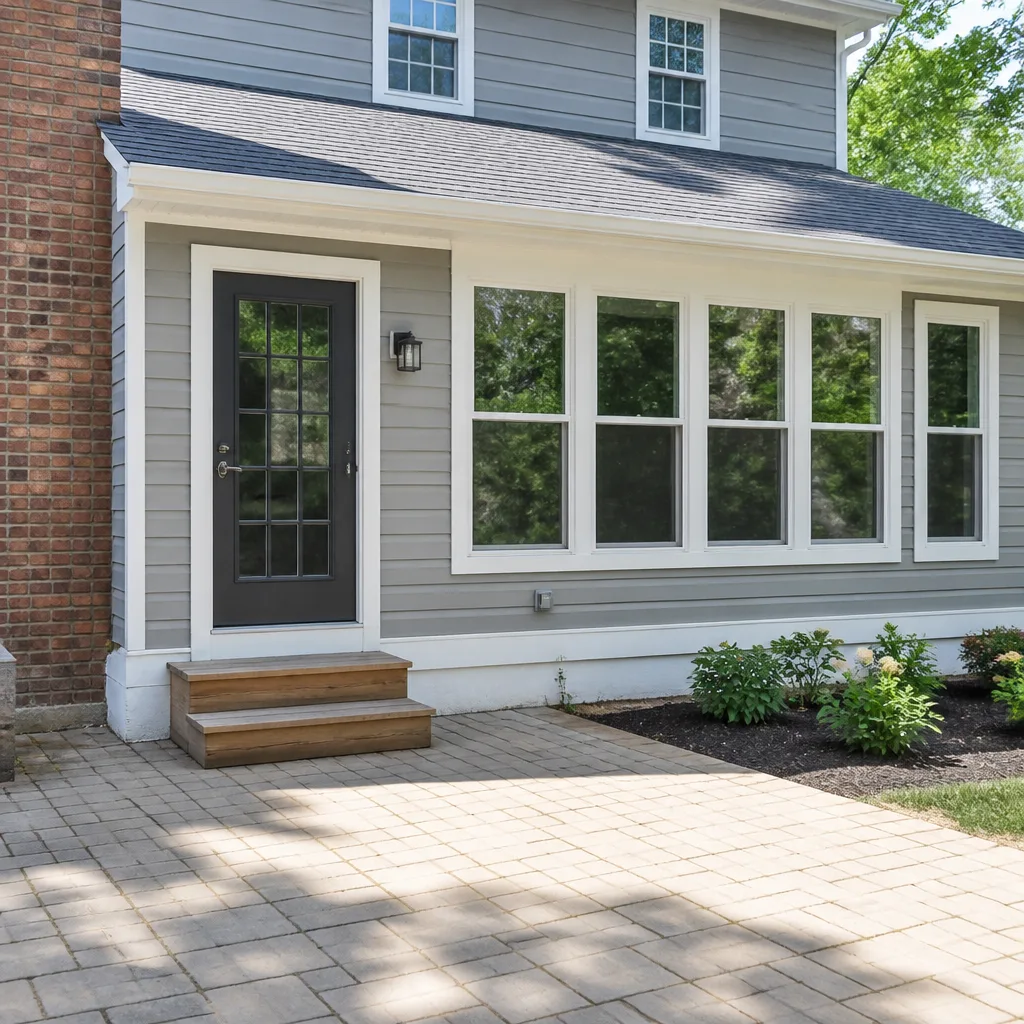 After
After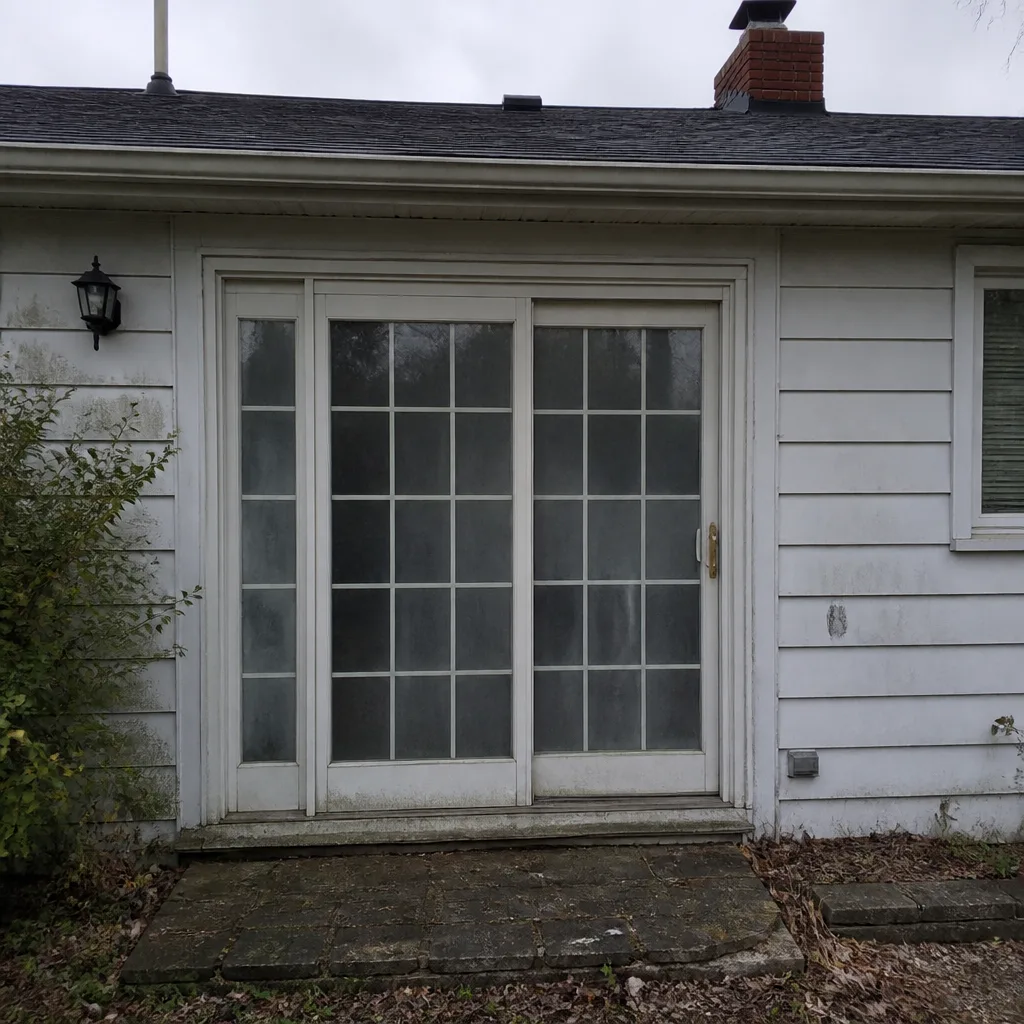 Before
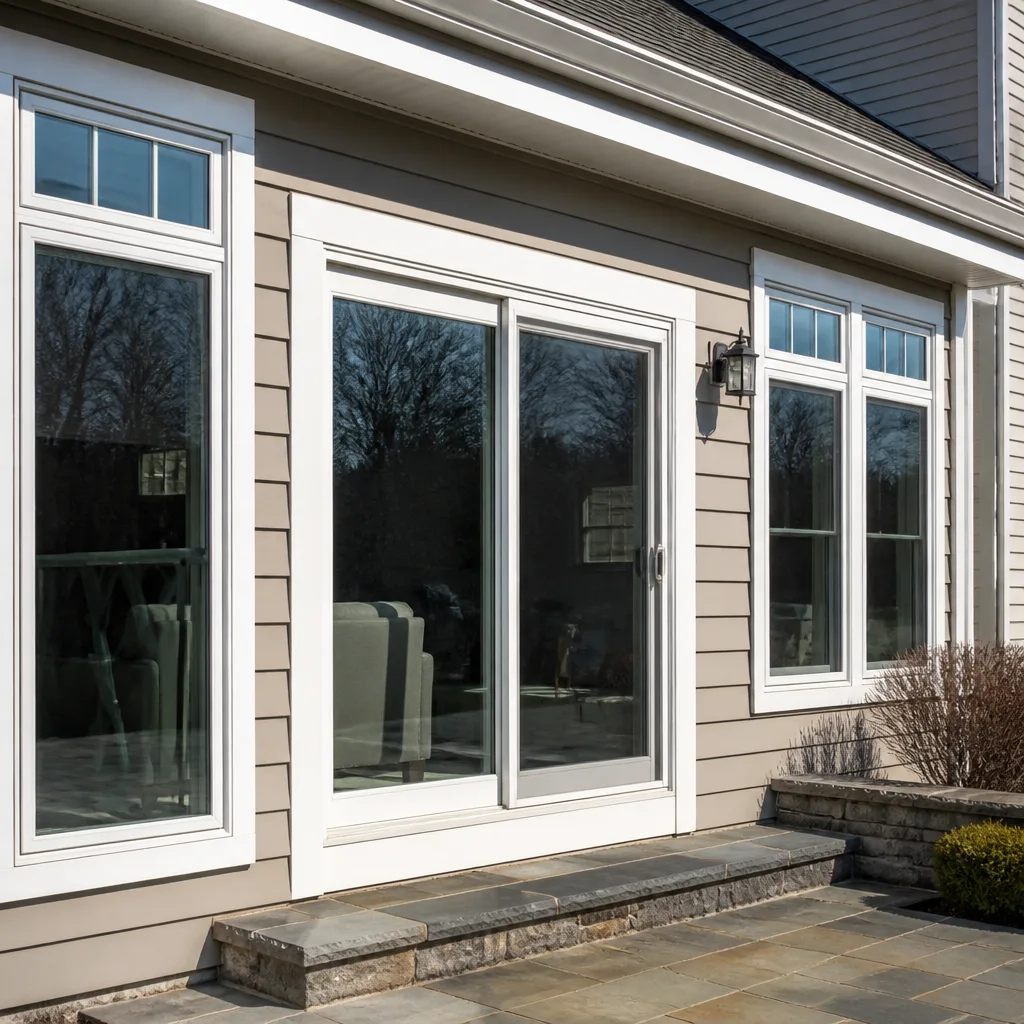 After
After Before
 After
AfterEnergy-Efficient Windows Maintenance Schedule: What to Do and When
Here is something most Columbus homeowners do not realize: the same glass cleaner that worked fine on 1980s single-pane windows will slowly damage a modern low-e coated surface. The abrasive compounds and ammonia in standard cleaners degrade the metallic oxide layer on low-e glass over repeated cleanings, reducing the coating’s ability to reflect heat without leaving any visible mark. This page is a maintenance schedule built specifically around the components that make Energy-Efficient Windows services work differently from ordinary glass: low-e coatings, warm-edge spacers, argon fills, weep systems, and the hardware that keeps seals tight through central Ohio winters and humid summers.
Quick Answer
An energy-efficient window maintenance schedule has four moving parts: clean glass and frames twice a year using low-e safe products, inspect warm-edge spacers and weatherstripping each spring and fall, lubricate hardware and clear weep holes annually, and document every maintenance action with dated photos for warranty purposes. In Columbus, the best months for the heavy inspection are April and October, before summer humidity and winter ice put real stress on seals and drainage channels. Total hands-on time for most homes runs two to three hours per year.
Table of Contents
- Low-E Coating Care: What to Use and What to Avoid
- The Seasonal Maintenance Calendar for Columbus Homes
- Warm-Edge Spacer Inspection: What Compression Gaps and Corrosion Actually Look Like
- Weep Holes and Drainage Channels: Casement vs. Awning vs. Single-Hung Geometry
- Hardware Lubrication Schedule for Tilt-Wash Mechanisms and Multi-Point Locks
- How to Document Maintenance for Warranty Purposes
- Common Mistakes to Avoid
- When to Call a Professional
- Frequently Asked Questions
Low-E Coating Care: What to Use and What to Avoid
Low-e glass is not a coating in the way a painted surface is a coating. It is a microscopic layer of metallic oxide, usually silver or tin based, deposited on the interior face of the outer pane during manufacturing. That layer is tough but it is chemically vulnerable. The wrong cleaning product will not scratch it in one application. It will erode it over four or five years of twice-yearly cleanings, and the homeowner will never see the damage because it happens at a molecular level.
What degrades low-e coatings:
- Ammonia and ammonia-based glass cleaners. Ammonia is chemically aggressive to metallic oxides. It is the most common ingredient in name-brand household glass sprays. In our experience in Columbus, we have inspected windows where the low-e coating showed measurable emissivity reduction after five years of Windex-style cleaning, and the glass looked spotless.
- Abrasive pads, scrubbing sponges, and magic erasers. Melamine foam is a fine-grit abrasive. It micro-scratches the coating surface, creating thousands of tiny breaches where moisture and oxygen can reach the oxide layer.
- Vinegar solutions. Vinegar is acidic. Mild acids do not strip low-e coatings quickly, but repeated exposure accelerates oxidation at the coating edge, especially near the spacer where micro-cracks already exist.
- Razor blades on dry glass. Scraping paint or stickers off a low-e surface with a blade will score the coating. If a blade is necessary, the glass must be wet and the blade must be new.
- Newspaper. The ink acts as a mild abrasive on coated glass. This was fine advice for single-pane windows in 1975. It is wrong advice for low-e windows.
What is safe for low-e coated glass:
- Plain water and a clean microfiber cloth. This is the default. Most low-e glass in a residential setting needs nothing more than water and mechanical wiping to remove dust and water spots.
- Manufacturer-approved low-e or coated-glass cleaners. Several window manufacturers publish approved cleaner lists. Andersen, Pella, and Marvin all have specific recommendations, and they are generally available at hardware stores in Columbus.
- Mild dish soap diluted heavily in water. A drop of standard dish soap in a quart of water, applied with a soft cloth, removes oily films without attacking the coating. Rinse with plain water afterward.
- Isopropyl alcohol diluted to 50% with water. Alcohol is the safest solvent for removing adhesive residue and paint overspray from coated glass. It evaporates quickly and does not react with metallic oxides.
The rule is simple: anything you would not wipe on a pair of eyeglasses with anti-reflective coating does not belong on a low-e window. The coatings are related technologies, and the same chemistry applies.
The Seasonal Maintenance Calendar for Columbus Homes
Columbus gets the full swing: humid summers that push 90 degrees with dew points in the 70s, winters that drop below zero, and freeze-thaw cycles in March that put every seal and drainage channel through stress. A maintenance schedule that works in Phoenix is not the right schedule for Franklin County.
Spring: April Inspection and Clean
- Clean all glass surfaces inside and out using the low-e safe methods above. Remove winter salt film, which is common on Columbus windows near busy streets after plow season.
- Inspect warm-edge spacers on every operable and fixed unit. Look for compression gaps, milky discoloration, or visible corrosion at the corners. More detail in the next section.
- Clear weep holes and drainage channels on casement, awning, and sliding frames. Winter can pack them with ice-expanded debris.
- Test every operable sash. Open, close, lock, and tilt each window. A window that sticks in April will leak air in July and ice up in January.
- Check weatherstripping for compression set. Weatherstripping that has been compressed flat for a full winter will not rebound on its own.
Fall: October Inspection and Prep
- Repeat the glass cleaning before the heating season. Clean glass at the start of winter reduces condensation buildup because dust and film give moisture something to cling to.
- Lubricate hardware on tilt-wash mechanisms, multi-point locks, and sliding tracks. More detail below.
- Check argon fill integrity indirectly by looking for condensation between panes on cold mornings, before the heat kicks on inside.
- Inspect exterior caulking and flashing around every window perimeter. Columbus freeze-thaw cycles will open tiny gaps in cheap caulk within two or three years.
- Confirm weep holes are clear before winter, when trapped water will freeze, expand, and bow the frame extrusion.
For most homes, spring and fall are enough. Homes within a mile of the Scioto or Olentangy rivers, or homes with heavy tree cover, may need a third mid-summer weep hole check because organic debris accumulates faster in those conditions.
TruePane Windows & Doors has installed and serviced energy-efficient windows across Columbus since 2008, and our technicians have seen the same pattern repeat: homes that follow a twice-yearly schedule have seals that last full warranty periods, and homes that ignore the schedule see seal failures in seven to nine years. For Energy-Efficient Windows Warning Signs Every Homeowner Should Know, watch for early indicators before complete failure.
Warm-Edge Spacer Inspection: What Compression Gaps and Corrosion Actually Look Like
The warm-edge spacer is the strip that runs around the perimeter of the glass unit, between the two panes. In older windows, the spacer is aluminum, which conducts heat and cold. In energy-efficient windows, the spacer is a composite: stainless steel with a polymer core, or foam, or a butyl-sealed hybrid. It is the component most homeowners never look at, and it is the component that tells you the most about the long-term health of the window.
What to look for, in plain terms:
- Compression gaps at the corners. Look at the spacer in each corner of the glass unit. A healthy warm-edge spacer shows a continuous, unbroken line. If you see a visible gap, a step, or a butt joint that has opened, the spacer has compressed or twisted. That means stress is being transmitted to the sealant, and sealant under stress fails early.
- Milky or cloudy discoloration on the spacer face. Composite spacers can absorb moisture when the butyl seal begins to fail. The moisture wicks into the polymer and shows as a whitening or fogging of the spacer surface. This is a pre-failure sign that appears before condensation shows between the panes.
- Visible corrosion, pitting, or rust-colored staining. On stainless or galvanized steel spacers, real corrosion means the desiccant inside the unit is saturated and the seal has been breached. The window is no longer performing, even if it has not fogged yet.
- Sealant squeeze-out or shrinking. Run a finger along the outer edge where the glass meets the spacer. If the sealant bead is pulling away, cracking, or has shrunk back from the glass edge, water vapor is entering the unit at that point.
In Columbus, we see corrosion accelerated on south-facing windows and on windows above asphalt driveways that reflect summer heat back at the glass. Units with failed or failing spacers lose argon fill slowly, and the first symptom is usually not fog but a cold draft near the glass in winter or a hot spot in summer. The spacer tells the story before the performance drop becomes obvious. Our Energy-Efficient Windows Troubleshooting: Common Problems and How to Fix Them covers how to catch these issues early.
If you find compression gaps or corrosion on a window that is still under warranty, document it now. Photos with a ruler showing the gap, plus the date, are the evidence a manufacturer wants to see. Waiting until the window fogs means waiting until the damage is complete, and some warranty language is written to exclude units that show prolonged neglect.
Weep Holes and Drainage Channels: Casement vs. Awning vs. Single-Hung Geometry
Weep holes are the small drainage openings in the bottom track or sill of a window frame. They exist because every operable window lets some water past the exterior weatherstrip in heavy rain, and that water needs an exit. When weep holes clog, water pools in the frame extrusion. In Columbus winters, pooled water freezes, expands, and can bow the frame or crack the corner welds on vinyl and composite units.
The geometry matters because weep holes work differently on different window types:
- Single-hung and double-hung windows drain through holes in the bottom of the sloped sill. These are relatively easy to clear: a pipe cleaner, a small bottle brush, or compressed air through the hole from the exterior side. Debris enters from the top of the sash pocket, so check the interior track for leaves, insect nests, and dust dams.
- Casement windows have weep holes on the outer face of the frame bottom, but the drainage path runs through a channel behind the hinge side. A casement that does not drain properly will show water staining on the interior sill at the hinge corner, not at the weep hole location. Clearing a casement weep system requires opening the sash fully and cleaning the channel with a soft brush, then testing with a small cup of water poured into the track.
- Awning windows drain through the sill face, but because the sash opens outward and upward, the hinge hardware sits in the drainage path. Corrosion on awning hinge hardware is the first sign of a drainage problem. Awning weep holes in Columbus clog most often with maple seeds in spring and boxelder bug shells in fall.
- Sliding windows and patio doors drain through large slots in the bottom track. These slots clog with grit, pet hair, and pollen. A shop vacuum is the fastest tool, followed by a stiff brush. Sliding door weep slots in homes with dogs need cleaning twice a year at minimum.
The test after clearing any weep system: pour a cup of water into the track or channel with the window closed. It should drain out the exterior weep hole within 30 seconds. If it pools, the internal channel is still blocked, and the frame is at risk every time it rains.
In our work across Columbus, we have replaced frames from Columbus’s north side to Grove City that failed from clogged weep holes, not from window defects. The water damage started small: a puddle on the sill after a thunderstorm, ignored. By the time the frame cracked, the repair involved a full window replacement instead of a ten-minute cleaning. The window installation and replacement work we do in Parkway frequently involves correcting drainage problems that regular maintenance would have prevented.
Hardware Lubrication Schedule for Tilt-Wash Mechanisms and Multi-Point Locks
Energy-efficient windows rely on compression seals: the weatherstripping only works if the sash pulls tight against the frame and stays tight. That compression comes from the hardware. Tilt-wash mechanisms, multi-point locks, and cam-action handles all wear and gum up over time, and when they do, the window stops pulling fully closed. The result is not a broken window. It is a window that leaks air at rates that erase the efficiency gain the homeowner paid for.
Lubrication schedule:
- Every 12 months: lubricate multi-point lock mechanisms and keeper channels on casement and awning windows, and tilt-latch pivots on double-hung units.
- Every 12 months, or whenever operation feels stiff: lubricate sliding window and patio door roller tracks.
- Every 24 months: lubricate crank operators on casement and awning windows through the access hole on the operator housing.
What to use:
- Dry PTFE or silicone spray for lock mechanisms, tilt latches, and pivot points. These lubricants do not attract dust, which is why they belong on hardware inside the sash.
- White lithium grease for crank operator gears only. It is heavier and stays put, which is what a gear train needs.
- Do not use WD-40. WD-40 is a solvent and water displacer, not a lubricant. It strips away existing lubrication and leaves the mechanism drier in the long run. This is the most common hardware mistake we see in Columbus homes.
The honest truth about tilt-wash mechanisms: they are convenient, and they are also the most maintenance-sensitive part of a modern double-hung window. The tilt latch is a spring-loaded nylon pin that engages a slot in the jamb liner. When the spring gets dust-filled or the pin gets worn, the latch does not seat fully, and the sash hangs slightly out of plane. That gap at the latch point is an air leak. If a tilt-wash window will not stay in the tilted position, or if one side of the sash drops after tilting, the latch needs service before the seal can be trusted.
For Columbus homeowners with casement windows from manufacturers like PGT or CGI, the multi-point lock deserves the same attention. A multi-point lock has three or more locking points along the sash edge, and all of them must engage for the window to meet its air infiltration rating. If the handle gets stiff, do not force it. Forcing a multi-point lock bends the tie rods inside the sash, and once a tie rod is bent, the lock will never engage all points again. Lubricate first. If it is still stiff, call for service.
How to Document Maintenance for Warranty Purposes
Manufacturers ask for maintenance documentation when a warranty claim is filed, but they rarely ask for what homeowners expect. They do not want receipts from a professional cleaning service. They want evidence that the window was maintained according to the manual: cleaned, inspected, and operated. The absence of documentation does not always void a claim, but it gives the manufacturer a reason to ask more questions, and in our experience, a homeowner with a documented maintenance history resolves warranty claims faster and with less back-and-forth.
What manufacturers actually look for:
- Date-stamped photos of the window exterior and interior, taken at least annually. The metadata on a phone photo is sufficient. These photos establish the condition of the window over time and catch slow-developing issues like spacer corrosion before they become arguments about when the damage started.
- A simple log of cleaning and inspection dates. A notebook page or a note in a phone works. The log does not have to be elaborate. “April 14: cleaned all windows, inspected spacers, cleared weep holes on west side” is a complete entry.
- Photos of any anomaly found during inspection, with a coin or ruler in the frame for scale. If the spacer shows a gap, document the gap. If the weatherstripping is compressed, document that. The goal is to show diligence.
- The original purchase or installation record. This includes the manufacturer, model, glass package, and date of installation. Homeowners who bought a house with energy-efficient windows should ask the seller for this or look for the manufacturer label on the frame or spacer.
- Any communication with the installer or manufacturer, even if it was a simple question. Emails and call logs establish a timeline.
For warranty purposes, the most important photo is the one you never take: the before photo. A homeowner who has photos of the window from the year it was installed has a much stronger claim than one who shows up with a fogged unit and no history. If you are having energy-efficient windows installed now, take ten minutes on installation day and photograph every unit, both sides, plus a close-up of the spacer and the frame labels. Store those photos somewhere you will find them in 2035. For more guides & resources on window care, visit our blog.
The Keystone Standard that TruePane follows on every install includes registering both manufacturer warranty layers in writing before the truck leaves the driveway. That means the homeowner gets the warranty documentation on installation day, with durations stated in plain language. If a claim is ever needed, the paperwork is already in order, and our team helps file it. This is the kind of documentation discipline that our window installation standards are built around.
Common Mistakes to Avoid
- Using standard glass cleaner on low-e coated windows. The ammonia degrades the coating over repeated cleanings, and the damage is invisible until the window’s thermal performance has already dropped. Switch to water and microfiber or a manufacturer-approved cleaner.
- Ignoring weep holes because they are “just little holes.” In Columbus, a clogged weep hole in November becomes a frozen, cracked frame by February. Clear them every fall without exception.
- Forcing a stiff casement crank or multi-point lock. Stiff hardware means a lubrication problem or an alignment problem, not an invitation to apply more muscle. Forcing it bends internal components, and the repair gets more expensive.
- Waiting until condensation appears between the panes to worry about seal failure. By the time the unit fogs, the desiccant is saturated and the argon is gone. Spacer corrosion and compression gaps are visible months or years earlier.
- Scraping paint or decals off low-e glass with a razor blade on dry glass. Score the coating and the warranty is compromised. Wet the glass, use a new blade, and hold it at a low angle.
- Assuming the builder or previous owner kept warranty paperwork. In Columbus, homes change hands frequently, and window documentation rarely survives the sale. Contact the manufacturer with the serial number from the spacer, or ask a window professional to help trace the warranty.
- Skipping the fall hardware lubrication. Dry locks wear faster, and a worn lock on an energy-efficient window means the sash never reaches full compression against the weatherstripping. The window still looks closed. It is not sealed.
When to Call a Professional
Most of the maintenance on this page is doable by a careful homeowner with a ladder, a microfiber cloth, and a $12 tube of silicone spray. Some situations need a professional, not because the homeowner could not do the work, but because the stakes are a window that costs four figures to replace. Call a professional when you see spacer corrosion or compression gaps on any unit under warranty, when a window fogs between the panes, when a multi-point lock will not engage all points even after lubrication, when a frame shows cracking at the corners, or when a casement window will not close square against the weatherstripping. TruePane Windows & Doors offers free estimates in Columbus, and we have been serving local communities since 2008 through the craft tradition Dale Kessler founded in 2008. Call (888) 635-0804 and a live person answers, 24 hours a day, seven days a week.
Frequently Asked Questions
Energy-efficient windows should be cleaned twice a year, once in spring and once in fall, using low-e safe products only. Homes in Columbus near high-traffic roads or under heavy tree canopy may need a third cleaning in mid-summer to keep drainage channels clear. The glass stays cleaner when weep systems work, so cleaning and drainage checks go together.
No, you should not use Windex or any ammonia-based cleaner on low-e coated glass. Ammonia degrades the metallic oxide coating over time, reducing the window’s thermal performance without any visible sign of damage. Use plain water with a microfiber cloth, a diluted mild dish soap solution, or a cleaner approved by the window manufacturer.
Argon loss is first indicated by condensation or fog between the glass panes, but earlier signs include warm-edge spacer corrosion, compression gaps at the spacer corners, and a cold draft near the glass in winter. In Columbus, the clearest test is on a cold winter morning before the heat kicks on: if one window has condensation between the panes and its neighbors do not, that unit has lost its fill.
Most window manufacturers require that the homeowner maintain the windows according to the care manual, and they may ask for evidence of that maintenance when a claim is filed. Date-stamped photos taken annually, a simple cleaning and inspection log, and the original purchase record are usually sufficient. Documentation does not guarantee a claim, but it removes the most common reason manufacturers push back.
Well-maintained energy-efficient windows in Columbus typically last 20 to 30 years for the frame and hardware, with glass units lasting 15 to 25 years before seal failure becomes likely. Homes that follow a twice-yearly maintenance schedule, especially weep hole clearing and spacer inspection, routinely get the full warranty period from the glass units. Homes that skip maintenance see seal failures in seven to ten years.
No, a fogged glass unit means the sealed unit has failed, but the frame and hardware may still be sound. In many cases, the glass unit can be replaced in the existing frame, a repair that costs significantly less than a full window replacement. A professional can tell you whether the frame is worth saving. TruePane Windows & Doors offers free estimates in Columbus and will tell you honestly if a glass-only replacement is the better option. Call (888) 635-0804.
The best months are April and October. April lets you catch winter damage before summer humidity stresses the seals, and October prepares the windows for freeze-thaw cycles and ice. Where we operate in Columbus, fall weep hole clearing is the single most important maintenance action of the year.
The Bottom Line
Energy-efficient windows pay for themselves through lower heating and cooling bills, but only if the components that make them efficient are maintained. Study the low-e coating instead of scrubbing it, inspect the warm-edge spacers instead of ignoring them, clear the weep holes instead of discovering them in February, and lubricate the hardware instead of forcing it. A twice-yearly schedule, a few hours total per year, protects the warranty and the performance. The alternative is false confidence, and in Columbus, false confidence shows up as a fogged window and a higher electric bill. If you need help, the team at TruePane Windows & Doors home is one call away. Reach us at (888) 635-0804 for a free estimate, and see what our door installation work and window replacement service look like when a job is done right the first time.
Written by Dale Kessler, Owner at TruePane Windows & Doors, serving Columbus since 2008.