
Last updated August 27, 2026
Free in-home measure and quote - PGT, CGI and CWS impact lines compared on your actual openings, style by style
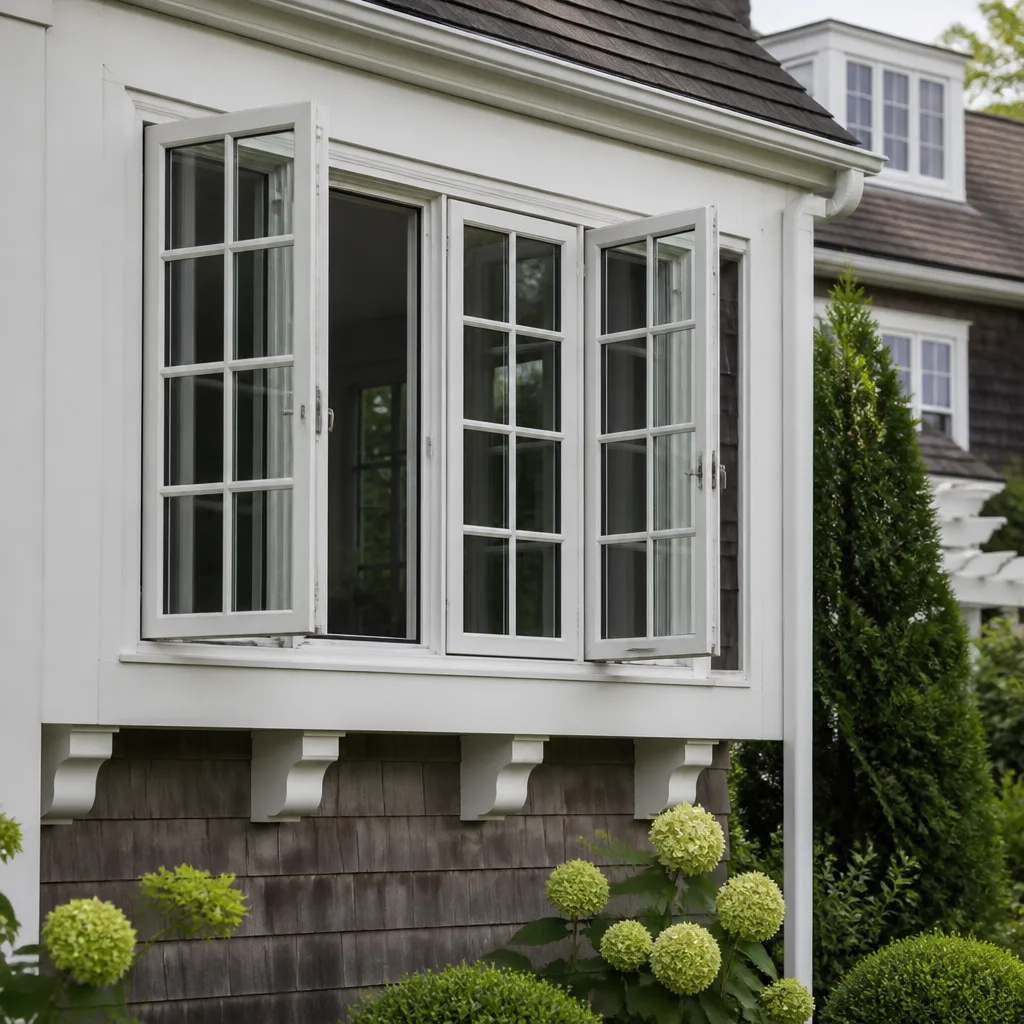
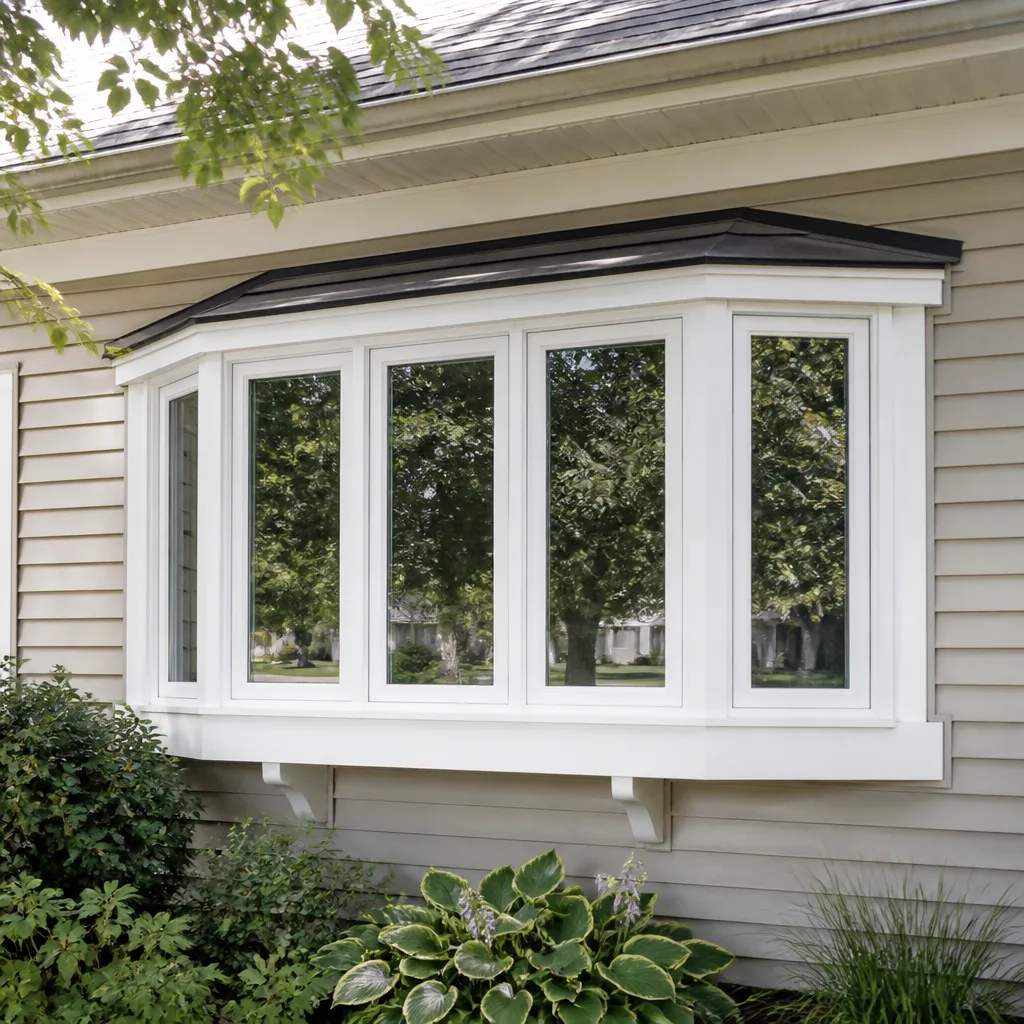
Sliding glass doors

Impact garage doorsPGTCGI
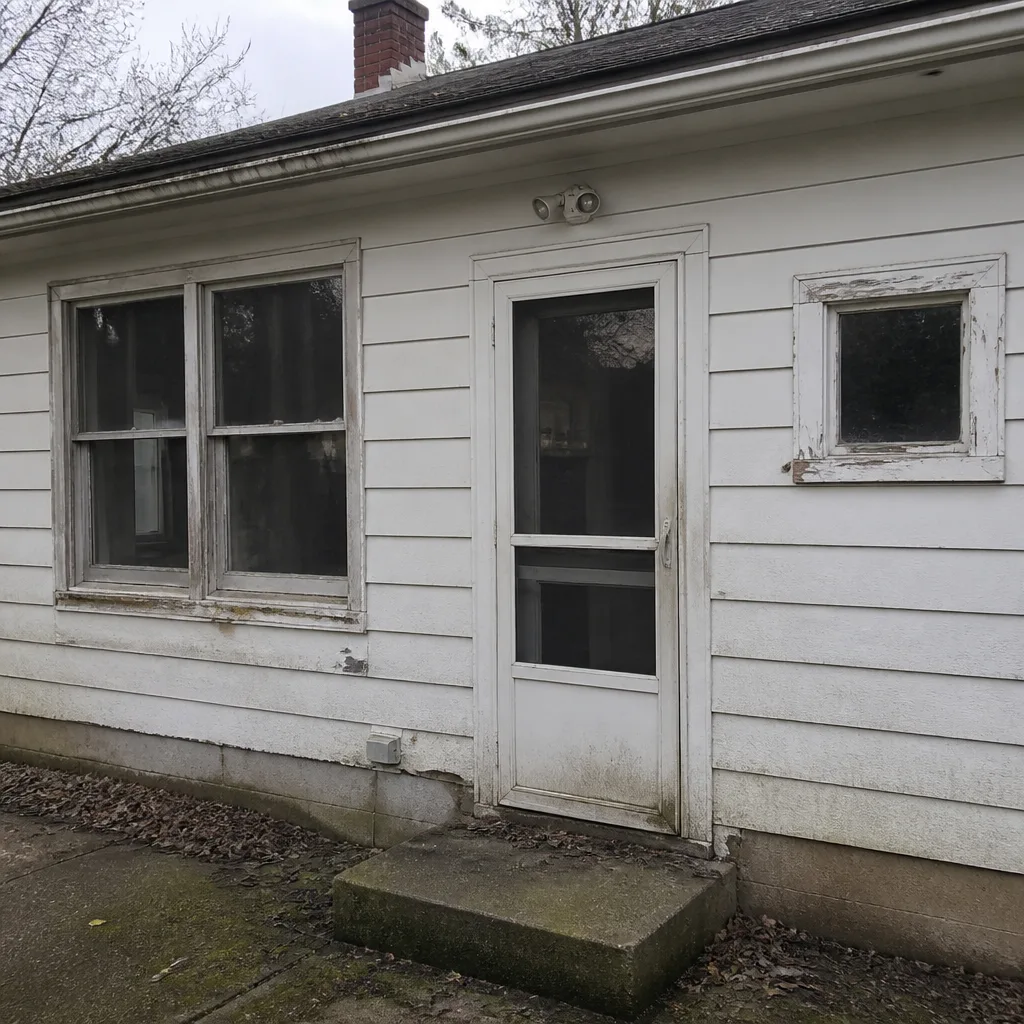 Before
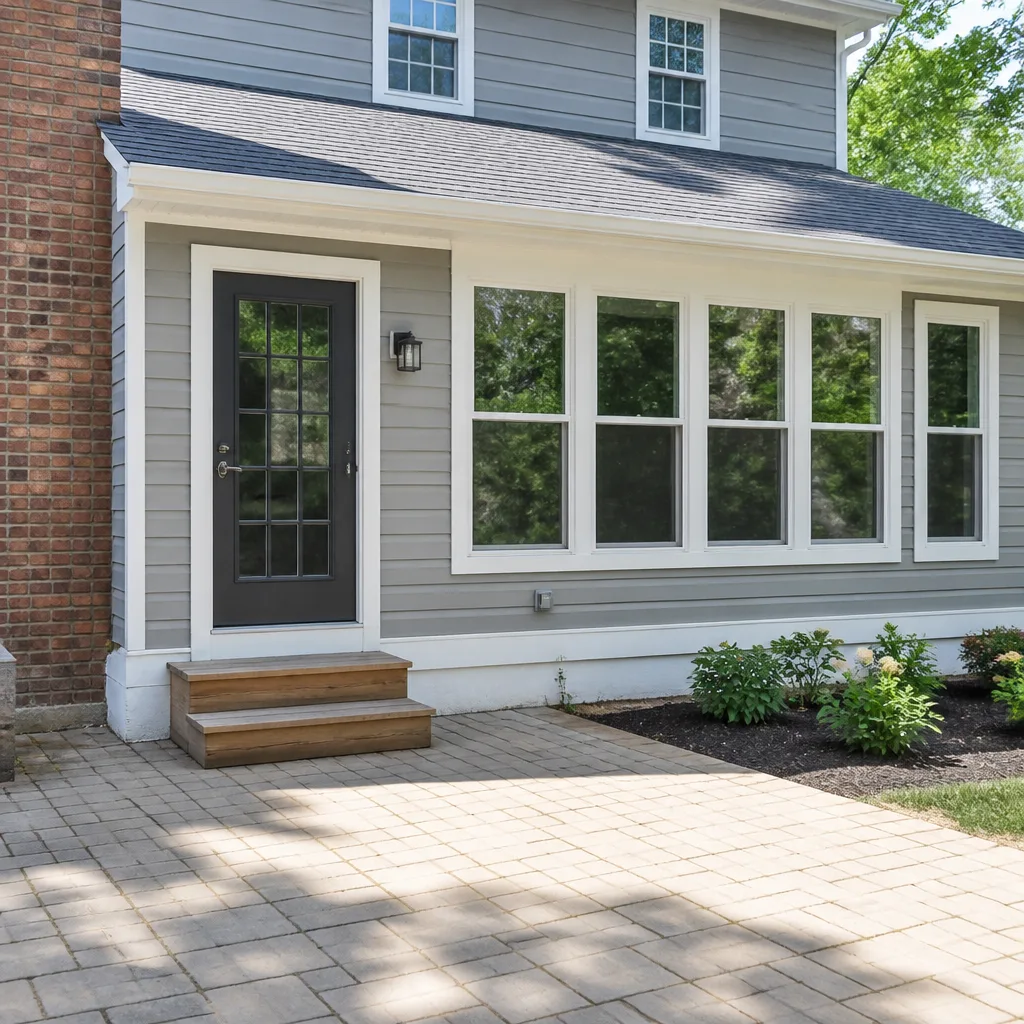 After
After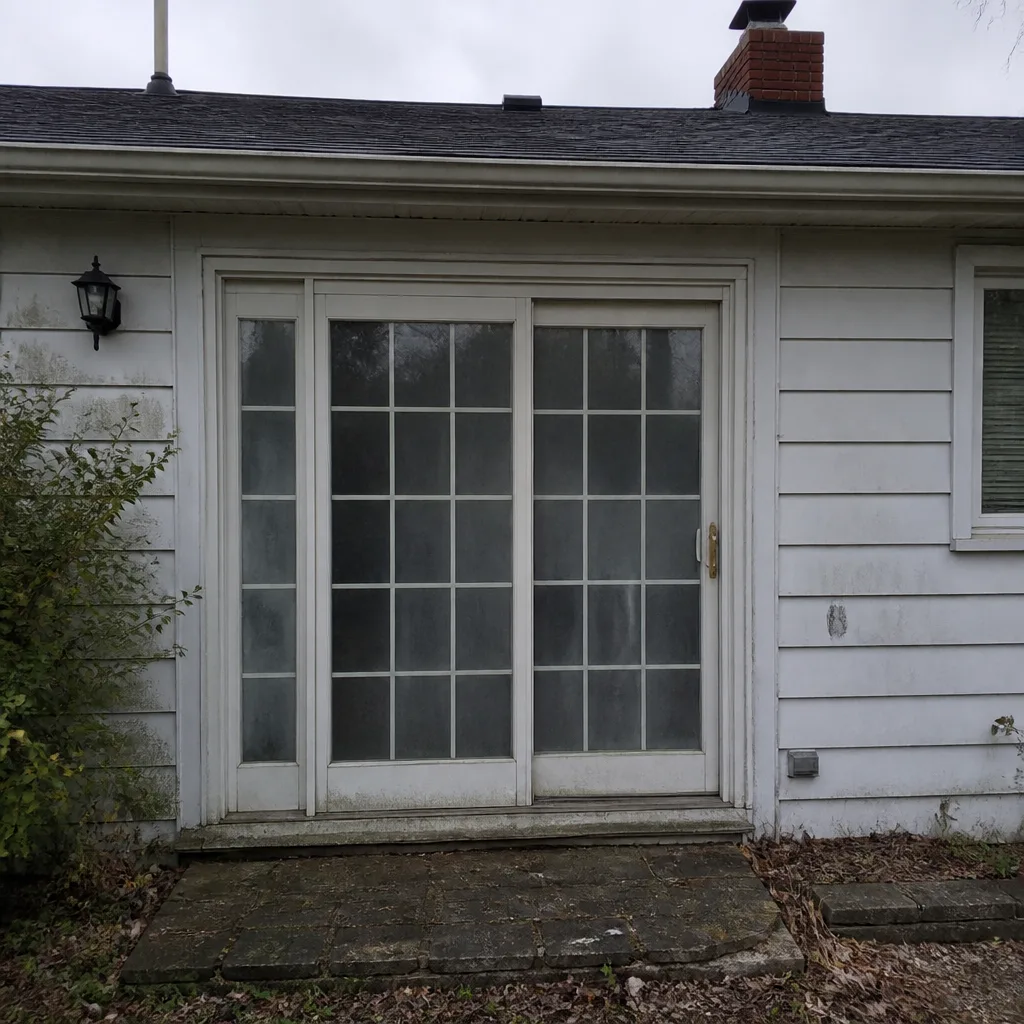 Before
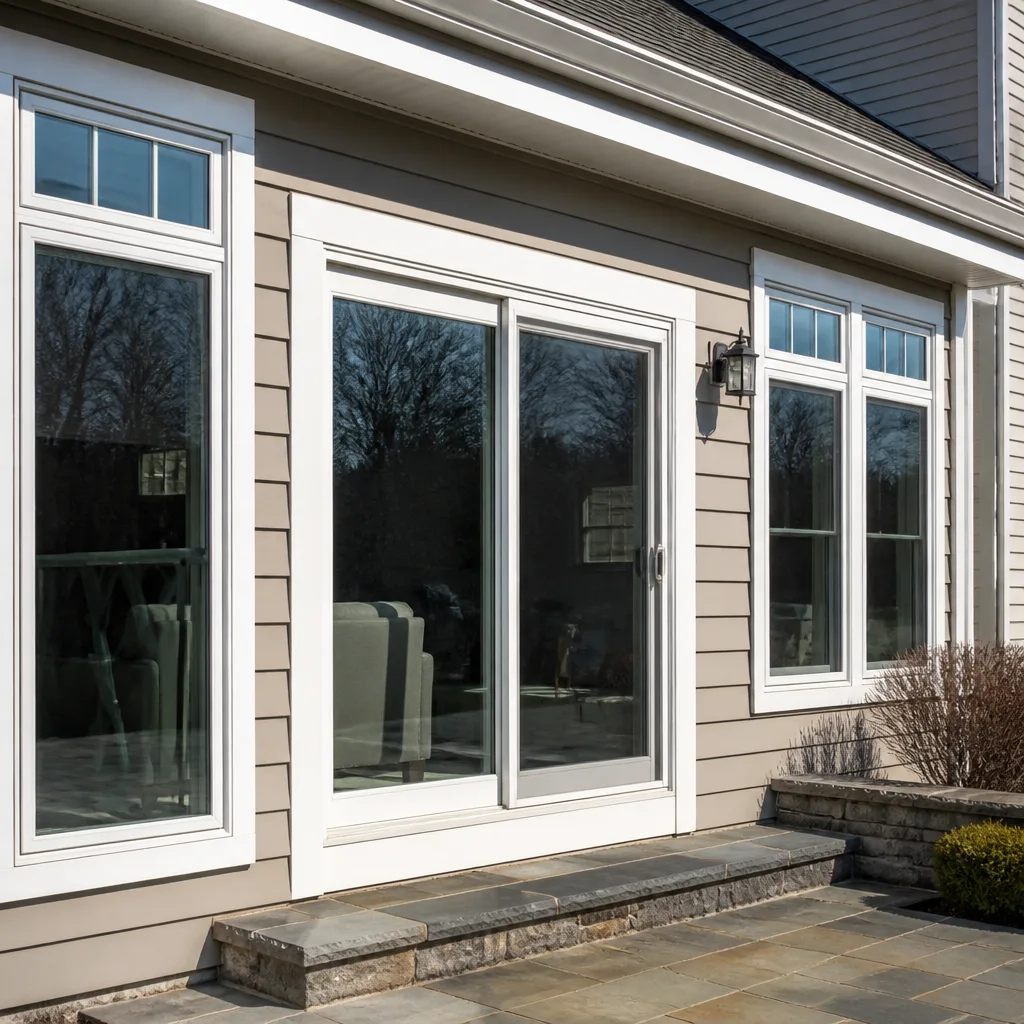 After
After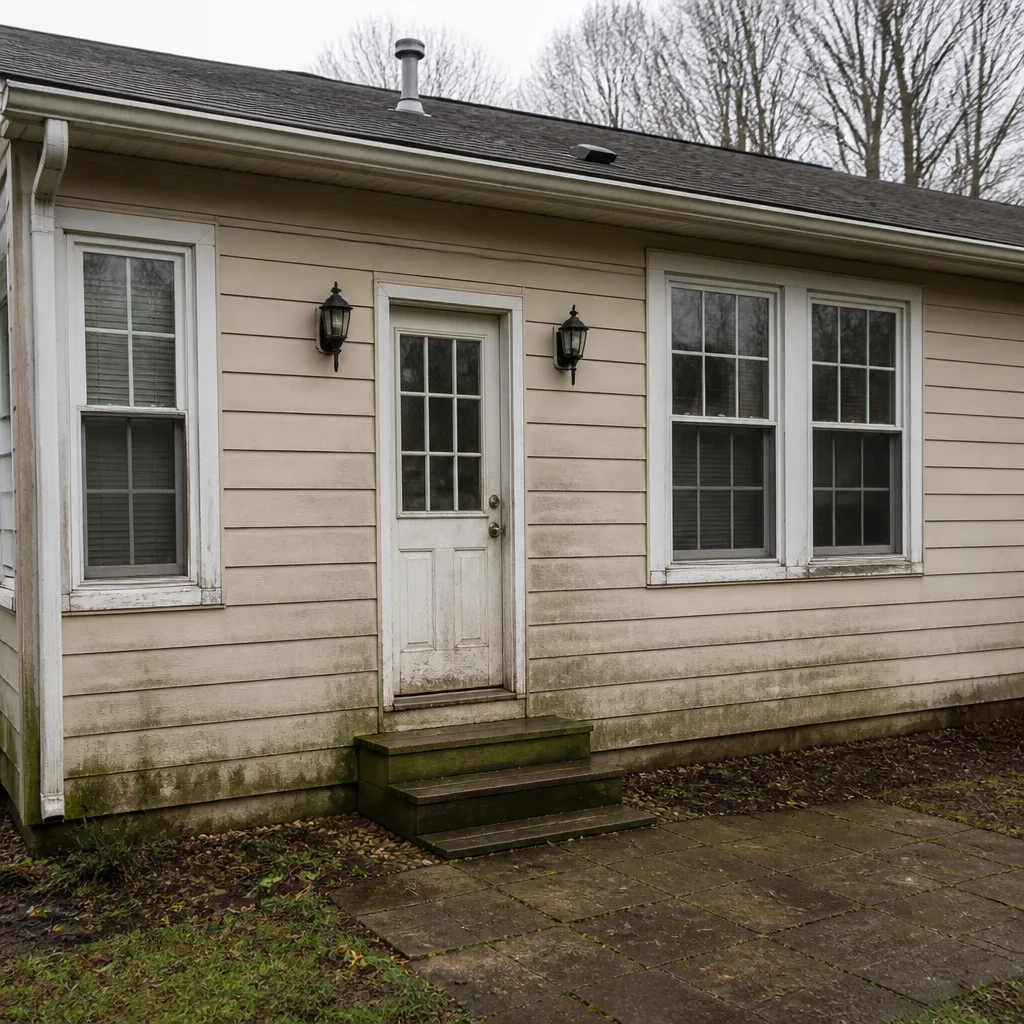 Before
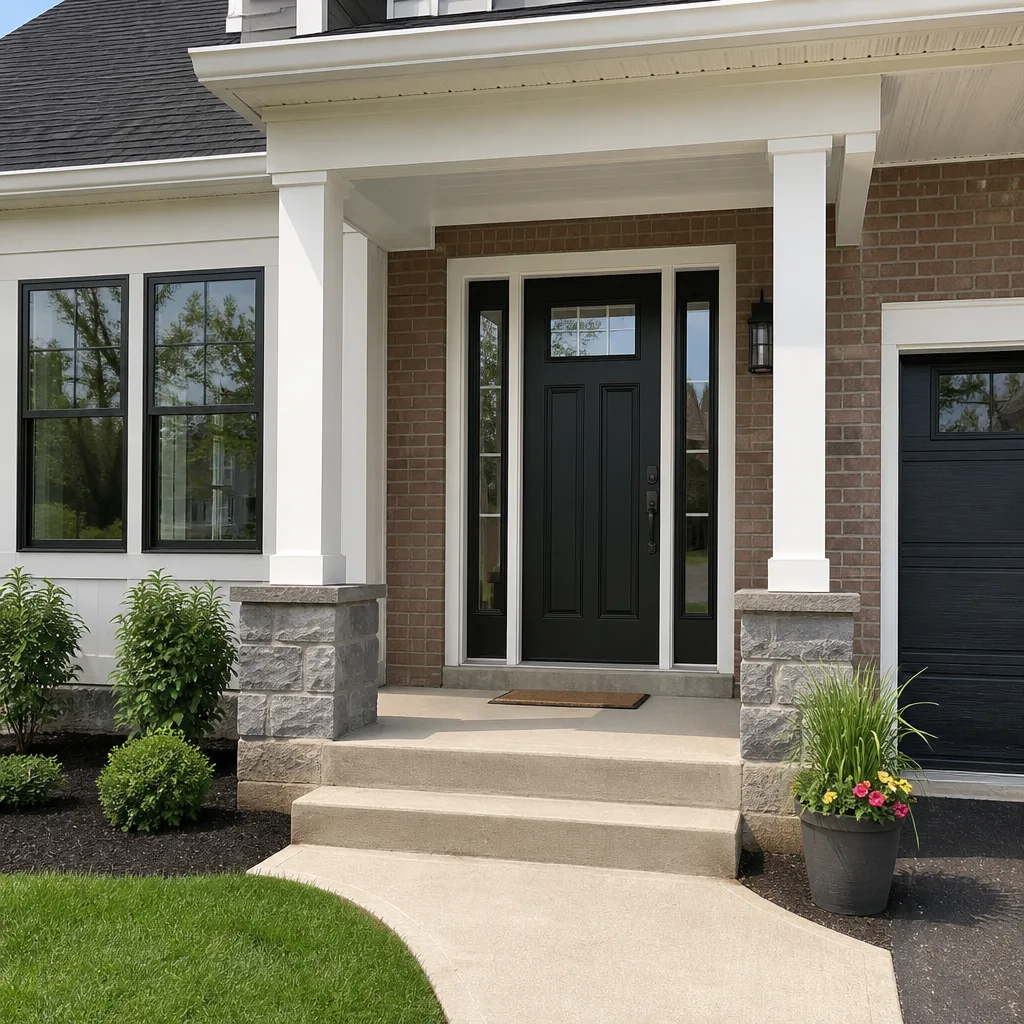 After
AfterThe Complete Window Installation Guide for Columbus Homeowners
Most window installation guides read like they were written for a house that could be anywhere. They assume the wall cavity is dry, the summer sun is polite, and the only thing a homeowner needs to know is how to pick a double-hung over a casement. But Columbus, Ohio sits in a climate that punishes lazy installation. Winter pushes temperatures below freezing while furnaces dry interior air to desert levels, and summer brings humidity that makes exterior wood swell and condensate pool in the wrong places. A window set without accounting for these swings will fog, bind, leak, or fail within a few years, no matter how good the unit itself was. This guide walks through what actually determines whether a window install in Columbus lasts 20 years or starts showing problems in four, and explains the details most guides skip entirely. For a deeper dive, see The Complete Window Replacement Guide for Columbus Homeowners.
Quick Answer
Window installation in Columbus requires choosing a frame material that tolerates the region’s temperature and humidity swings, following a flashing sequence that keeps bulk water out of the wall cavity, pulling the right permits so an inspector verifies the work, and registering both layers of the manufacturer warranty in writing. A correctly installed window in central Ohio should sit square and plumb in the rough opening, operate smoothly through every season, and be backed by paperwork that spells out what the warranty covers and what voids it. Most installation failures we see in Columbus trace back to shortcuts in one of these four areas, not to the window itself. When you’re ready to move forward, our Window Installation services cover every step properly.
Table of Contents
- Choosing Frame Material for Columbus’s Climate
- The Flashing Sequence That Actually Works in Central Ohio
- Permits and What the Columbus Inspector Actually Checks
- Reading a Rough Opening Before Any Unit Is Ordered
- Reading Both Layers of a Manufacturer Warranty
- What a Proper Installation Day Looks Like
- What Window Installation Costs in Columbus
- Common Mistakes to Avoid
- When to Call a Professional
- Frequently Asked Questions
Choosing Frame Material for Columbus’s Climate
Columbus experiences a swing that kills poorly matched frame materials. January lows hover around 20°F. July highs push past 85°F with humidity that rarely drops below 60 percent. Inside the wall cavity, the temperature difference between the heated interior and the frozen exterior during a February cold snap can exceed 90 degrees. That differential forces every material to move, and it moves differently.
Vinyl expands and contracts more than any other common window frame material. A 6-foot vinyl frame can grow nearly a quarter inch between winter and summer. That is normal and accounted for in a properly sized expansion gap, but it is also why a vinyl unit installed too tight binds in summer and leaks air in winter. Vinyl remains the most common choice in Columbus because it handles moisture well, it never needs painting, and it costs less than alternatives. The trade-off is tolerances. The install crew must leave the manufacturer’s specified gap, not the gap a national guidebook assumes.
Fiberglass frames move far less, roughly a third as much as vinyl under the same temperature swing, because the frame expands at nearly the same rate as the glass itself. That reduces seal stress and keeps the unit tight through seasonal cycles. Fiberglass costs more, but homes in Columbus with southern or western exposure, where summer sun loads the frame for hours every afternoon, benefit from that dimensional stability more than a shaded north wall would.
Wood and wood-clad frames bring their own set of considerations. The humidity swings in central Ohio mean exterior wood sits damp for stretches of the year, especially on north and east walls and under rooflines that channel rain. Wood-clad windows with aluminum or vinyl exterior finishes reduce maintenance, but the interior wood still responds to indoor humidity. A house with a whole-home humidifier set too aggressively in winter can push interior relative humidity high enough that wood frames bow slightly, throwing the sash out of square. We see this regularly in older Columbus neighborhoods like Clintonville and German Village, where the homes predate modern humidity management and the windows are often original.
How Columbus Climate Affects Sealant Selection
The sealant is where a surprising number of installations in Columbus go wrong. Many install crews use a single sealant for everything because it is what is on the truck. That works in a mild climate. In central Ohio, the sealant has to bond through freeze-thaw cycles in February and bake through humid summers. A cheap acrylic caulk will crack within two seasons. We specify a high-quality polyurethane or modified silicone sealant for the exterior perimeter because both flex enough to absorb frame movement without losing adhesion. On the interior, a low-VOC paintable sealant keeps the home comfortable and lets the trim work look finished.
The Flashing Sequence That Actually Works in Central Ohio
The biggest difference between an installation that lasts and one that rots comes down to flashing, and most online guides get it wrong for Columbus. They describe a sequence built for wood siding: slip the top flashing under the house wrap, tape the sill, overlap like shingles. Columbus has far more brick and stucco than much of the country, and those exterior finishes change where water goes and how it drains.
On a brick veneer home, the window sits within the framed wall cavity behind the brick. Water that penetrates the brick is expected to drain down the back of the veneer and out through weep holes at the bottom. The flashing at the top of the window must extend past the window flanges and then turn up behind the house wrap, so any water running down the back of the brick is directed out over the window, not behind it. The sill flashing must kick water out past the brick face, not into the air gap. If a crew installs a window in a brick home using the wood-siding method, the installation will pass a visual check and leak inside the wall within a few years.
Stucco homes, common in Columbus’s older neighborhoods and again in newer developments, have their own sequence. Stucco absorbs and holds water differently than brick. The flashing at the head of the window needs an additional layer of self-adhered membrane, often called a head flashing drip, that extends past the stucco face. Without it, water wicks behind the top flange and follows the window frame down into the wall.
An ordered flashing sequence for a Columbus installation, in simplified form, looks like this:
- Cut back the existing water-resistive barrier cleanly and inspect the sheathing for rot or moisture damage. Repair before proceeding.
- Apply a sloped sill pan at the bottom of the rough opening, one that drains to the exterior, not into the wall cavity.
- Install the window and secure it plumb, level, and square, shimmed to support the full weight of the unit.
- Apply self-adhered flashing tape at the jambs, overlapping the sill pan so water running down the sides exits over it.
- Apply flashing at the head, lapping over the jamb flashing and tucking under the house wrap or building paper above.
- Seal the exterior perimeter with a polyurethane or modified silicone sealant, tooled flat against the frame.
- On brick and stucco, verify the head flashing extends past the exterior face and that the sill directs water out past the cladding.
Skipping step one is the most common failure point. If the sheathing underneath has begun to rot from an old leak, installing a new window over it preserves the damage and hides it behind fresh trim. In Columbus, where freeze-thaw cycles push water deeper into damaged wood every winter, that rot keeps advancing. The homeowner doesn’t find out until the wall feels soft or the new window starts to sag.
Permits and What the Columbus Inspector Actually Checks
Yolo County is not involved here, and that matters. Columbus sits in Franklin County, Ohio, where the city’s Building Services Division administers permits. Many homeowners assume that replacing a window in an existing opening does not require a permit. In Columbus, that assumption is wrong in enough cases that it is worth checking before any work begins. The city requires a permit for window replacement when the opening is being altered, when structural framing is involved, or when the work falls under specific renovation triggers. Straight replacement of an existing window in the same opening, with no change to the rough opening size, is typically exempt, but any installation that widens or alters the opening requires a permit and an inspection.
An inspector checking a window installation in Columbus will look at a short list of things. First, the unit must be rated for the climate zone, which in Franklin County is a mixed-humid zone that straddles colder northern standards. The inspector verifies egress for any window in a bedroom or sleeping room: the opening must meet minimum clear dimensions for a person to exit in a fire. The inspector also checks that the flashing is present and installed correctly, that the unit is shimmed rather than nailed through the frame in a way that would deform it, and that the rough opening is insulated around the perimeter.
If a contractor suggests skipping the permit on a job that requires one, that is a signal to find a different contractor. Unpermitted work in Columbus becomes a problem at resale and can complicate an insurance claim if the window fails. The permit also creates a paper trail that the work was done to code, which matters when the warranty is ever challenged.
Reading a Rough Opening Before Any Unit Is Ordered
Every window unit is built to a specific size, and that size is based on the rough opening in the wall, not the size of the old window. In older Columbus homes, especially those built before the 1980s, the rough openings are rarely square, rarely plumb, and almost never level. A home in Worthington or Upper Arlington that has settled for 60 years may have an opening that is a half inch out of square corner to corner. If a crew measures only the old window and orders a replacement to those dimensions, the new unit gets installed into a bad opening and inherits every problem.
A proper measurement sequence before ordering:
- Measure the width of the rough opening at the top, middle, and bottom. Use the smallest measurement.
- Measure the height at the left, center, and right. Use the smallest measurement.
- Check the opening for square by measuring diagonally from corner to corner in both directions. The two measurements should be within a quarter inch.
- Place a level against the sill and against each jamb to check for level and plumb. Note where the opening deviates and by how much.
- Check the depth of the opening from the interior face to the exterior sheathing, accounting for insulation and any wall finish on both sides.
- Verify there is no rot, termite damage, or moisture staining in the exposed framing before the unit is ordered.
The unit is ordered to the smallest measurements, and then the opening is corrected with shims and, when necessary, minor framing adjustment before installation. A unit built to a bad measurement is wasted before the first screw is turned. When we measure an opening, we take the numbers ourselves every time, and we record them on the quote, so the homeowner sees exactly what the window is being built against.
Reading Both Layers of a Manufacturer Warranty
Most window manufacturers offer two warranty layers, and the distinction matters more than the marketing suggests. The first layer is the warranty on the glass unit itself, typically covering the insulated glass against seal failure, which shows up as fogging or condensation between the panes. The second layer is the warranty on the frame and hardware, which covers the frame material against cracking, warping, or finish failure, and the hardware against mechanical breakage.
Some manufacturers separate these into a “lifetime limited” warranty on glass and a 10-year or 20-year warranty on frame parts. Others bundle different components with different durations. What matters is that both layers are registered in writing and that the homeowner has the paper, not a verbal promise from the installer.
Several things void a manufacturer warranty, and it is worth knowing them before installation rather than finding out during a claim. Installing the window out of square or without shims, which stresses the frame and can break the glass seal, is a common cause of voided coverage. Not following the manufacturer’s flashing and sealing instructions will void it. Altering the unit, such as cutting down a flange or replacing glass with a third-party supplier, also voids it. And failing to register the warranty within the manufacturer’s stated window, often 30 to 90 days from installation, can reduce coverage from lifetime to a much shorter default period.
Brands like Simonton, Ply Gem, and PGT each structure their warranties differently, and a homeowner in Columbus should not be expected to sort through the fine print at the door. We register both warranty layers in writing on every job before the truck leaves the driveway, and we state the durations on the quote. That is the entire point of our Keystone Standard: if it is covered, it is in writing.
What a Proper Installation Day Looks Like
A real window installation is scheduled and methodical, not rushed. The crew arrives when they say they will, with the right materials already on the truck. The first thing that happens is not removal; it is protection. Floors get covered, furniture near the windows gets moved or draped, and the exterior work area is set up so debris does not scatter across the lawn.
Then the old window comes out, and the opening is inspected. This is the moment of truth on any Columbus home. If there is rot behind the old window, this is when it is found, and this is when the homeowner finds out whether the contractor has the skill and the willingness to fix it properly rather than nail a new window over it. We tell homeowners before the job starts that if we find hidden damage, we stop and show them, we write down what needs to be done, and we do not proceed until they understand the cost. No surprises on the bill comes from being upfront at the opening, not at the end.
Once the opening is sound, the new unit goes in, gets shimmed level and square, gets fastened, gets flashed in sequence, gets insulated around the perimeter, and gets sealed. The trim goes back on, the interior is finished, and the crew cleans up so that the only evidence a window was replaced is the new window itself. Before leaving, we walk the homeowner through the operation of the unit, hand them the paper with both warranty layers registered, and make sure they know how to reach us if anything is not right. A live person answers our phone 24 hours a day, 7 days a week. That is not a marketing line. It is how a company that has served communities since 2008 operates.
What Window Installation Costs in Columbus
Window prices in Columbus run a wide range, and the gap between a cheap install and a proper one is always bigger than the gap between a cheap window and a premium one. A basic vinyl double-hung from a value line, installed with minimal trim work, may cost $450 to $650 per window. A good vinyl unit from a brand like Simonton or Ply Gem, properly installed with full flashing and sealant work, typically runs $700 to $1,000 per window. A premium fiberglass or wood-clad unit can push $1,200 to $2,000 or more per opening, depending on size, hardware, and finish.
- Vinyl double-hung, value line: $450 to $650 per window
- Vinyl double-hung, mid-grade (Simonton, Ply Gem): $700 to $1,000 per window
- Fiberglass, full frame: $1,000 to $1,600 per window
- Wood-clad or premium brand (PGT, CGI): $1,200 to $2,200 per window
- Egress window expansion (new opening, permit included): $2,000 to $4,000 per window
These ranges assume standard sizes and no hidden structural surprises. If the opening is rotten or out of square, the cost goes up, and the right response is to fix it, not to hide it. Whole-home replacement in Columbus typically lands between $12,000 and $30,000 depending on the number of windows, frame material, and complexity of the exterior. The free estimate should state a fixed price with a line-item breakdown, not a vague range that shifts once the work starts.
Common Mistakes to Avoid
- Ordering by the old window’s size. The old window may have been a poor fit from day one. A replacement ordered to those dimensions inherits the flaws. The rough opening is the only measurement that matters.
- Skipping the sill pan. Without a sloped pan at the bottom of the opening, any water that gets past the exterior seal runs into the wall. In Columbus, where freeze-thaw cycles push that water deeper every winter, a missing sill pan shortens the life of the wall itself.
- Using one sealant for everything. A cheap acrylic caulk works fine in a mild climate and fails in two Columbus seasons. The exterior sealant has to flex through a 90-degree temperature swing without losing adhesion.
- Ignoring the permit question. In Franklin County, some window work requires a permit and inspection. If the contractor is vague about it, that is a warning sign, not a convenience.
- Leaving the warranty unregistered. Both warranty layers have registration deadlines. Miss them and coverage shrinks from lifetime to a default period that may be a fraction of what was sold.
- Not checking the opening before ordering. A square unit ordered for an out-of-square opening wastes the unit and takes the installation down with it. Measure the opening, not the old window.
- Hiring on price alone. The cheapest bid in Columbus is often the one that skips flashing, sealant, or the repair work the wall needs. The price that matters is the one that holds up for 20 years.
When to Call a Professional
Replacing a window is not a weekend project, and any guide that suggests otherwise is doing Columbus homeowners a disservice. The weight of the unit, the precision required to set it square, the flashing sequence, and the risk of a water leak that hides inside the wall until the damage is severe all point the same direction. If the opening is out of square, if the exterior is brick or stucco, if the old window is in a load-bearing wall, or if a permit is required, the job belongs with a professional. We tell homeowners that the moment they feel uncertain about any step, the cheaper path is the phone call, not the attempt to figure it out mid-installation. TruePane Windows & Doors offers free estimates in Columbus, call (888) 635-0804 and a live person will answer.
Frequently Asked Questions
A standard vinyl window installation in Columbus typically costs $700 to $1,000 per window for a quality unit properly flashed and sealed, while value-line vinyl can run $450 to $650 and premium fiberglass or wood-clad runs $1,200 to $2,200. Whole-home replacement usually falls between $12,000 and $30,000 depending on window count and exterior condition. Call (888) 635-0804 for an exact line-item quote, estimates are free.
Straight replacement of a window in the same opening is typically exempt from a permit in Columbus, but any alteration to the rough opening size or structural framing requires a permit and inspection. Check with the city’s Building Services Division before the work begins, and be wary of any contractor who dismisses the question.
It should not change unless the opening reveals hidden damage that could not be seen before removal. A reputable installer in Columbus writes the full scope into a fixed-price quote, and if rot or structural problems appear at the opening, shows the homeowner and gets agreement before proceeding, rather than adding surprise line items at the end.
A typical single-window replacement in Columbus takes one to four hours depending on the exterior condition and whether the opening needs correction. A full-home replacement is usually completed in one or two days for the window work itself, with trim and cleanup included, not left for a second appointment.
Installing the unit out of square, skipping the manufacturer’s flashing sequence, altering the window, or failing to register the warranty within the stated period will void or reduce coverage. Both warranty layers, glass and frame, should be registered in writing and the durations stated on paper before the install crew leaves.
Fogging between panes means the insulated glass seal has failed, which lets humid air into the space between the two panes and causes condensation. The temperature and humidity swings in Ohio accelerate seal failure once it starts, and the fix is replacing the glass unit, not the whole window, if the frame is still sound. For more guides & resources, explore our blog, or call (888) 635-0804 and we’ll tell you what the repair path looks like.
The Bottom Line
A window installation in Columbus is only as good as the details behind it. The frame material has to match the climate, the flashing has to match the exterior, the permit has to match the code, and the warranty has to be in writing, not a promise at the door. Homeowners who understand those four things can spot a bad quote before signing it, and they can hold an installer to a standard instead of hoping for one. Every window we install at TruePane Windows & Doors follows that same rule Dale Kessler has kept on the whiteboard since the start: if the pane is not true, the job is not done. For Window Installation in Parkway, Door Installation in Parkway, or Window Replacement in Parkway, call (888) 635-0804 and one of our team will answer, day or night, and walk you through a free estimate with real numbers.
Written by Dale Kessler, Owner at TruePane Windows & Doors, serving Columbus since 2008.